 Reminder for important dates
 Create an address book for recipients
 Faster sending of Fleurop-Greetings
 View past orders











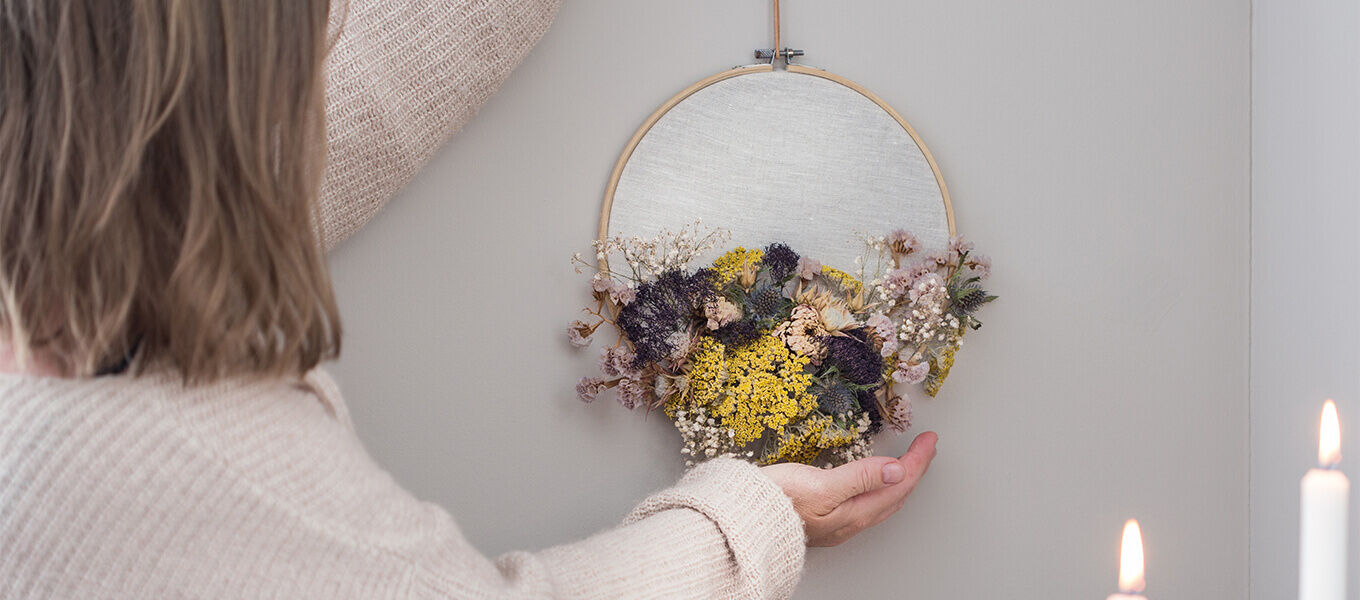
Embroidery Hoop Idea with Dried Flowers
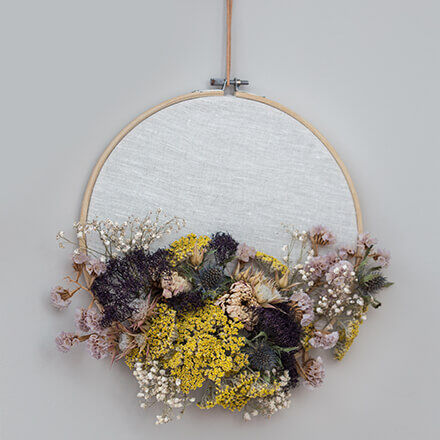
Dried flowers are still one of the most popular trends this late summer and autumn. No wonder, because even when dry, your favourite flowers don't lose any of their beauty. They can also be used to create really wonderful DIY projects. A really simple project that can be realised with dried flowers and which also includes a second trend is the combination of dried flowers and embroidery hoops. The embroidery hoop idea with dried flowers is therefore also a beautiful and creative alternative to the already well-known dried flower wreath. It's so easy to bring your favourite dried flowers into your home as wall decorations in the enchanting DIY embroidery hoop picture. You'll have your favourite summer flowers around you for much longer. So get to the embroidery hoop and let your creativity run wild!
Materials required:
- Wooden embroidery hoop
- Piece of fabric, e.g. linen or cotton
- Various dried flowers
- embroidery thread
- embroidery needle
- scissors
Embroidery hoop dried flowers DIY - we show you how to do it:
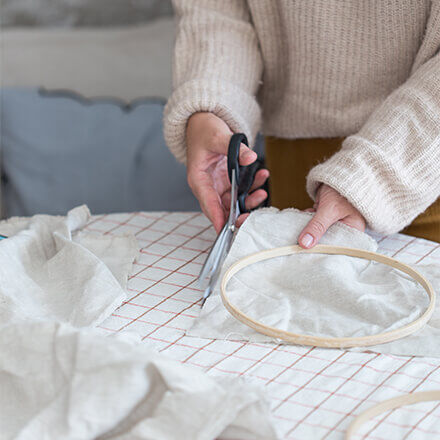
Step 1: Cut the fabric to size
To be able to decorate the fabric with dried flowers later, it must first be placed in the embroidery hoop. To do this, first place the embroidery hoop on the desired piece of fabric and cut generously around it.
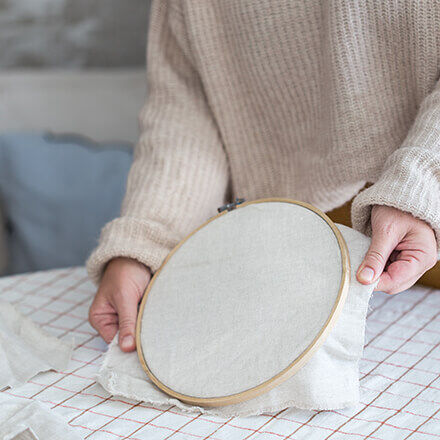
Step 2: Hoop the fabric
In order to be able to embroider the fabric with flowers, it should be clamped as firmly as possible in the embroidery hoop. To do this, clamp the fabric between the two wooden rings of the embroidery hoop and tighten the adjusting screw. Then tighten the edge of the fabric a little more so that it is really taut in the embroidery hoop.
Step 3: Prepare the dried flowers
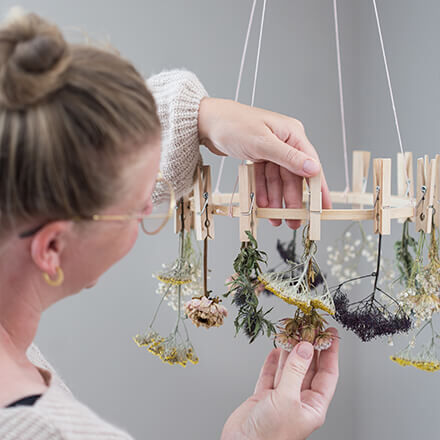
Carefully collect the dried flowers from the DIY drying aid, e.g. in a basket, and cut to the desired length with scissors if necessary. Important: There should still be a small stem, as this will be used to attach the dried flower to the fabric.
Step 4: Threading the embroidery thread
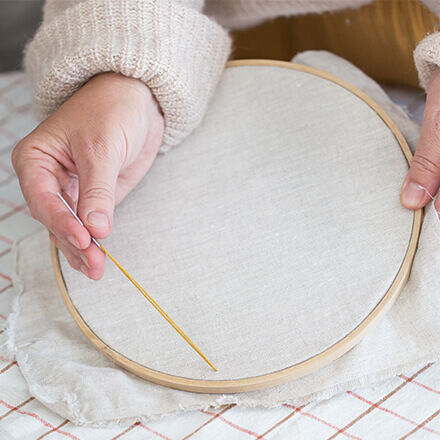
Before you can finally embroider the dried flowers onto the fabric, you must first prepare the embroidery thread. To do this, cut a piece of embroidery thread (approx. 50 cm) in the desired colour and thread it into a thick embroidery needle. Then stitch the embroidery thread from the back to the front through the fabric in the embroidery hoop and secure it on the back of the fabric with a knot.
Step 5: Embroider the flowers
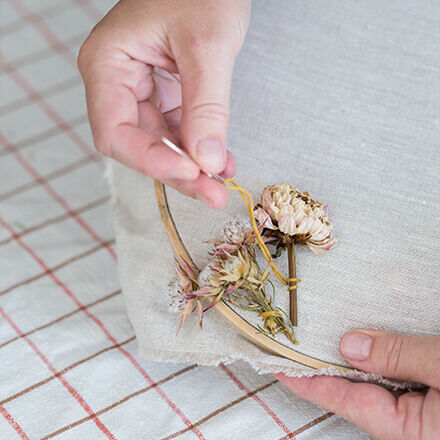
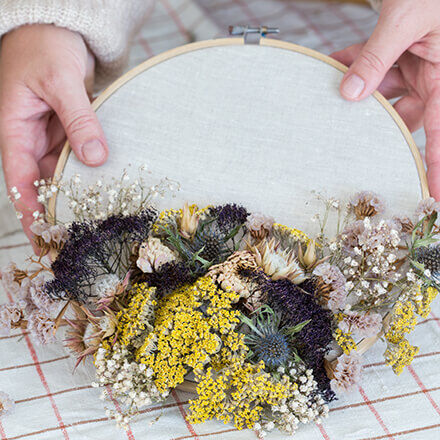
Now embroider the flowers onto the fabric one by one. To do this, place the dried flower in the desired position on the fabric and carefully attach it to the style with the embroidery thread. This works best with a simple forward stitch by repeatedly pushing the needle through the fabric from bottom to top. Line up the flowers one after the other and try to cover the style of the previous flower with each subsequent dried flower. Tip: Flowers that are a little ‘bushier’ are particularly suitable for filling large gaps. Embroider as many dried flowers until the lower third of the knitting frame is filled. It also looks particularly beautiful if the flowers extend slightly over the edge.
Step 6: Cut off the fabric
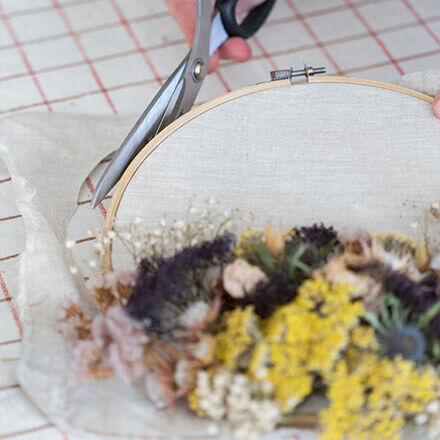
Once all the dried flowers have been embroidered, the excess fabric on the embroidery frame must be cut off. The best way to do this is to use a good pair of scissors and cut the fabric directly along the wooden frame.
Step 7: Hanging
To make it easier to hang the DIY dried flower embroidery picture, simply thread a piece of yarn or leather strap through the point where the hoop's locking screw is located. This makes it easy to hang up the embroidery hoop.
Done!
It's so easy to conjure up a personalised wall decoration with dried flowers. Tip: The DIY embroidery hoop picture made from dried flowers is also ideal as a gift or as a door wreath if you have a sheltered entrance to your home. And if you want to immortalise a very special bouquet of flowers in a more individual way than just in a vase, for example, the DIY embroidery hoop picture made from dried flowers is the perfect option. If you are a little more experienced in embroidery, you could also embroider a name or an event. The embroidery frame with dried flowers is perfect for a creative evening at home.
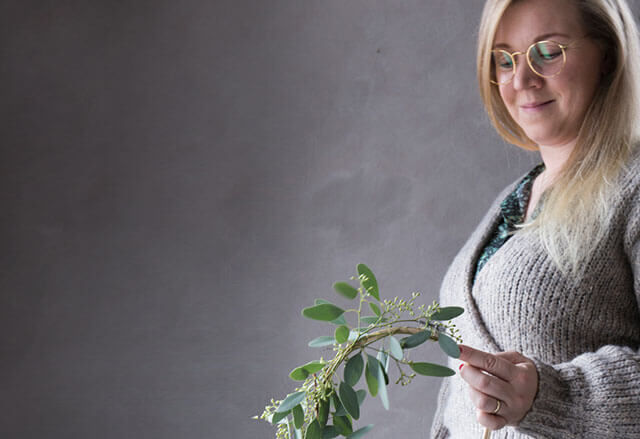
The mum-of-three lives by the motto "there's never enough decoration" and deals with the topics of DIY and sustainability, among others. Whether it's home ideas, crafting instructions or recipes - everyone will find something for themselves.