 Reminder for important dates
 Create an address book for recipients
 Faster sending of Fleurop-Greetings
 View past orders
















Make your own dried flowers - DIY hanging flowers to dry
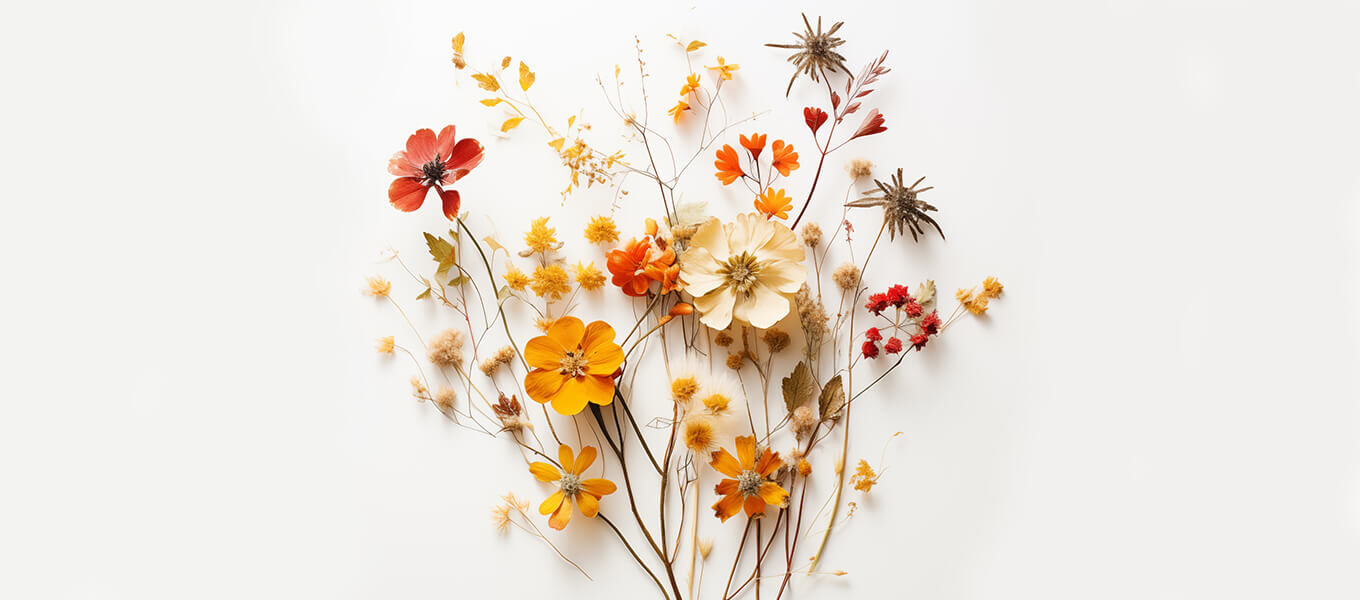
Summer is slowly coming to an end and most summer flowers are already beginning to wither or bloom one last time in all their beauty. Why not simply preserve the summer in the form of your favourite summer flowers and thus also the beautiful memories. Dried flowers are the perfect solution. They have become indispensable on social media, in magazines and in many shops. And it's no wonder, because this decorative trend is right in tune with the times. Dried flowers are sustainable, stylish and even easy to make yourself.
In this article, I'll show you the best way to dry flowers and what you should pay attention to so that the floral beauties can show their full beauty even when dried. Here is the easiest way to dry flowers:
Hanging flowers upside down to dry
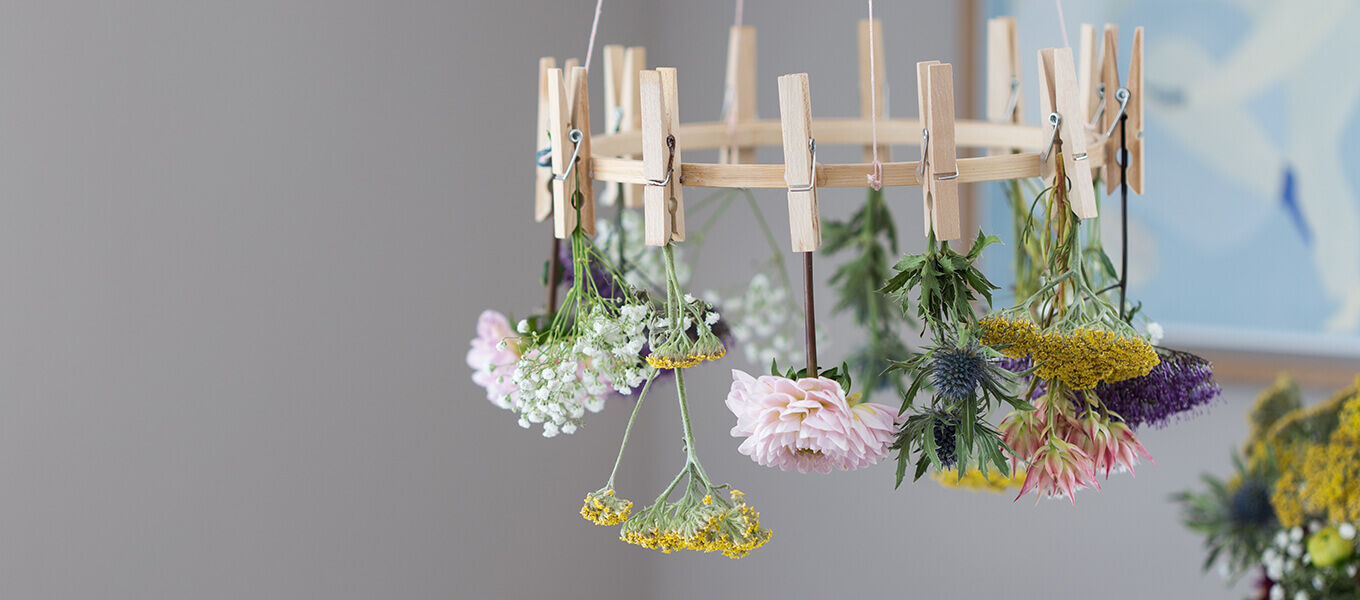
Most people are probably familiar with this method - you simply hang the flowers upside down and leave them to dry in the air. It doesn't matter whether it's individual flowers or a complete bouquet. You really only have to follow a few simple rules and it's guaranteed to work.
The most important rule is that the fresher the flowers, the better they will dry. In other words, a flower that is already slightly wilted will not look quite as beautiful when dried. Before drying, dry the stems slightly with a kitchen towel and completely remove the lower leaves or greenery. The flowers can then be hung upside down to dry slowly. Flowers that are well suited to drying are, for example
- Hydrangeas
- Sea lilacs
- Strawflowers
- thistles
- gypsophila
- proteaceae
- Sheep's fork
- But even flowers that you wouldn't think are easy to dry, such as dahlias. And if you're not sure, just try it out. Generally speaking, the less moisture a flower has, the easier it is to dry.
A simple wooden ring with clips is a practical aid for drying flowers so that you don't always have to spend a lot of time attaching a string to each individual flower in order to hang it up. You can easily make one yourself with these DIY instructions.
Instructions for DIY drying aid - we show you how to do it:
Materials required:
- simple wooden ring or embroidery hoop
- Wooden clothes pegs
- hot glue
- yarn
- scissors
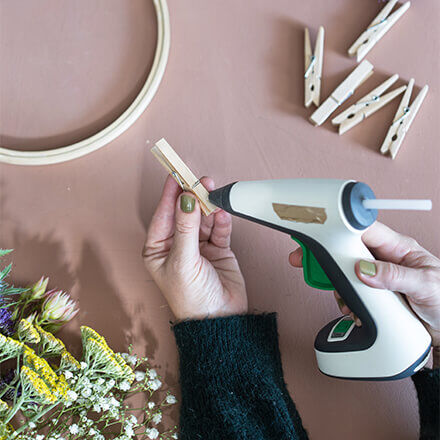
Step 1: Apply hot glue
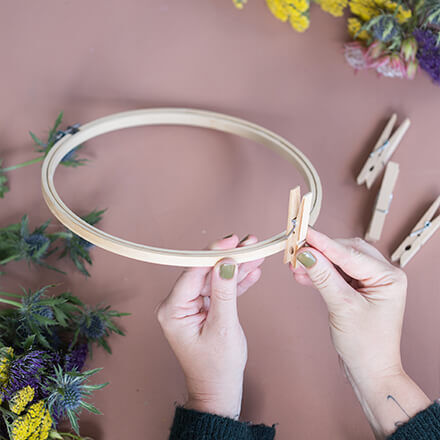
To make it easy to hang up the flowers later, the clips must be attached around the wooden ring. To do this, apply enough hot glue to the clip to be attached.
Step 2: Attach the clips
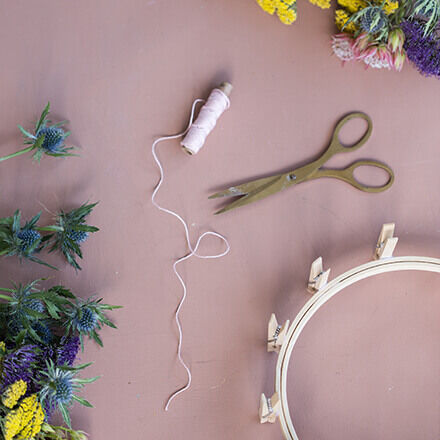
Attach the clip upright to the wooden ring using the hot glue. Tip: Make sure you press the clamps down until the hot glue has hardened so that they are guaranteed to hold. Then glue the clips to the wooden ring one after the other at roughly the same distance from each other.
Step 3: Cut the yarn
Cut four pieces of yarn of the same length to hang the DIY drying aid. To do this, either use a folding rule or hold the four pieces of yarn together to measure the lengths.
Step 4: Attach the yarn
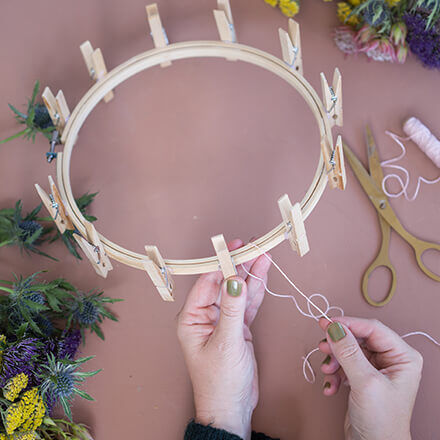
Then knot the four pieces of yarn to the wooden ring at equal distances from each other. Then tie the four pieces of yarn at the desired length at the top end to form a loop knot. The DIY drying aid can then be easily hung on a hook. Hang the drying aid so that the clip with the part into which the flowers will later be clamped is pointing downwards.
Step 5: Prepare the flowers
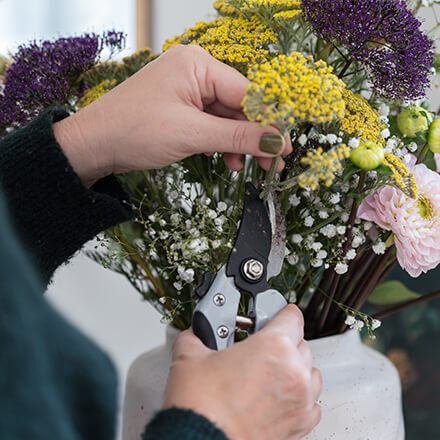
Trim the flowers to the desired length and remove any unnecessary green leaves. Dry the stems a little with a kitchen towel to remove any remaining water. This prevents any mould on the stems.
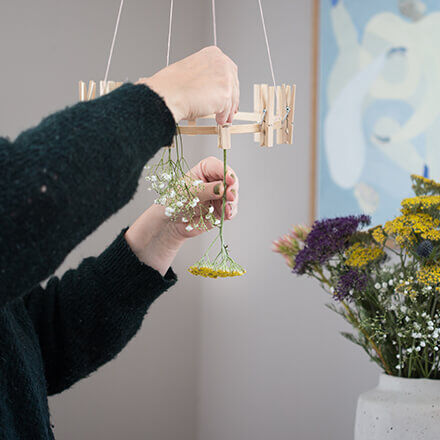
Step 6: Hanging the flowers
Attach the desired flowers to the clips to dry. To do this, simply press the clip together at the top as usual and clamp the flowers. Of course, larger flowers can be hung individually and flowers with more delicate styles, such as gypsophila, can also be hung in small bundles.
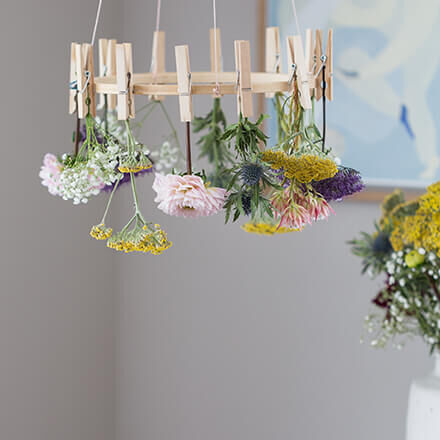
That's it!
Now you can dry your own flowers to your heart's content and perhaps even dry a summer flower or two from your own garden, a lovely summer walk in the fields or from a special bouquet of flowers to keep as a memento. The DIY drying ring can of course also be varied in size by using a larger wooden ring.
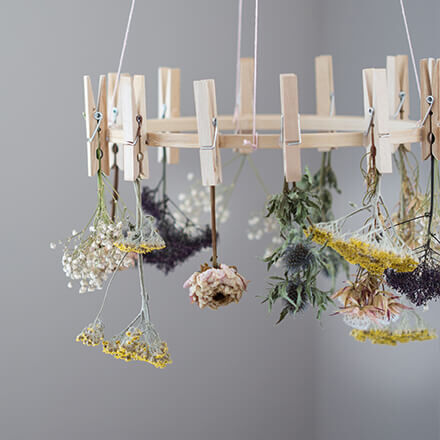
And this is what the flowers look like after almost two weeks of drying. Simply beautiful, isn't it?
Fancy some flowers?
The mum-of-three lives by the motto "there's never enough decoration" and deals with the topics of DIY and sustainability, among others. Whether it's home ideas, crafting instructions or recipes - everyone will find something for themselves.