 Reminder for important dates
 Create an address book for recipients
 Faster sending of Fleurop-Greetings
 View past orders







Make your own Mother's Day gift: photo on wood
It's that time again on the second Sunday in May. We're celebrating Mother's Day and want to give our favourite mums, grannies and maybe even great-grannies a little treat.
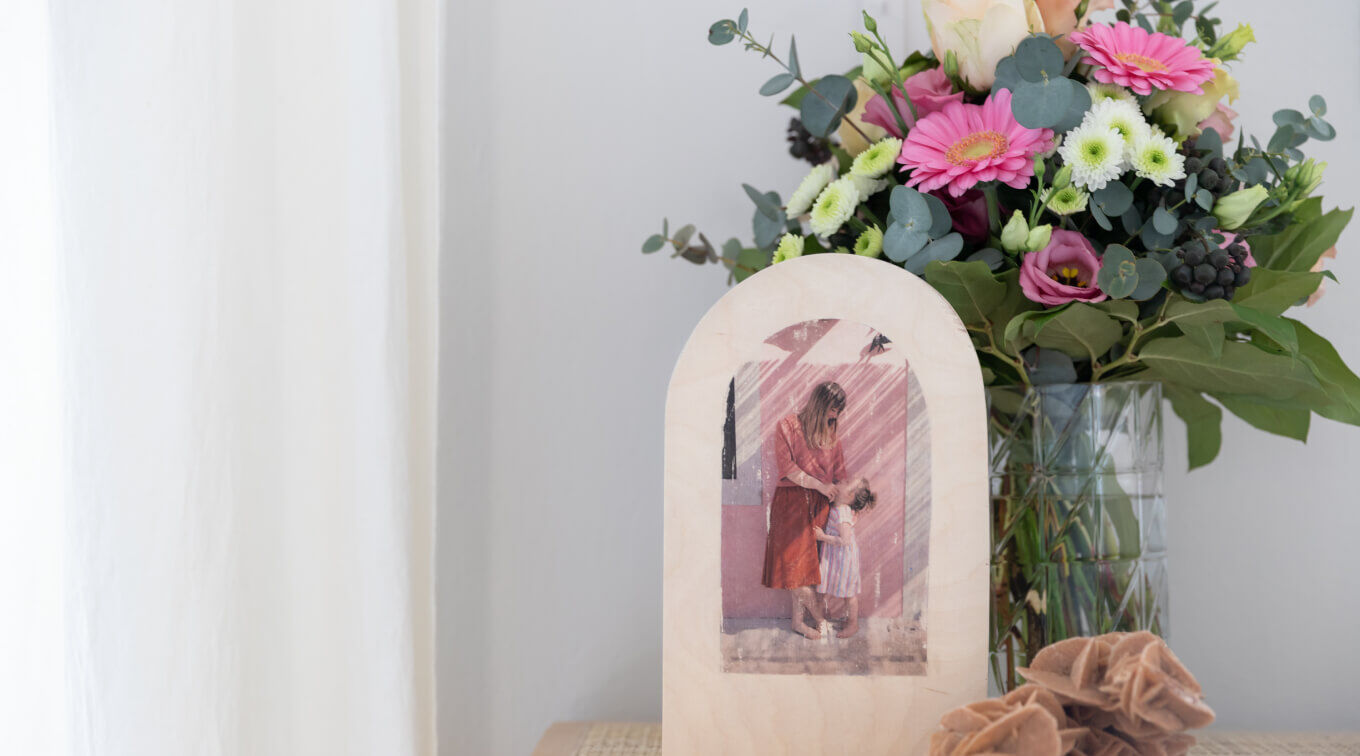
In addition to the classic flowers for Mother's Day, we have come up with a very special gift idea this year: We printed our favourite photo on wood. That sounds pretty complicated at first, but if you know how, it's really easy. Not only will your mum be delighted with a very personal gift, but you can also get really creative.
Even little hands can help with some of the steps in the DIY project - only the sawing and the final removal of the paper should be done by adults.
Required materials:
- Plywood cut from the DIY store with a thickness of 2 cm, this is important for later stability. The cut shown here measures 15 x 25 x 2 cm.
- Template for the sheet mould (PDF download)
- Photo transfer set (consisting of photo transfer medium, brush, sponge and squeegee)
- Photo printout from a laser printer on DIN A4 (mirror-inverted)
- Jigsaw and workbench
- Some sandpaper
- pencil
- scissors
- Hairdryer if necessary
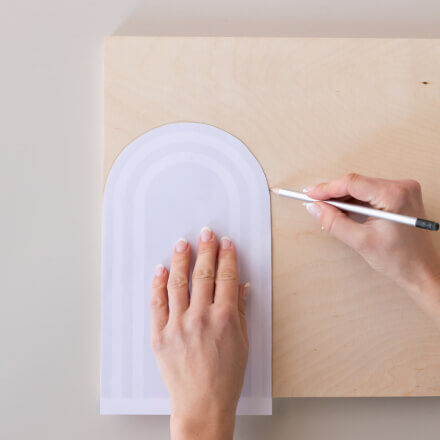
Step 1: Mark out the shape
Use a pencil to mark the desired format on the multiplex cutting - in addition to arches, triangles or squares are also conceivable. We have created a template with different sizes for the arch shape, which you can download.
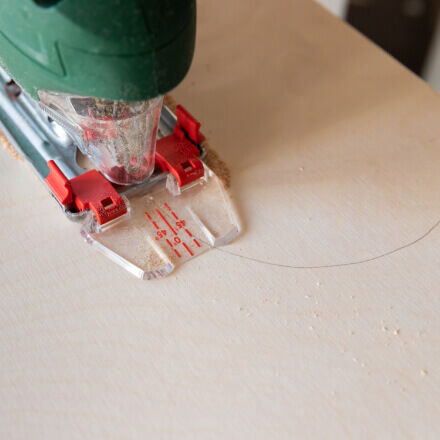
Step 2: Saw the mould
Use the jigsaw to saw out the shape as marked. If you choose a rectangular shape, you can also have it cut to size directly at the DIY store.
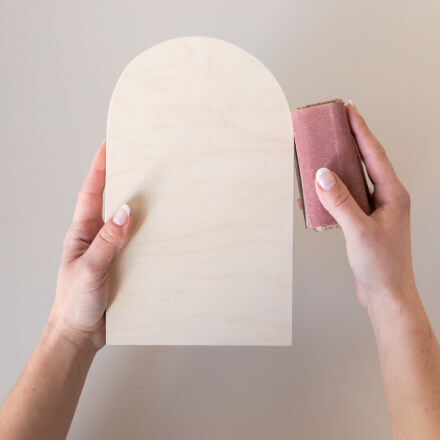
Step 3: Sanding the mould
If necessary, sand the edges of the wooden mould until everything is nice and smooth.
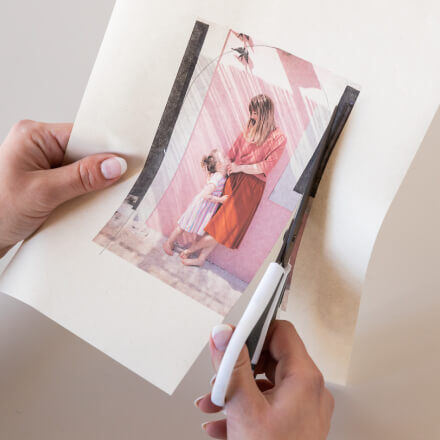
Step 4: Crop photo
Mark out and cut out the desired shape of the photo printout (important: this must be done with a laser printer!). In our case, we cut the photo slightly smaller than the wooden sheet. Use a pencil to mark a few corner points on the wooden cut-out where the motif should later be. This makes it easier for you to align it precisely.
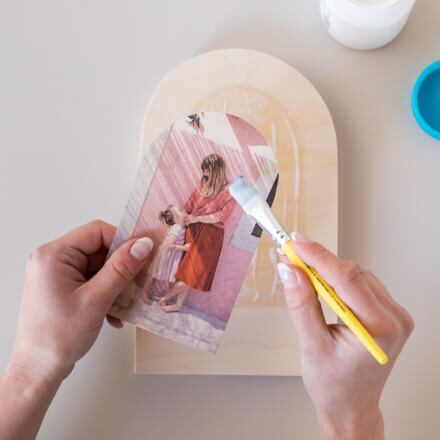
Step 5: Apply photo transfer medium
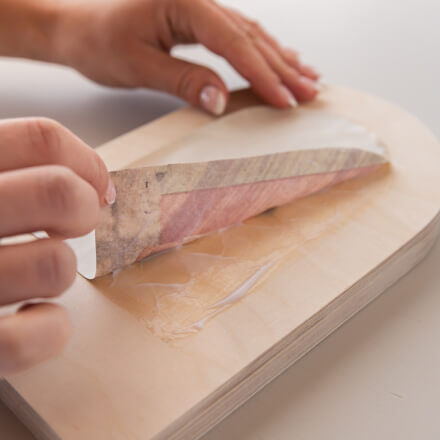
In the next step, apply the photo transfer medium relatively thickly in the marked area on the wooden mould and on the photo (printed side).
Step 6: Attach photo
Then press the photo with the printed, coated surface onto the wooden mould and smooth firmly with the squeegee. Depending on the manufacturer's instructions, leave to dry for approx. 1.5 hours or blow dry for approx. 2 minutes with a hairdryer from a safe distance.
Step 7: Moisten the picture
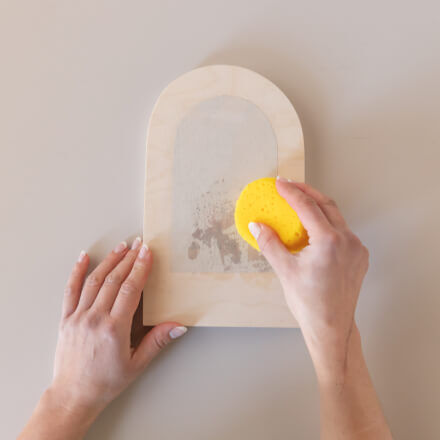
As soon as the picture is dry, soak it completely with the sponge soaked in lukewarm water.
Step 8: Remove paper
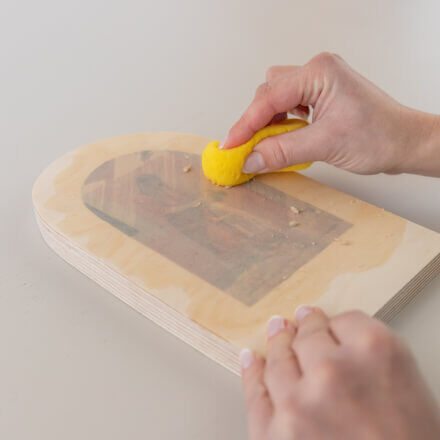
This step is probably the trickiest and requires a little dexterity. Use the sponge, or even better your fingers, to "rub off" the wet paper. Make sure that only the paper is rubbed off and not the pressure on the wood. This takes a little practice, but works extremely well.
Step 9: Sealing
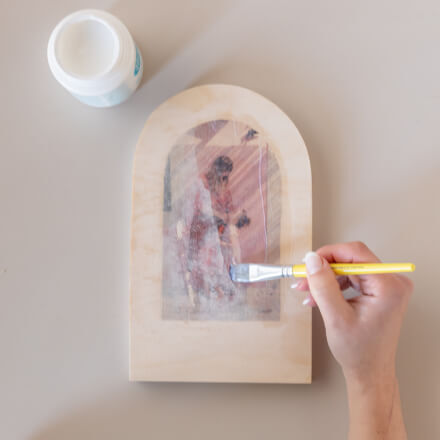
As soon as the image is completely exposed, allow it to dry and apply another thin coat of Photo Transfer Medium and seal. If you still don't like the print after drying because too much of the "paper haze" is still visible, simply moisten the image again and carefully rub away the paper.
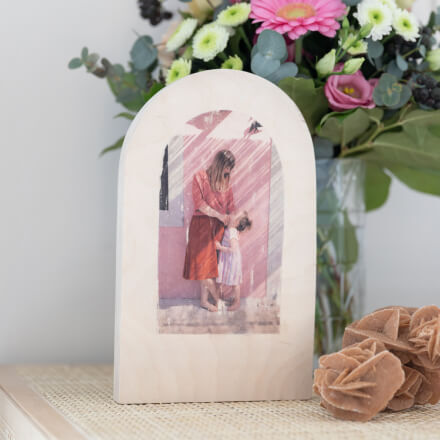
Done!
As our wooden bow stands so wonderfully without any help, the back can of course also be printed on. You can not only use a photo, but also leave a lovely message. Simply design it on the computer and then transfer it to the wood as described above. Place the self-made gift next to the flowers for Mother's Day and the perfect gift for the best mum is ready!
And if you'd rather give the gift of pictures printed on wood to hang up, that's no problem either! Simply use thinner plywood or plywood discs from your craft supplies. For hanging, you can find self-adhesive plate hangers in DIY stores that you can simply attach to the back.
We hope you have lots of fun making them and wish you a wonderful Mother's Day!
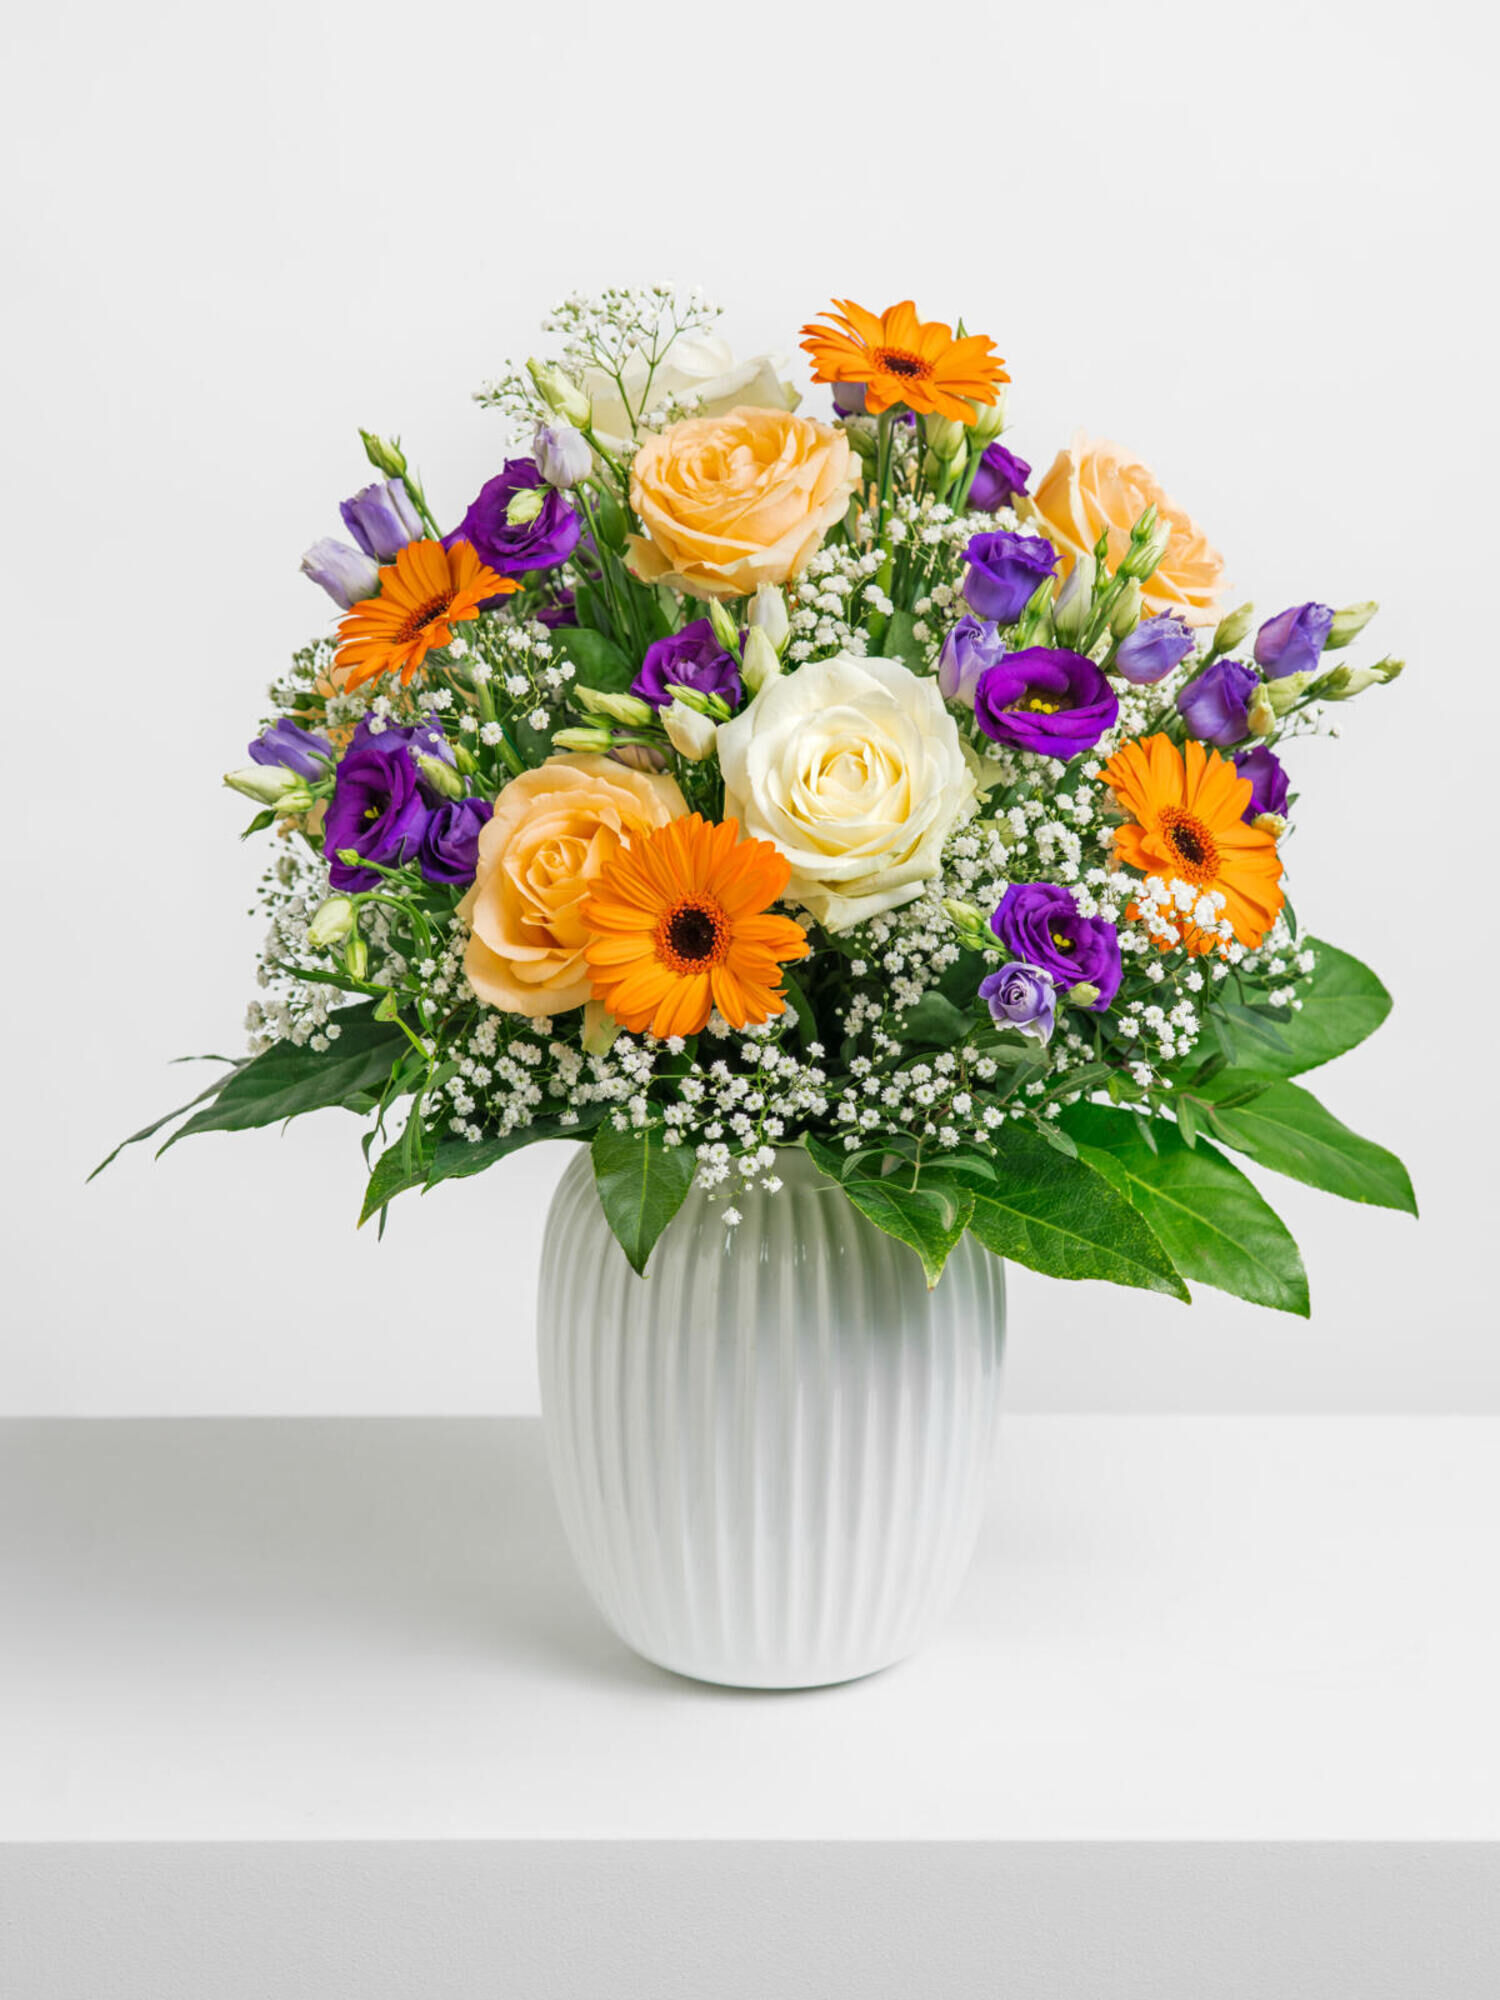
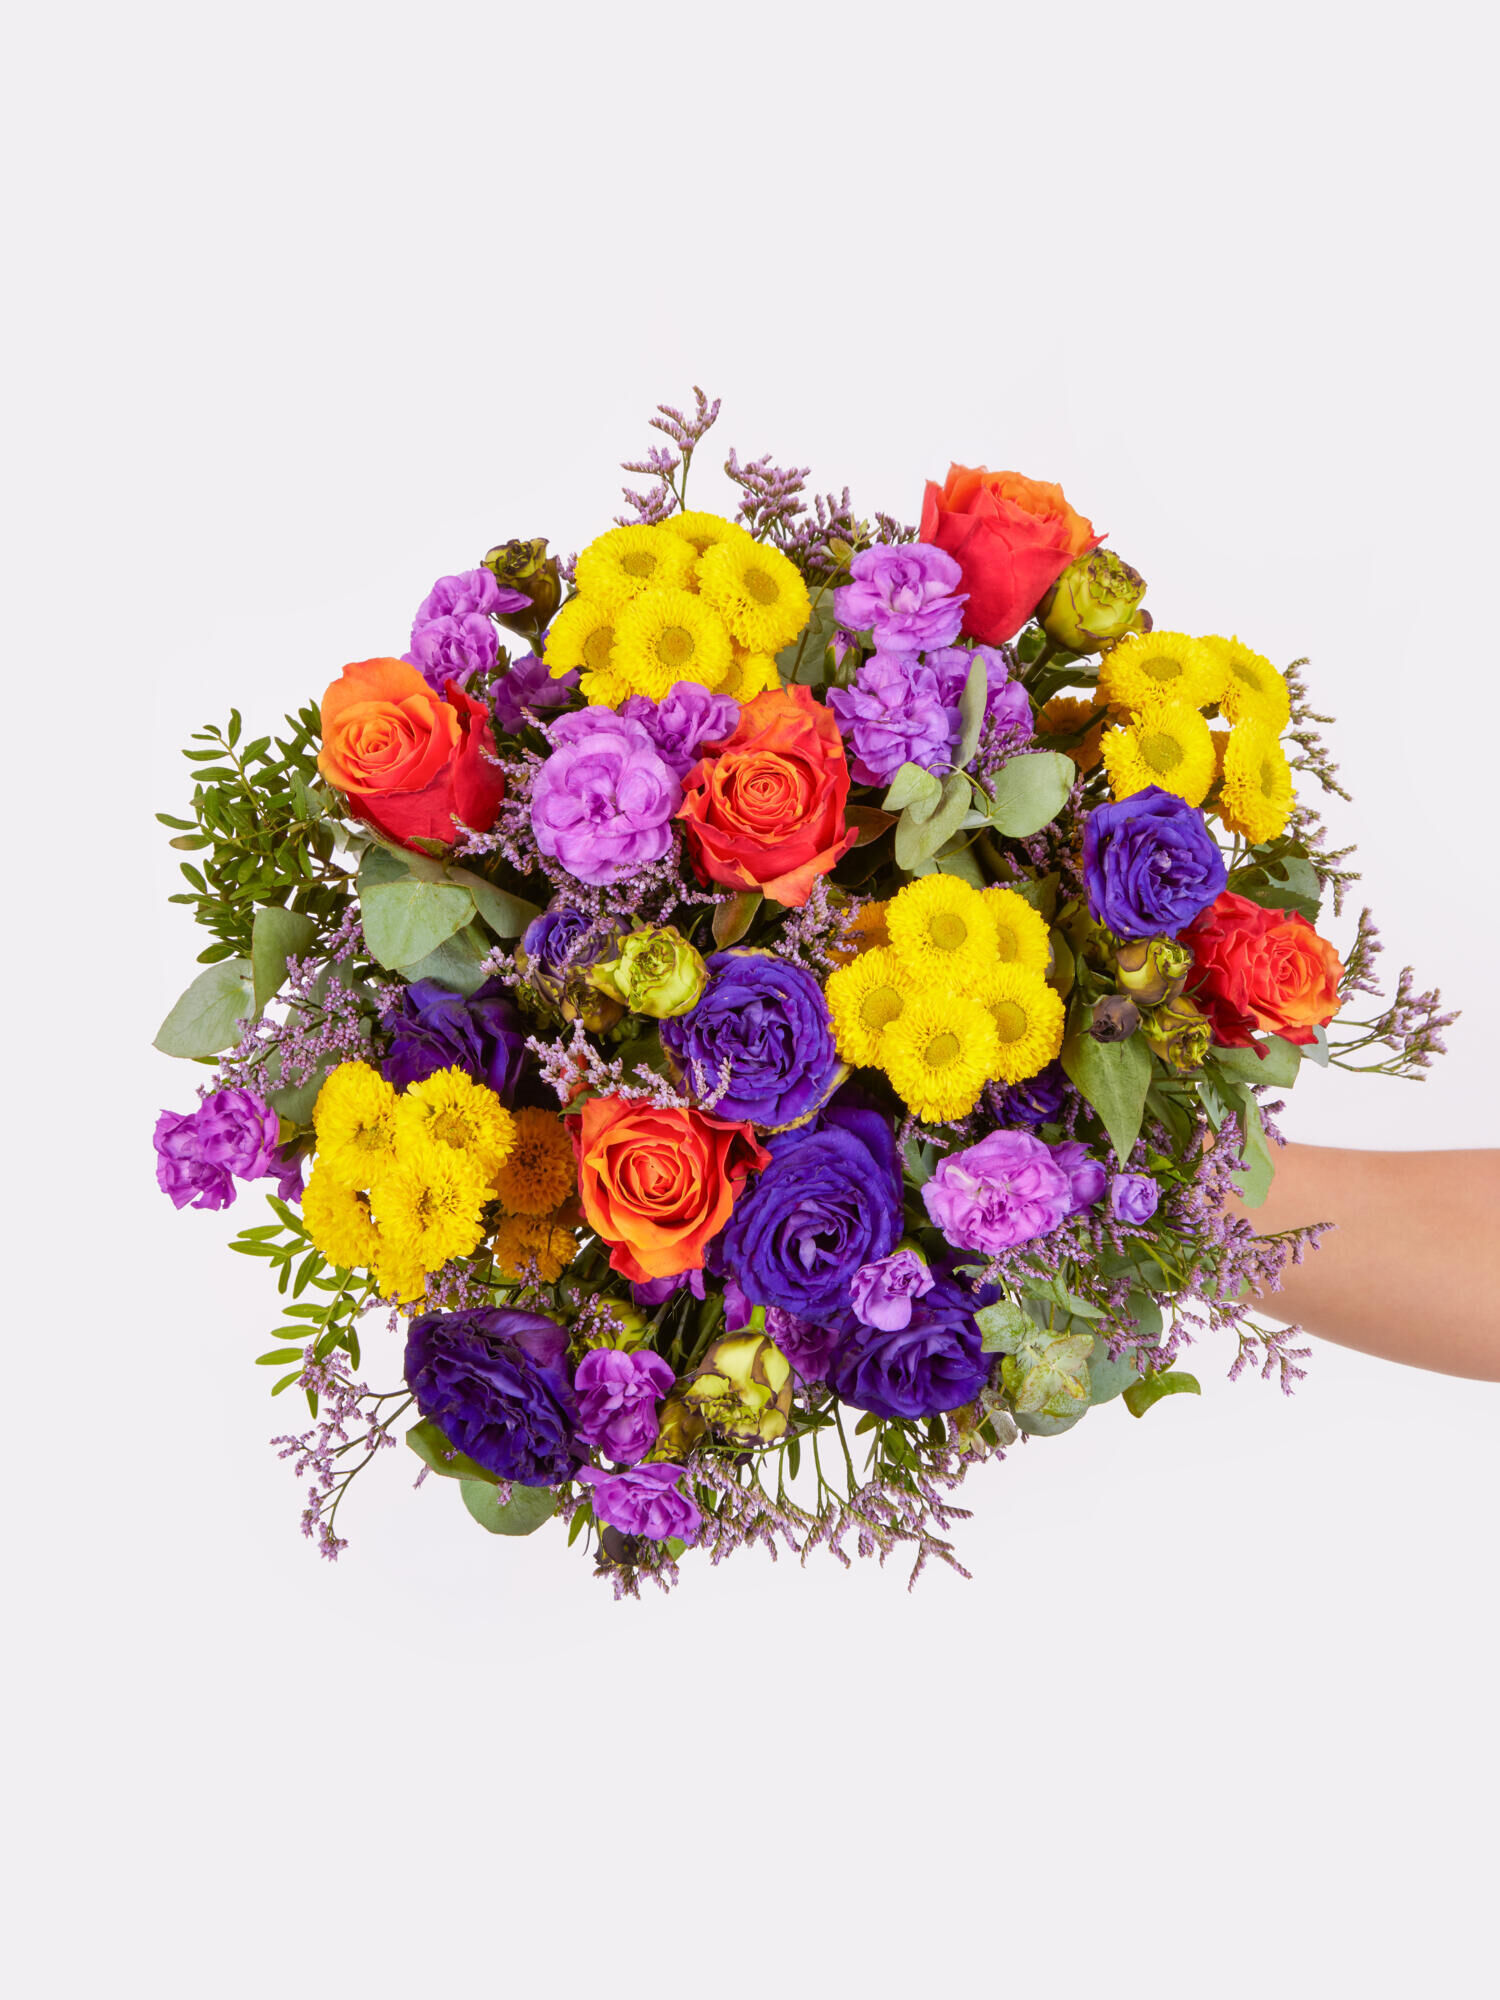
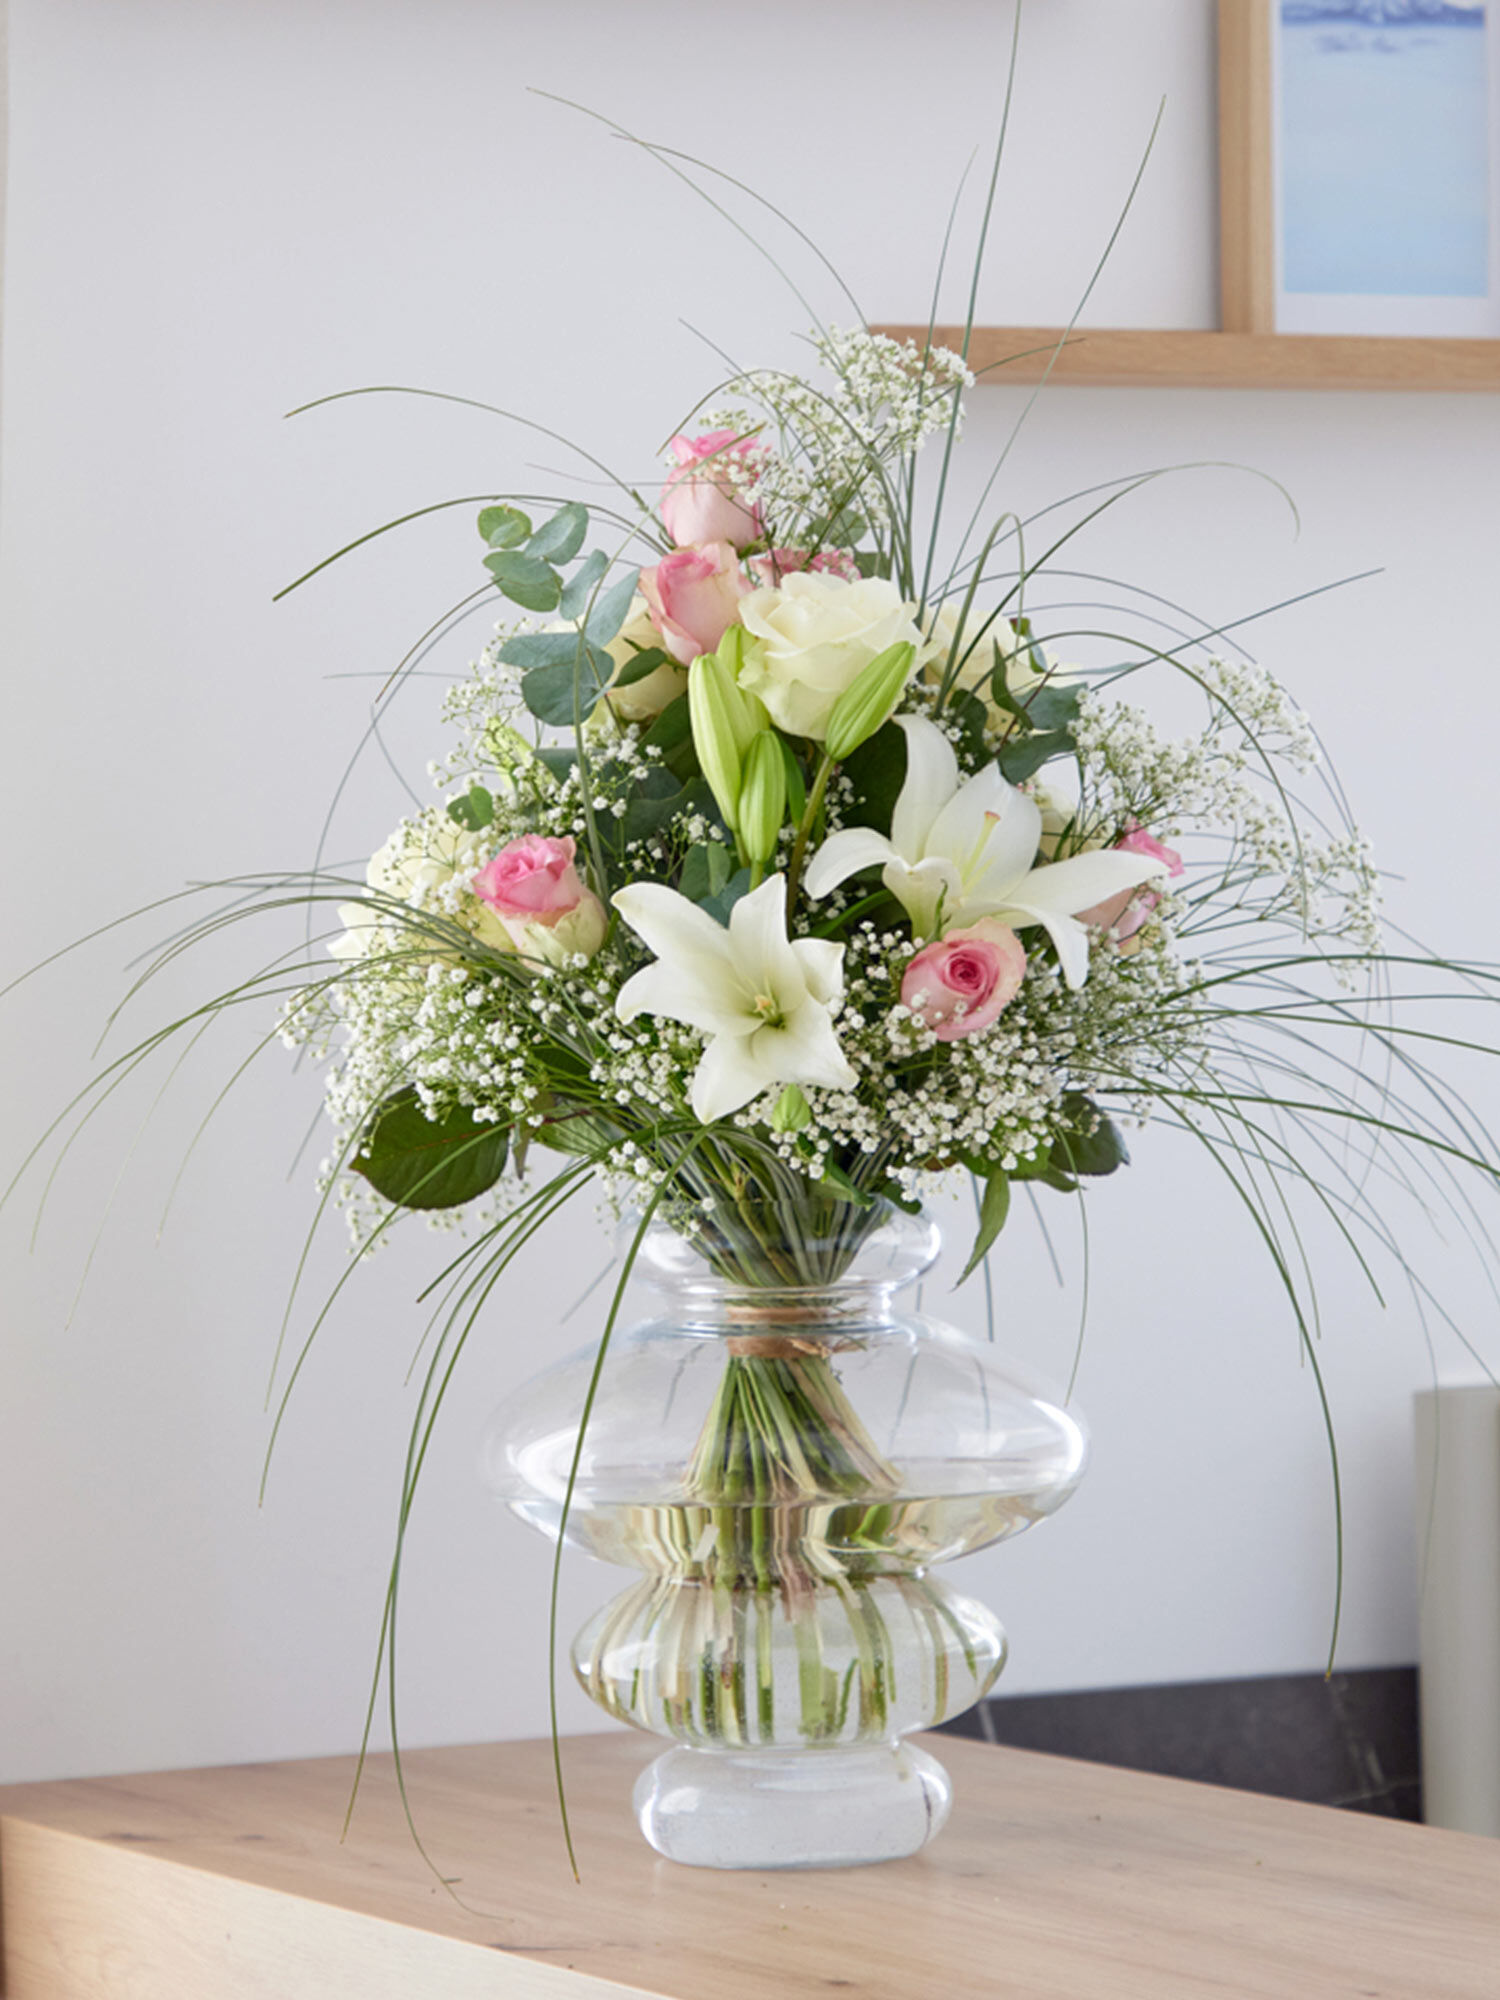
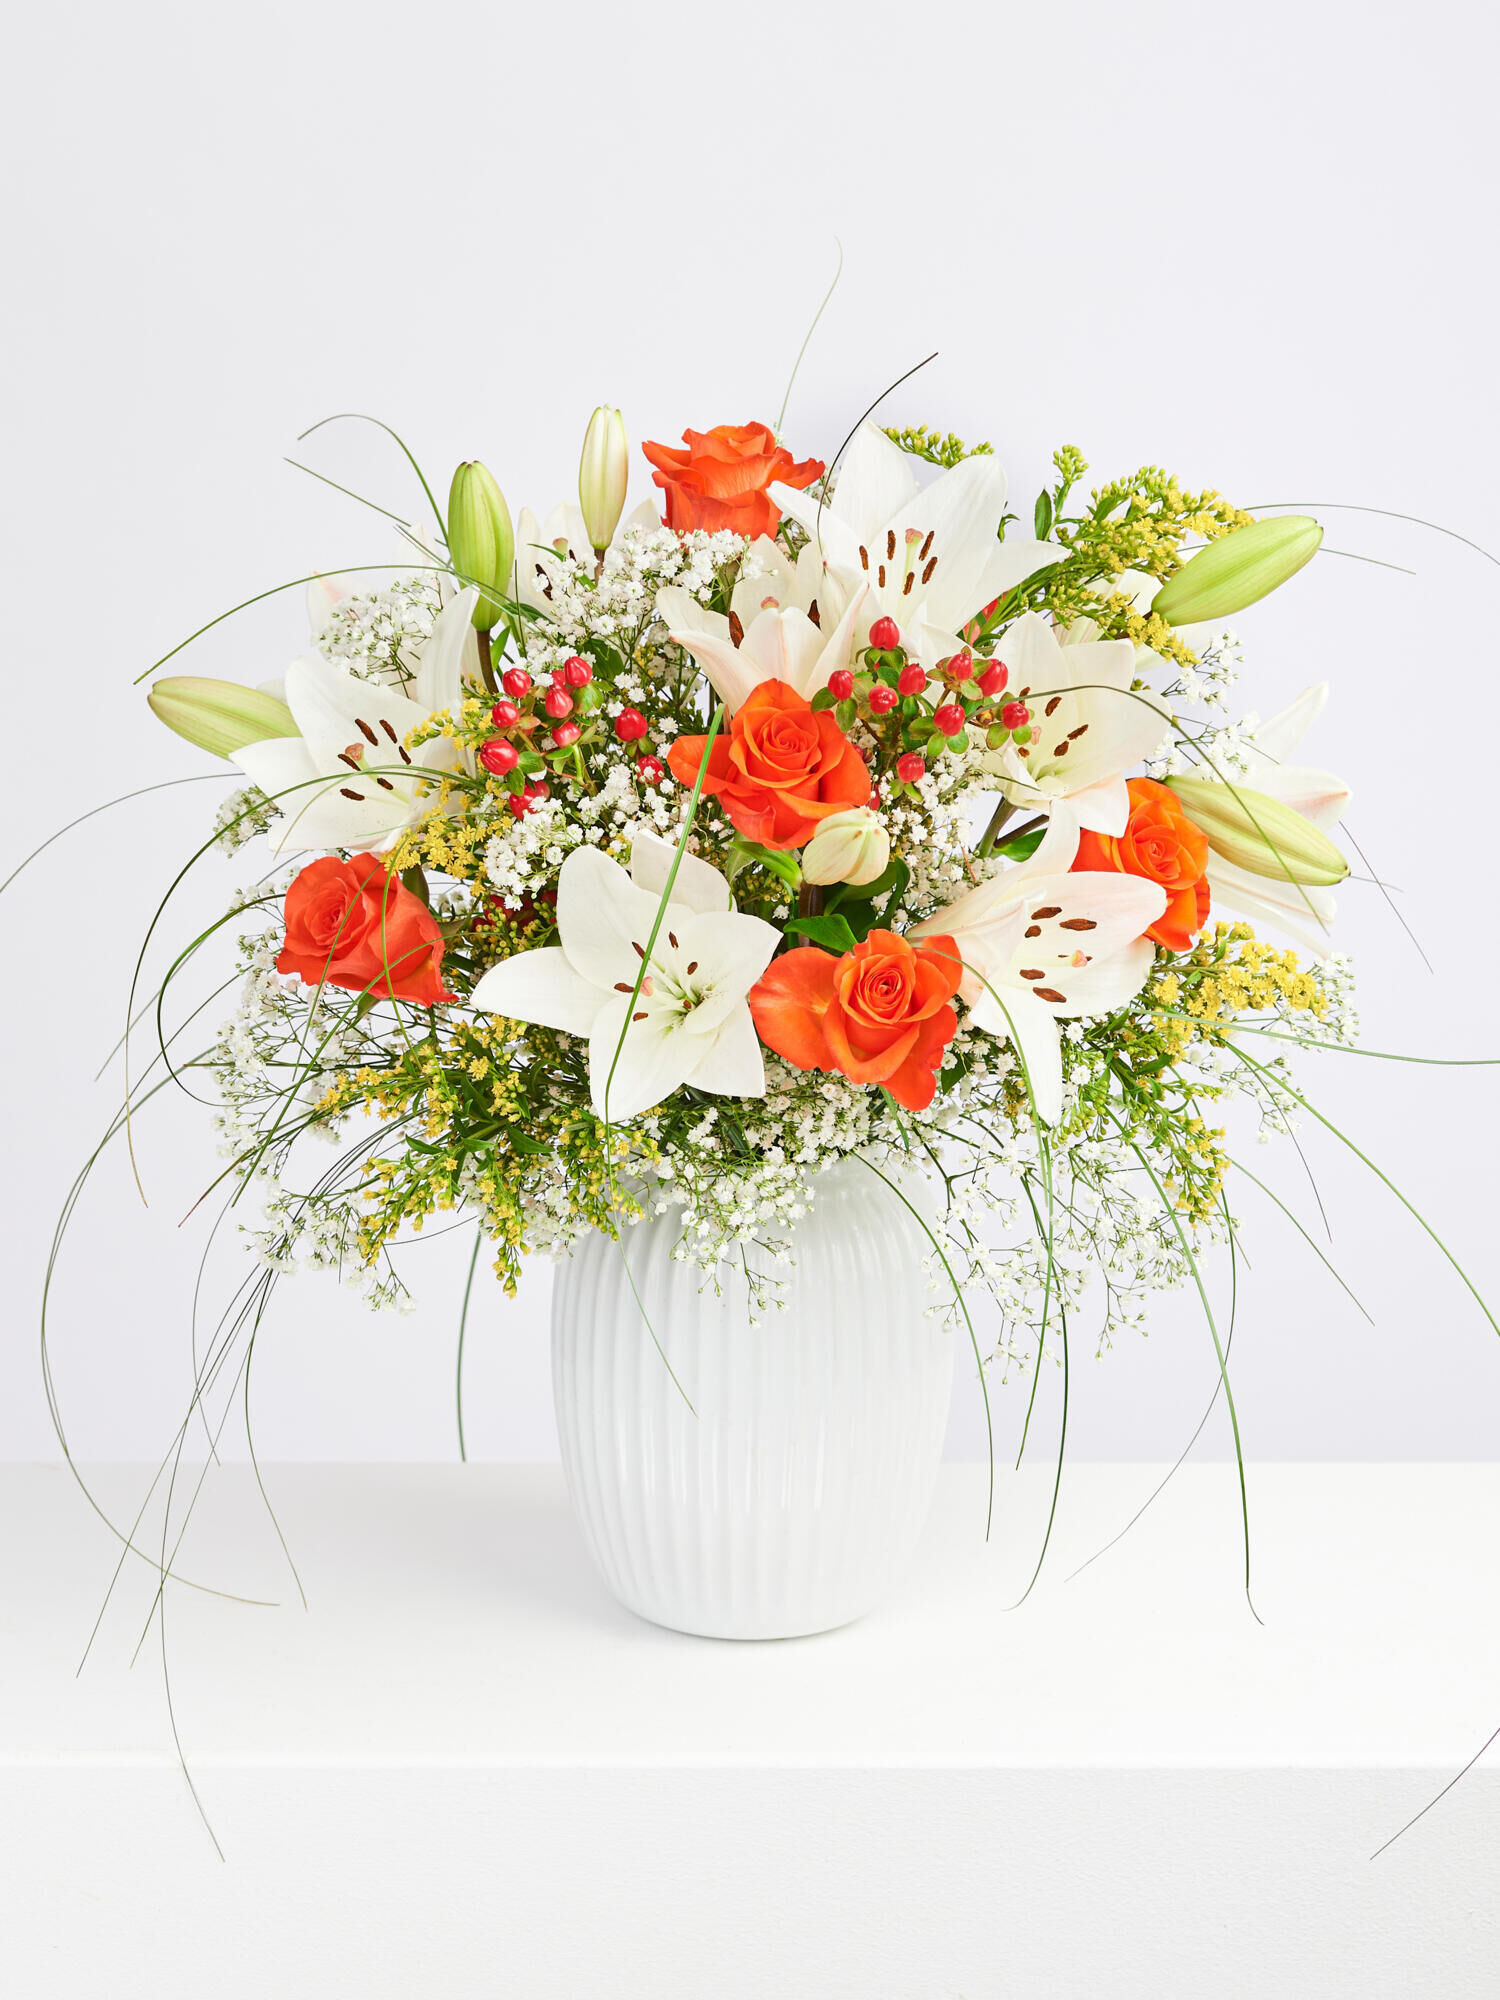
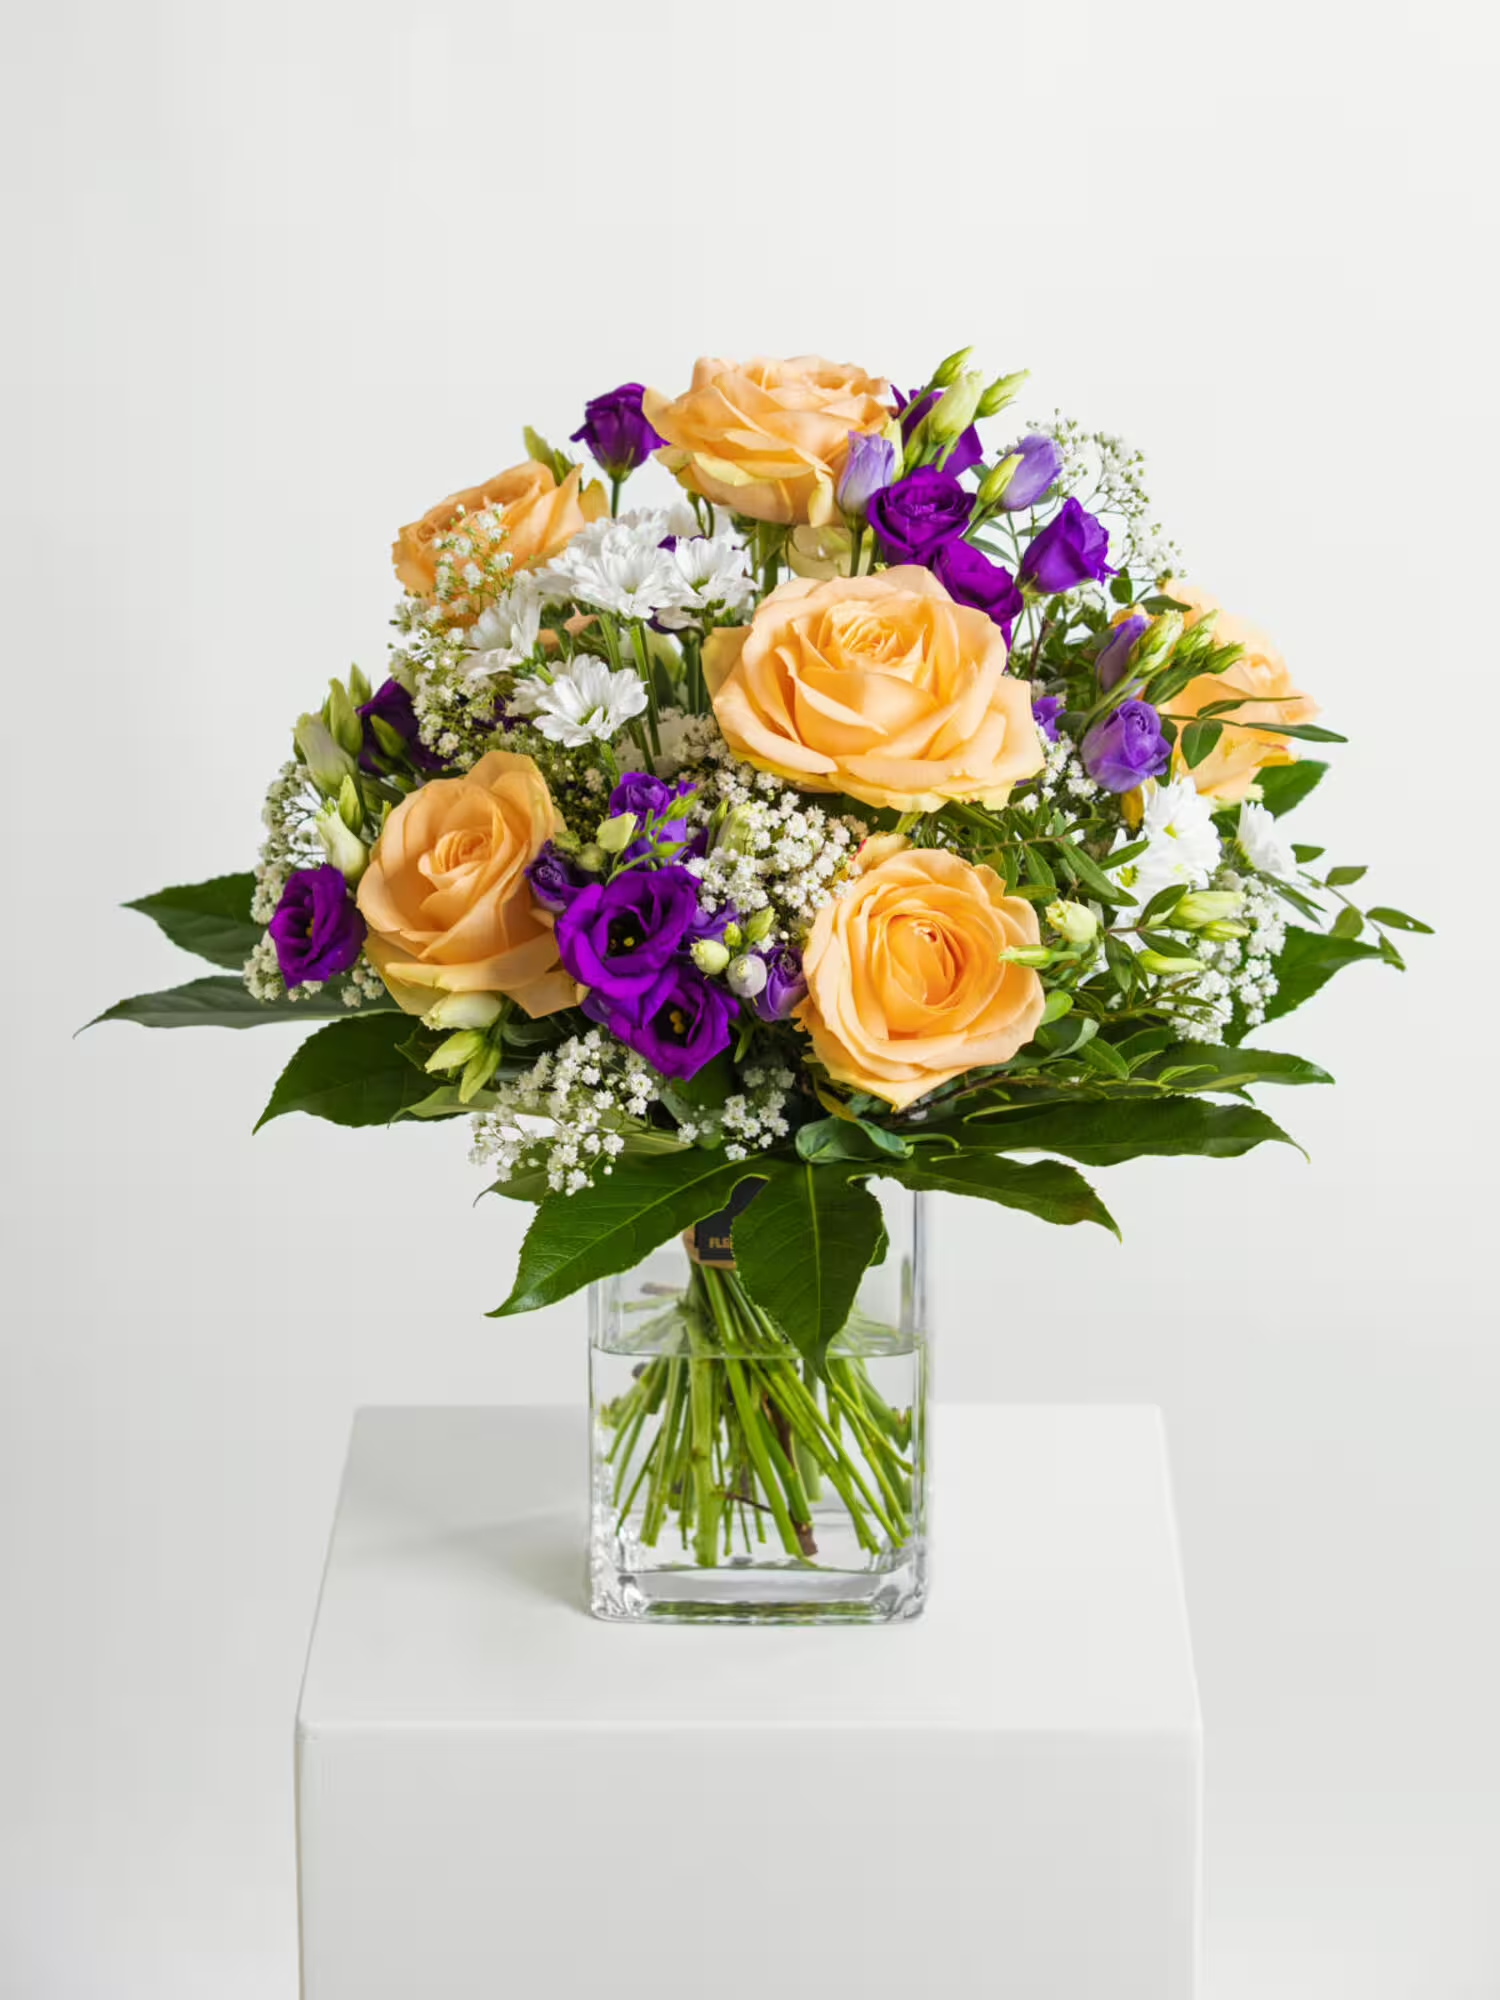
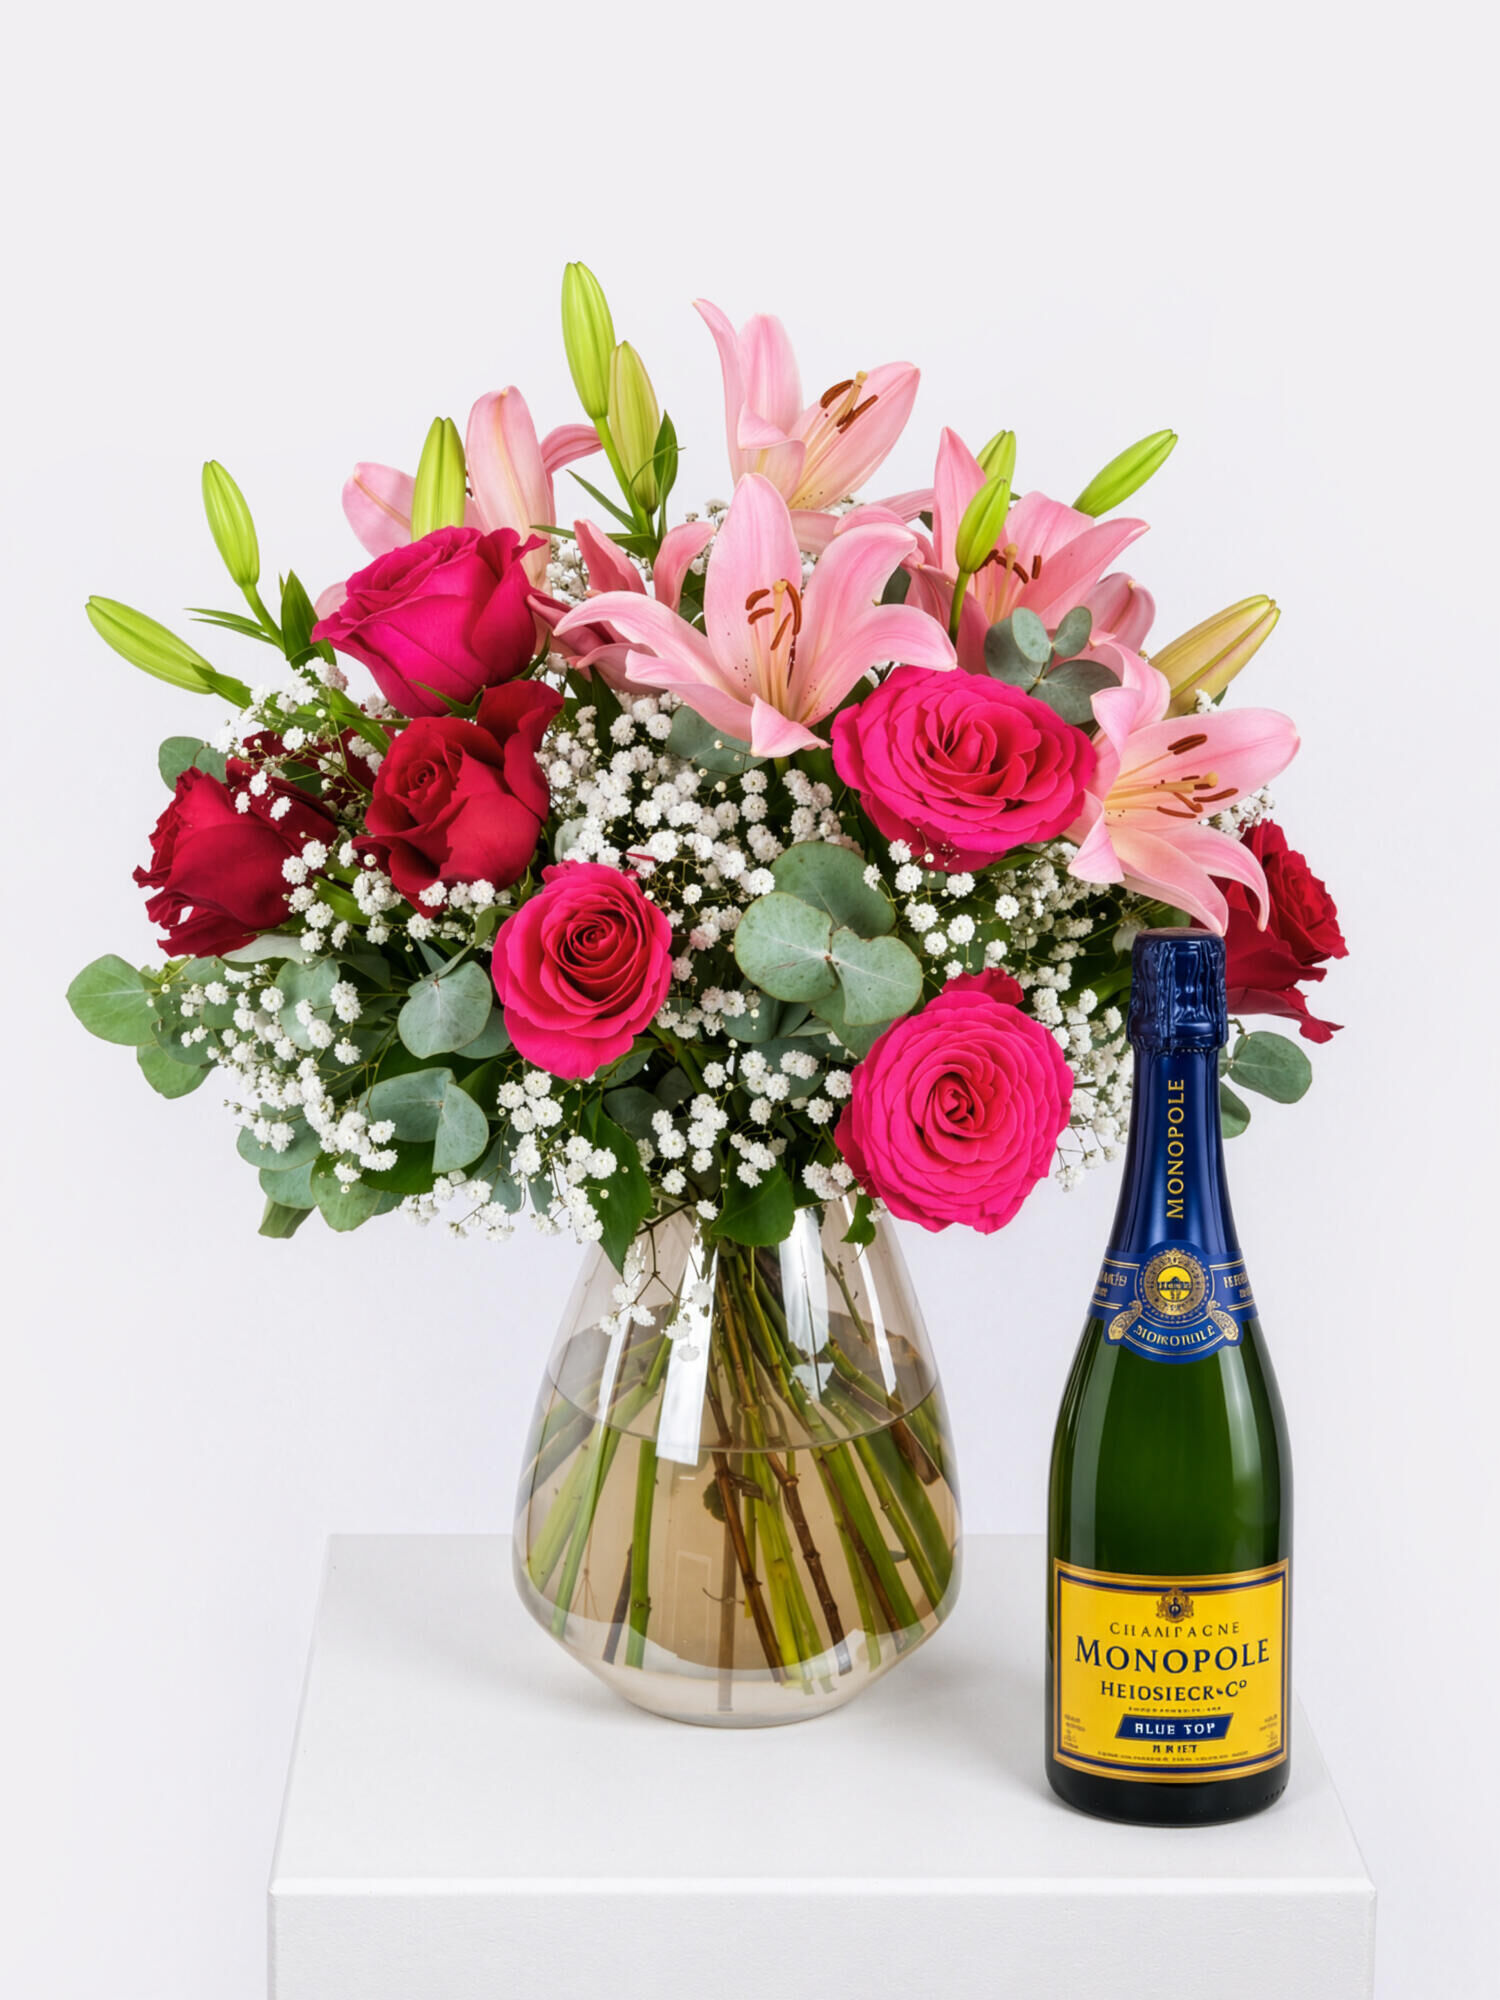
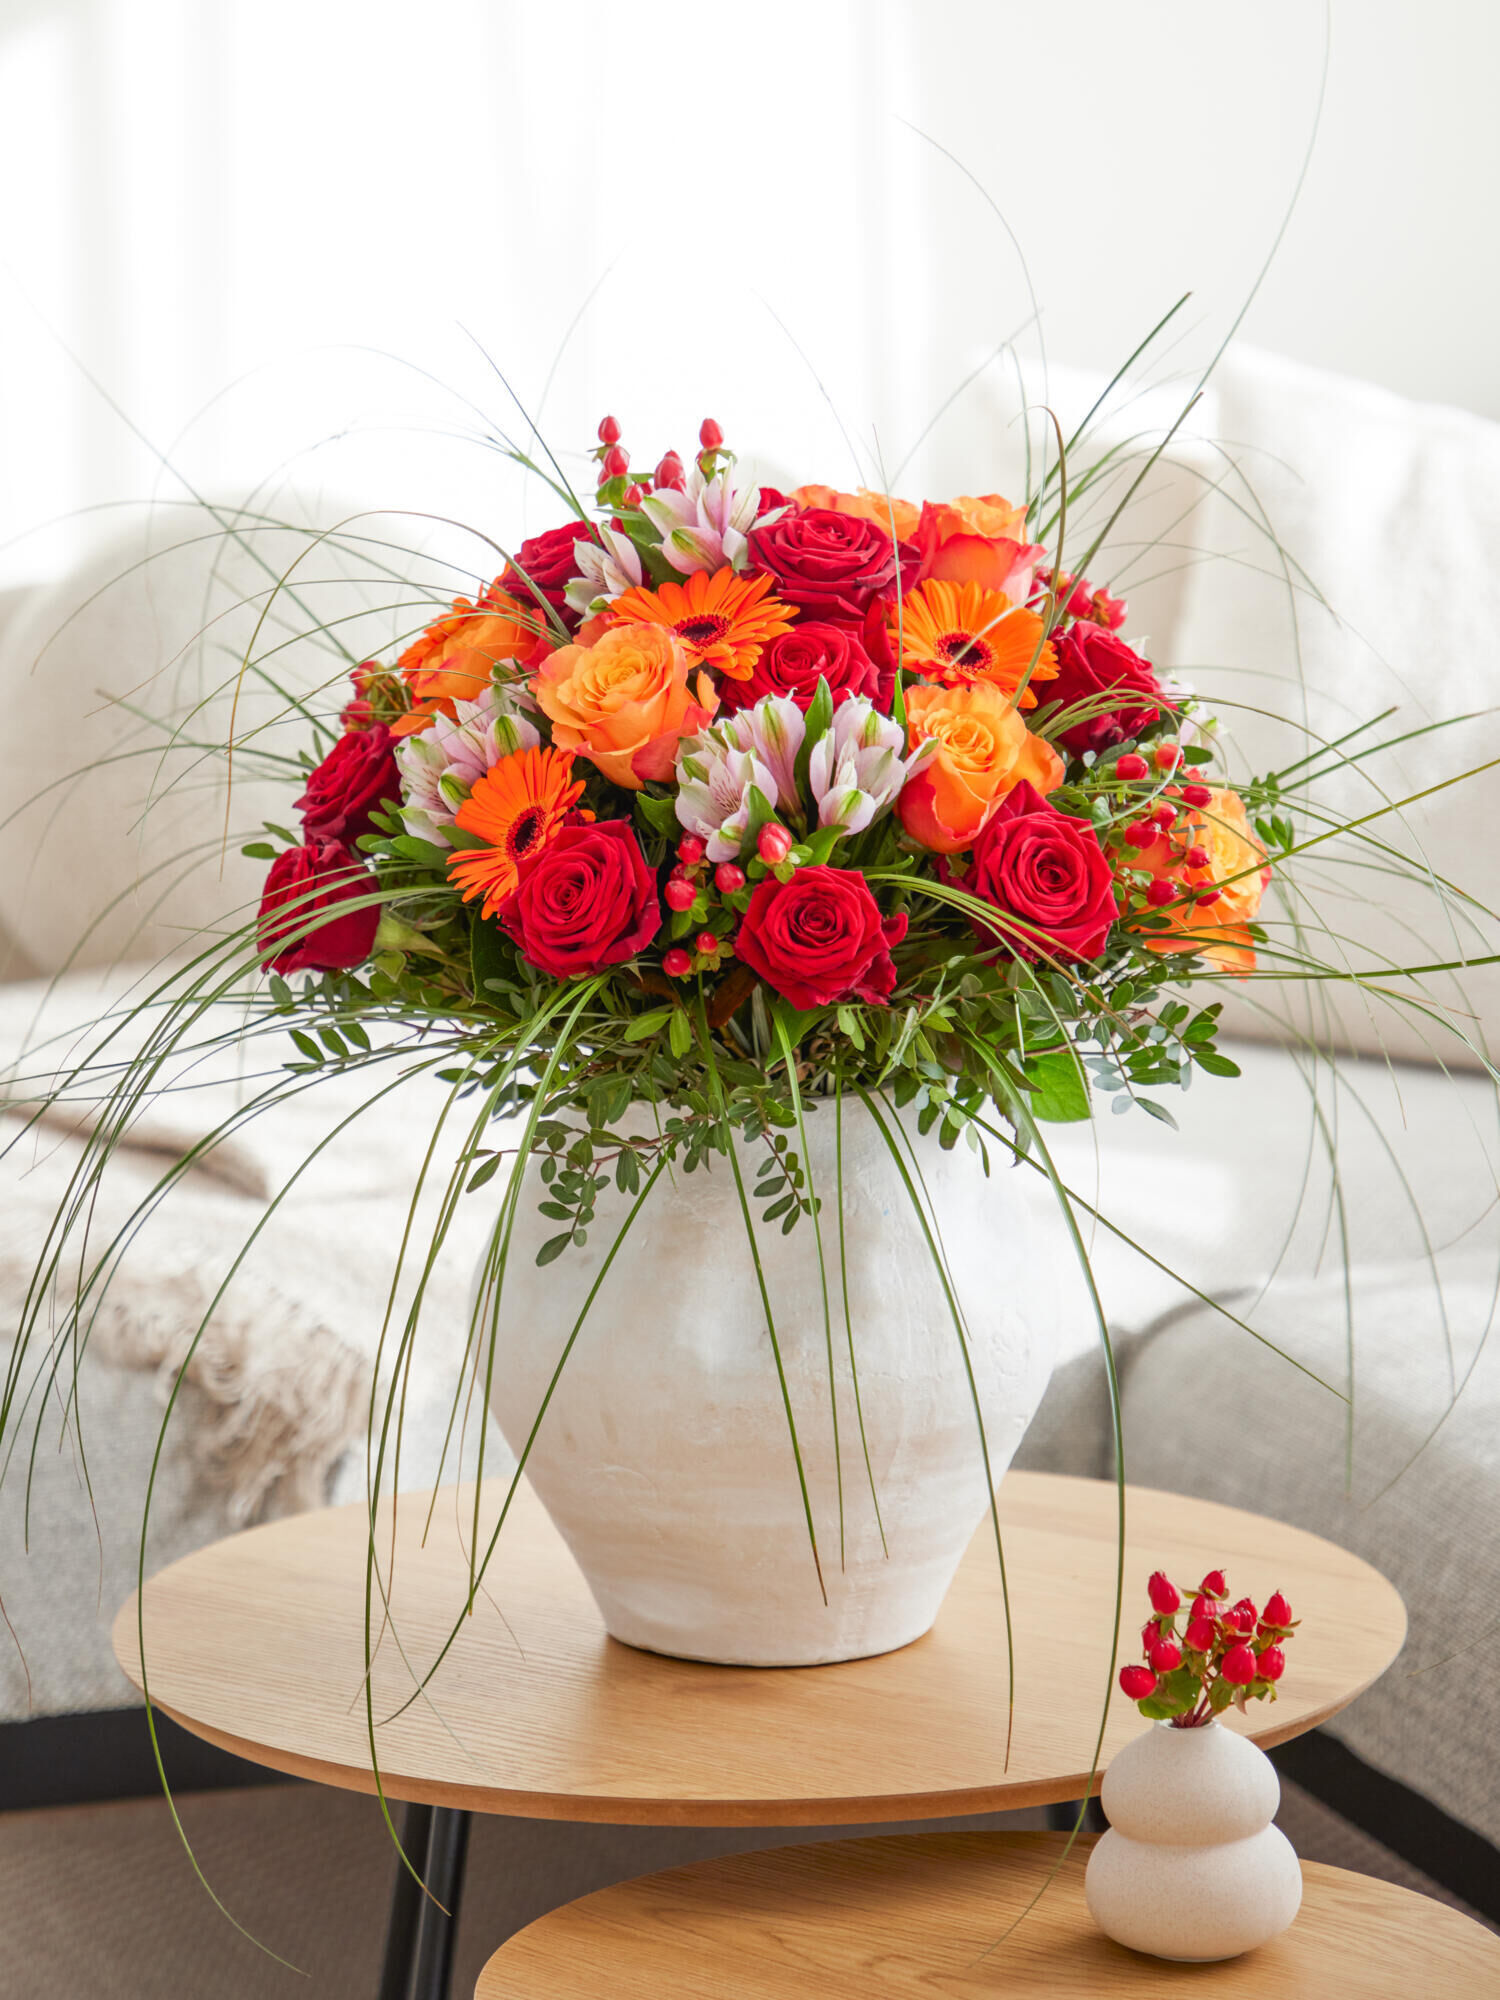
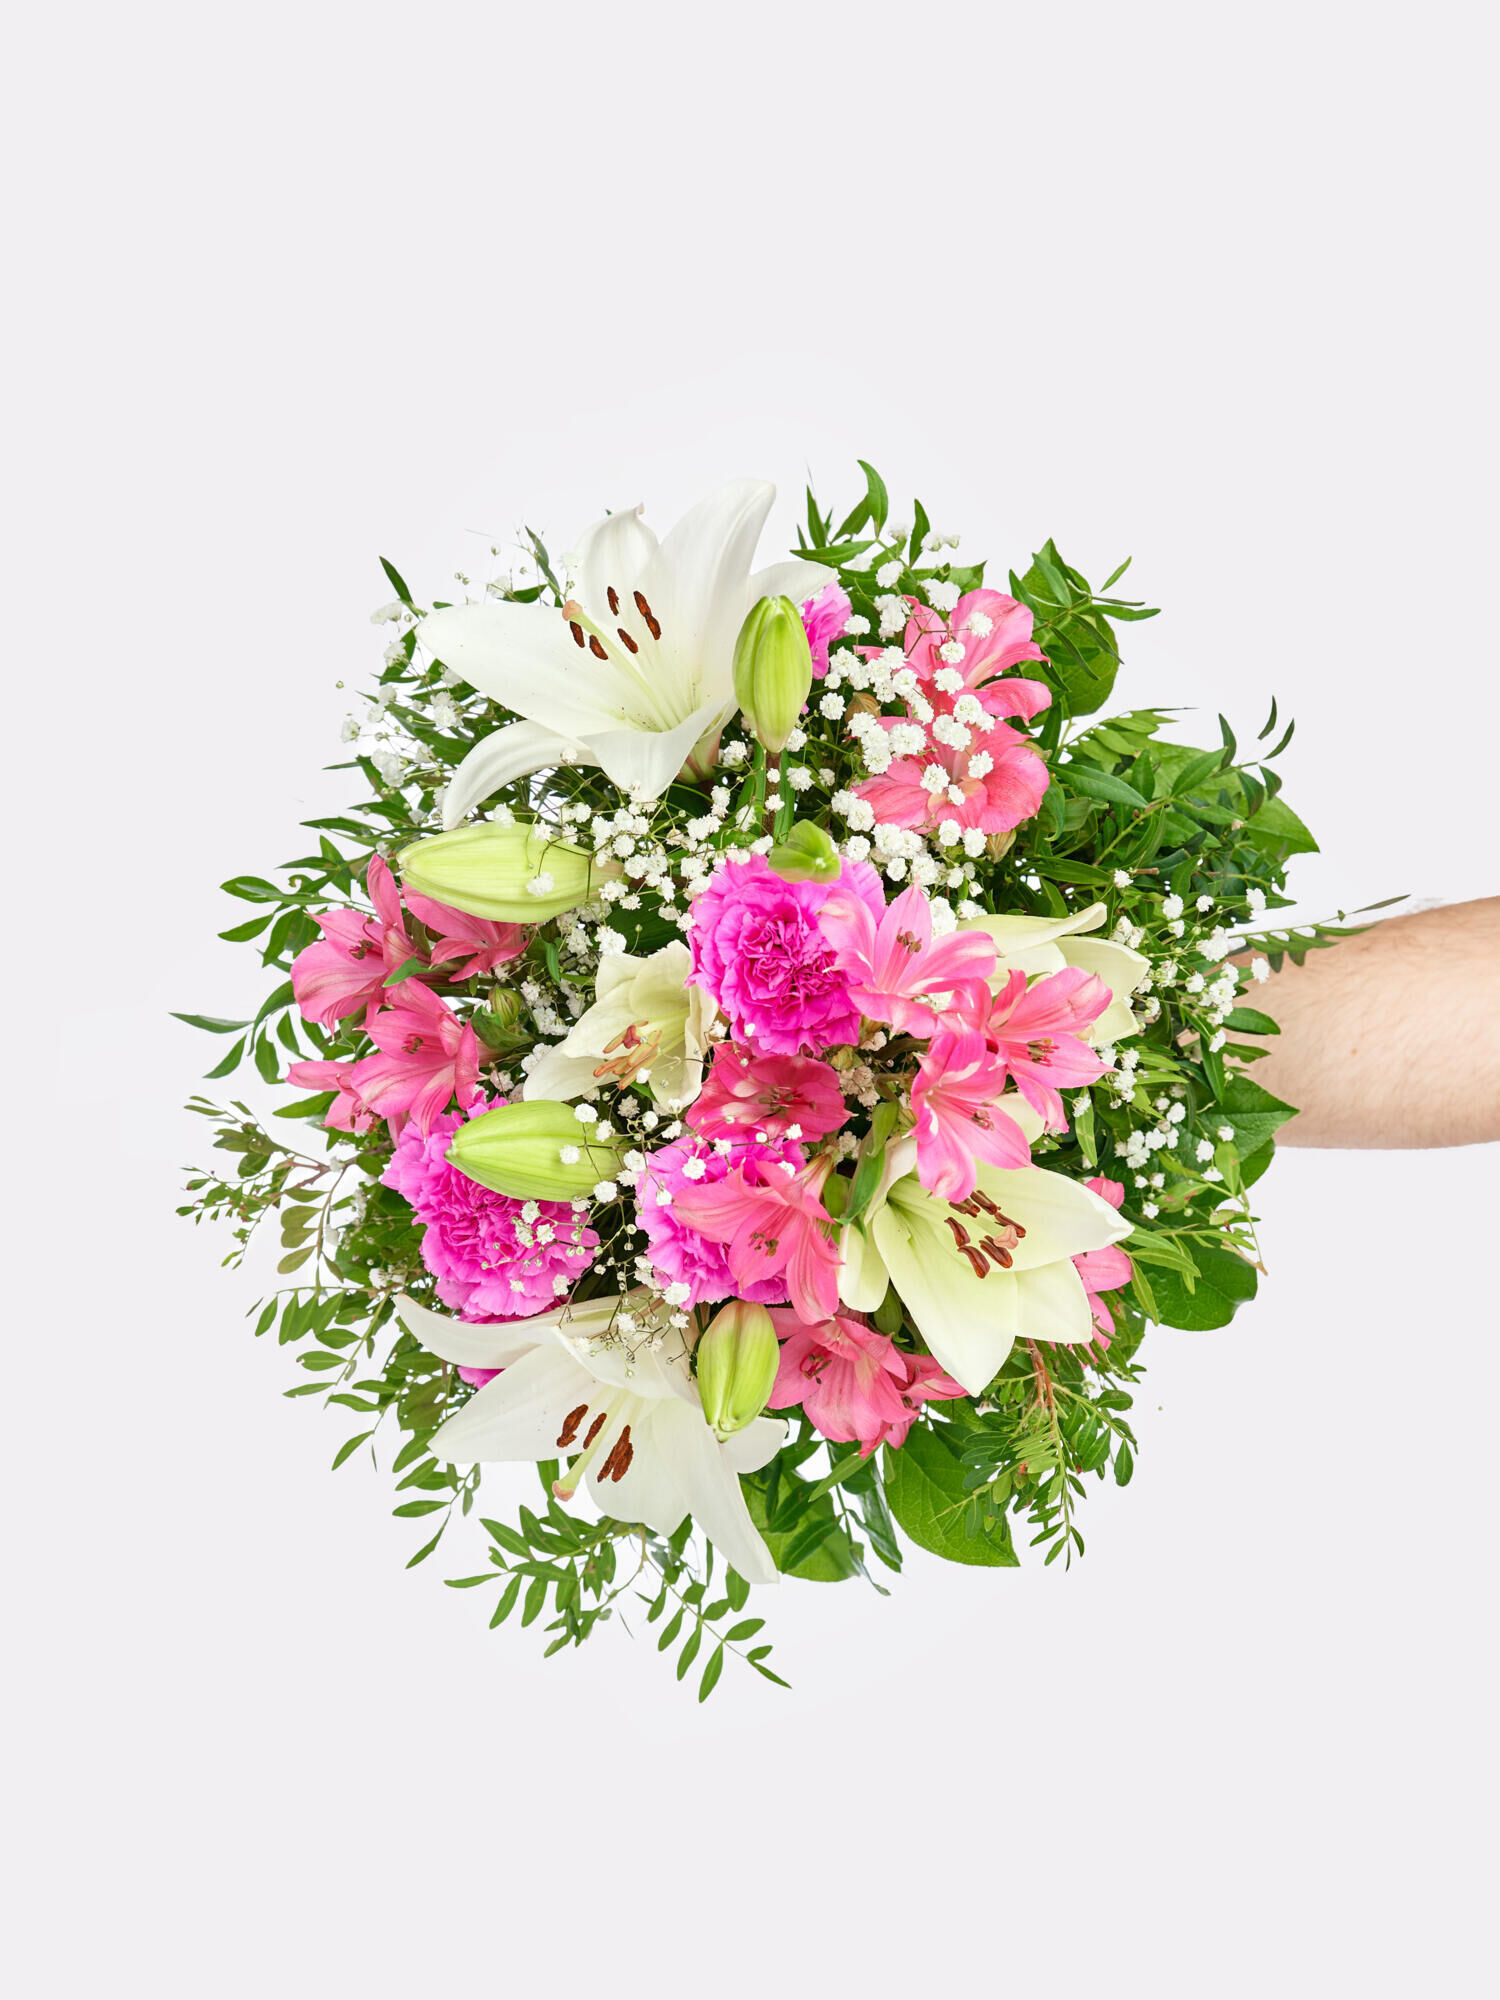
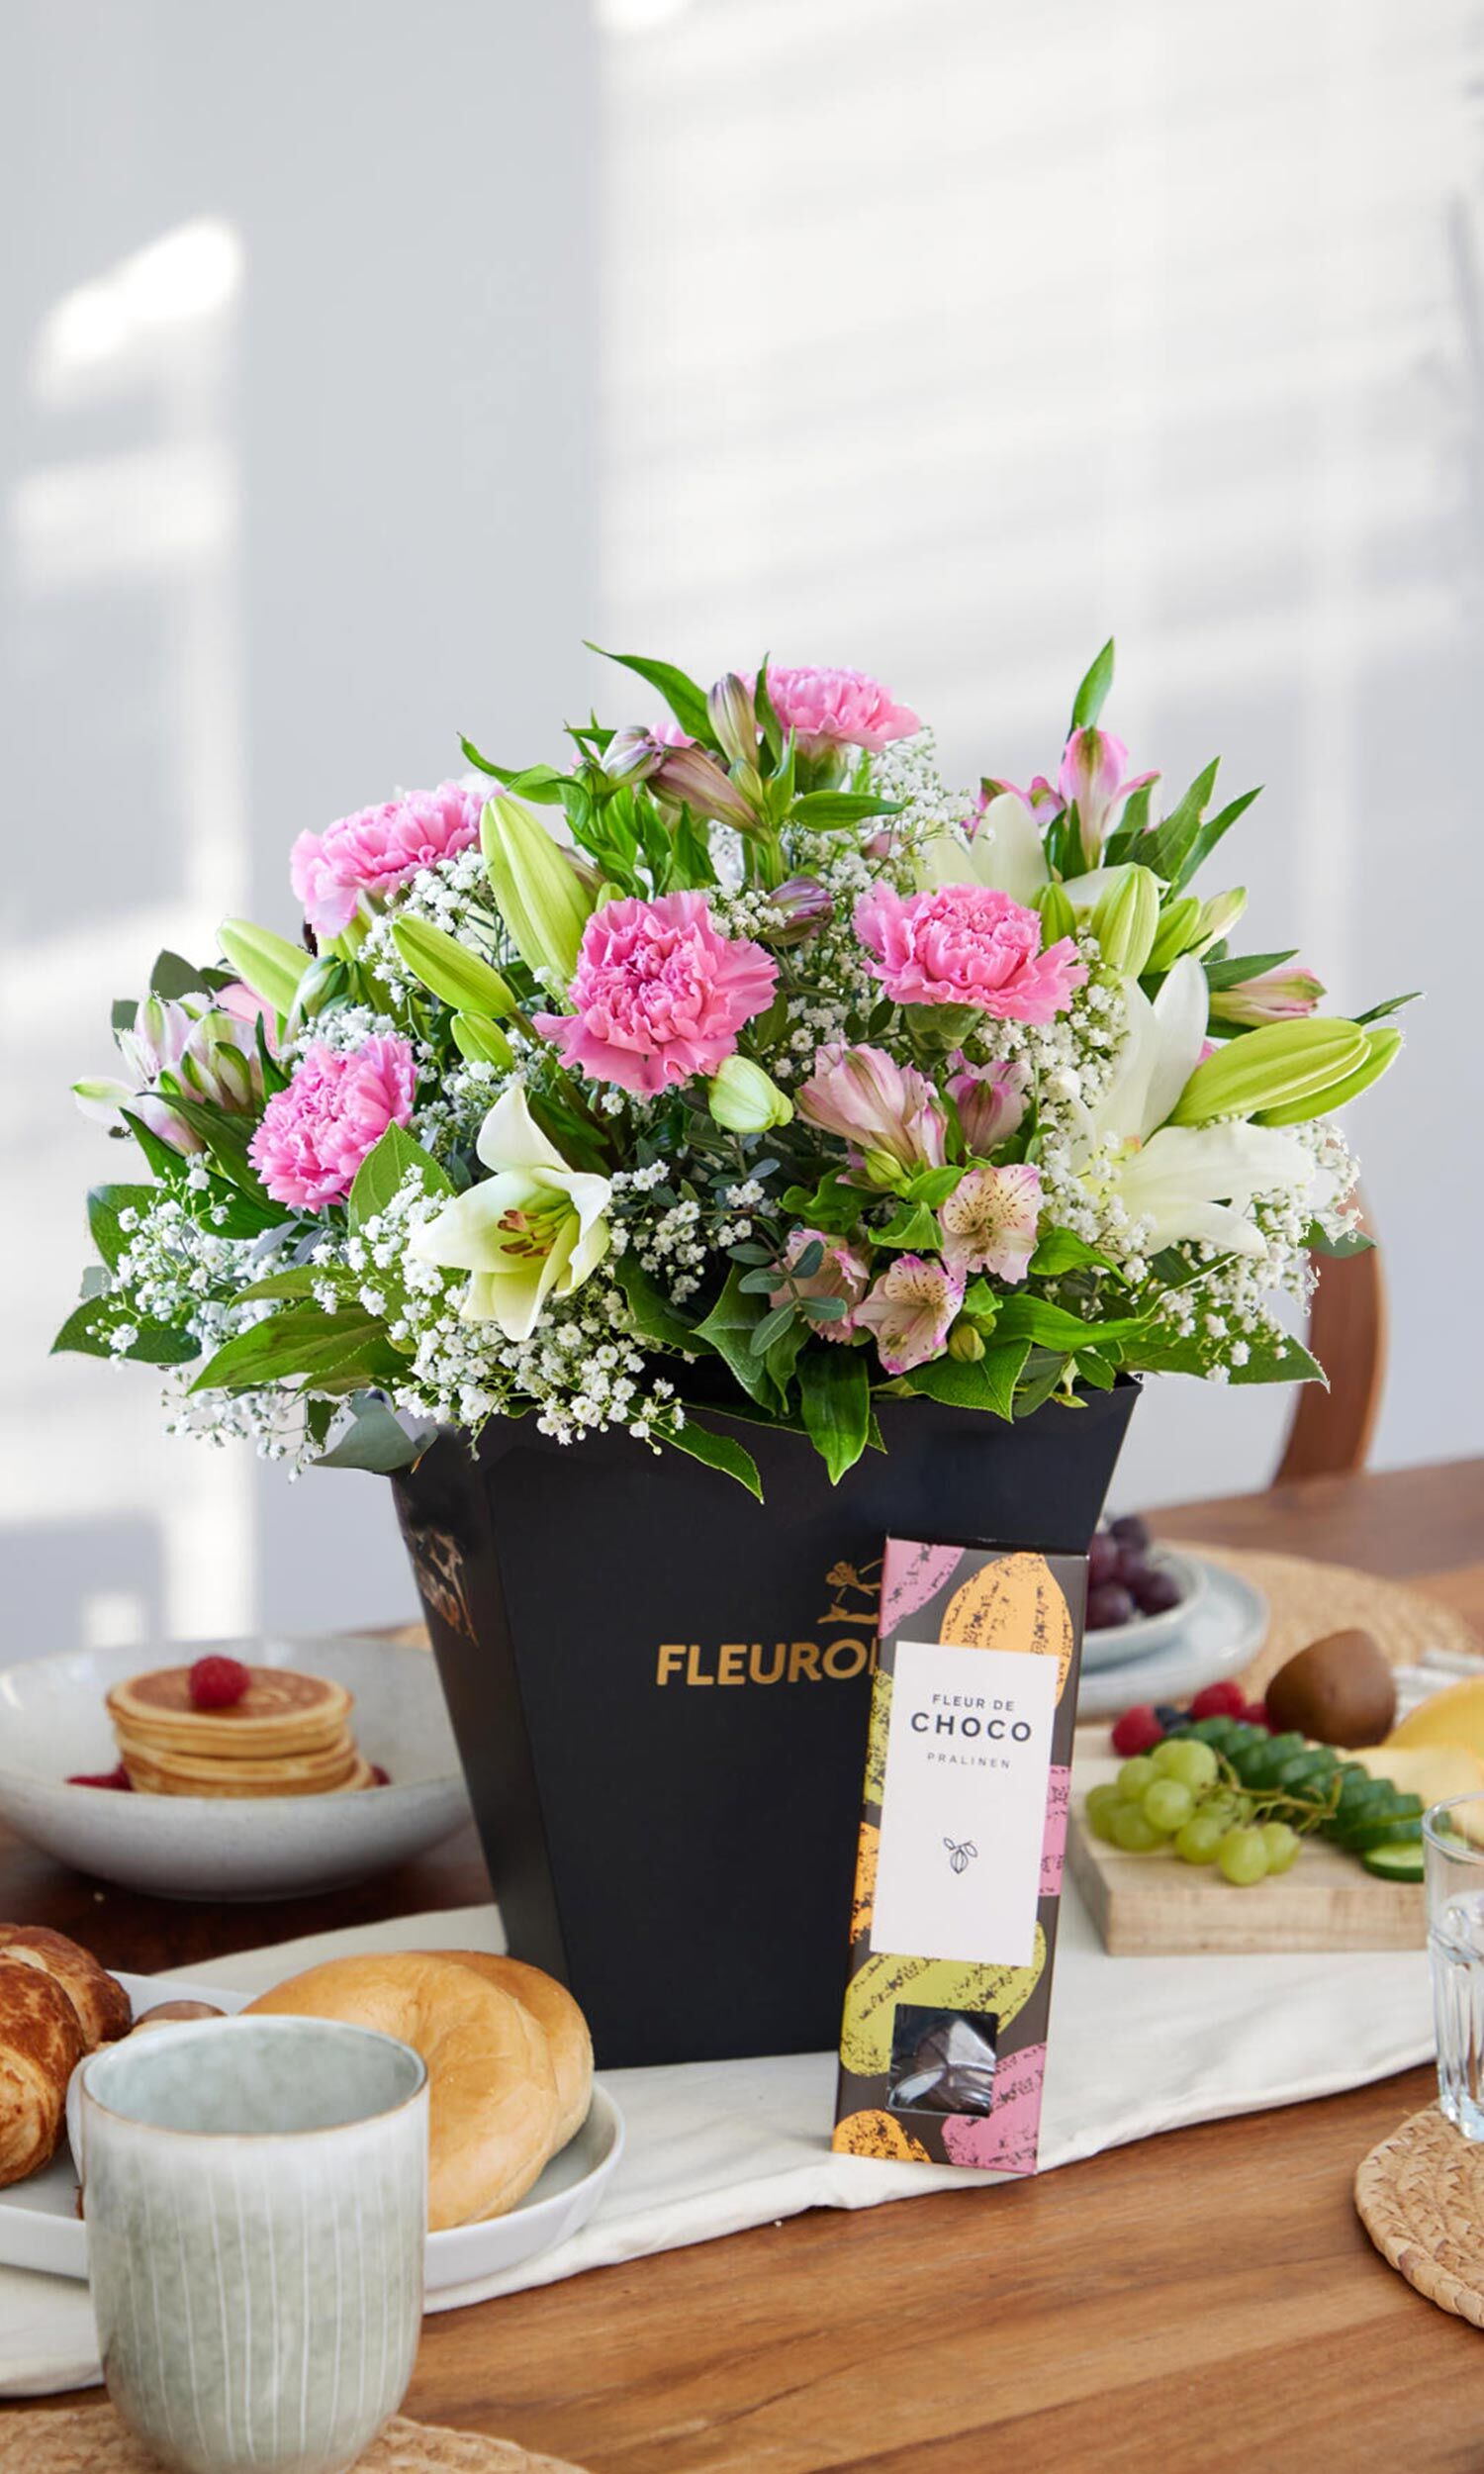
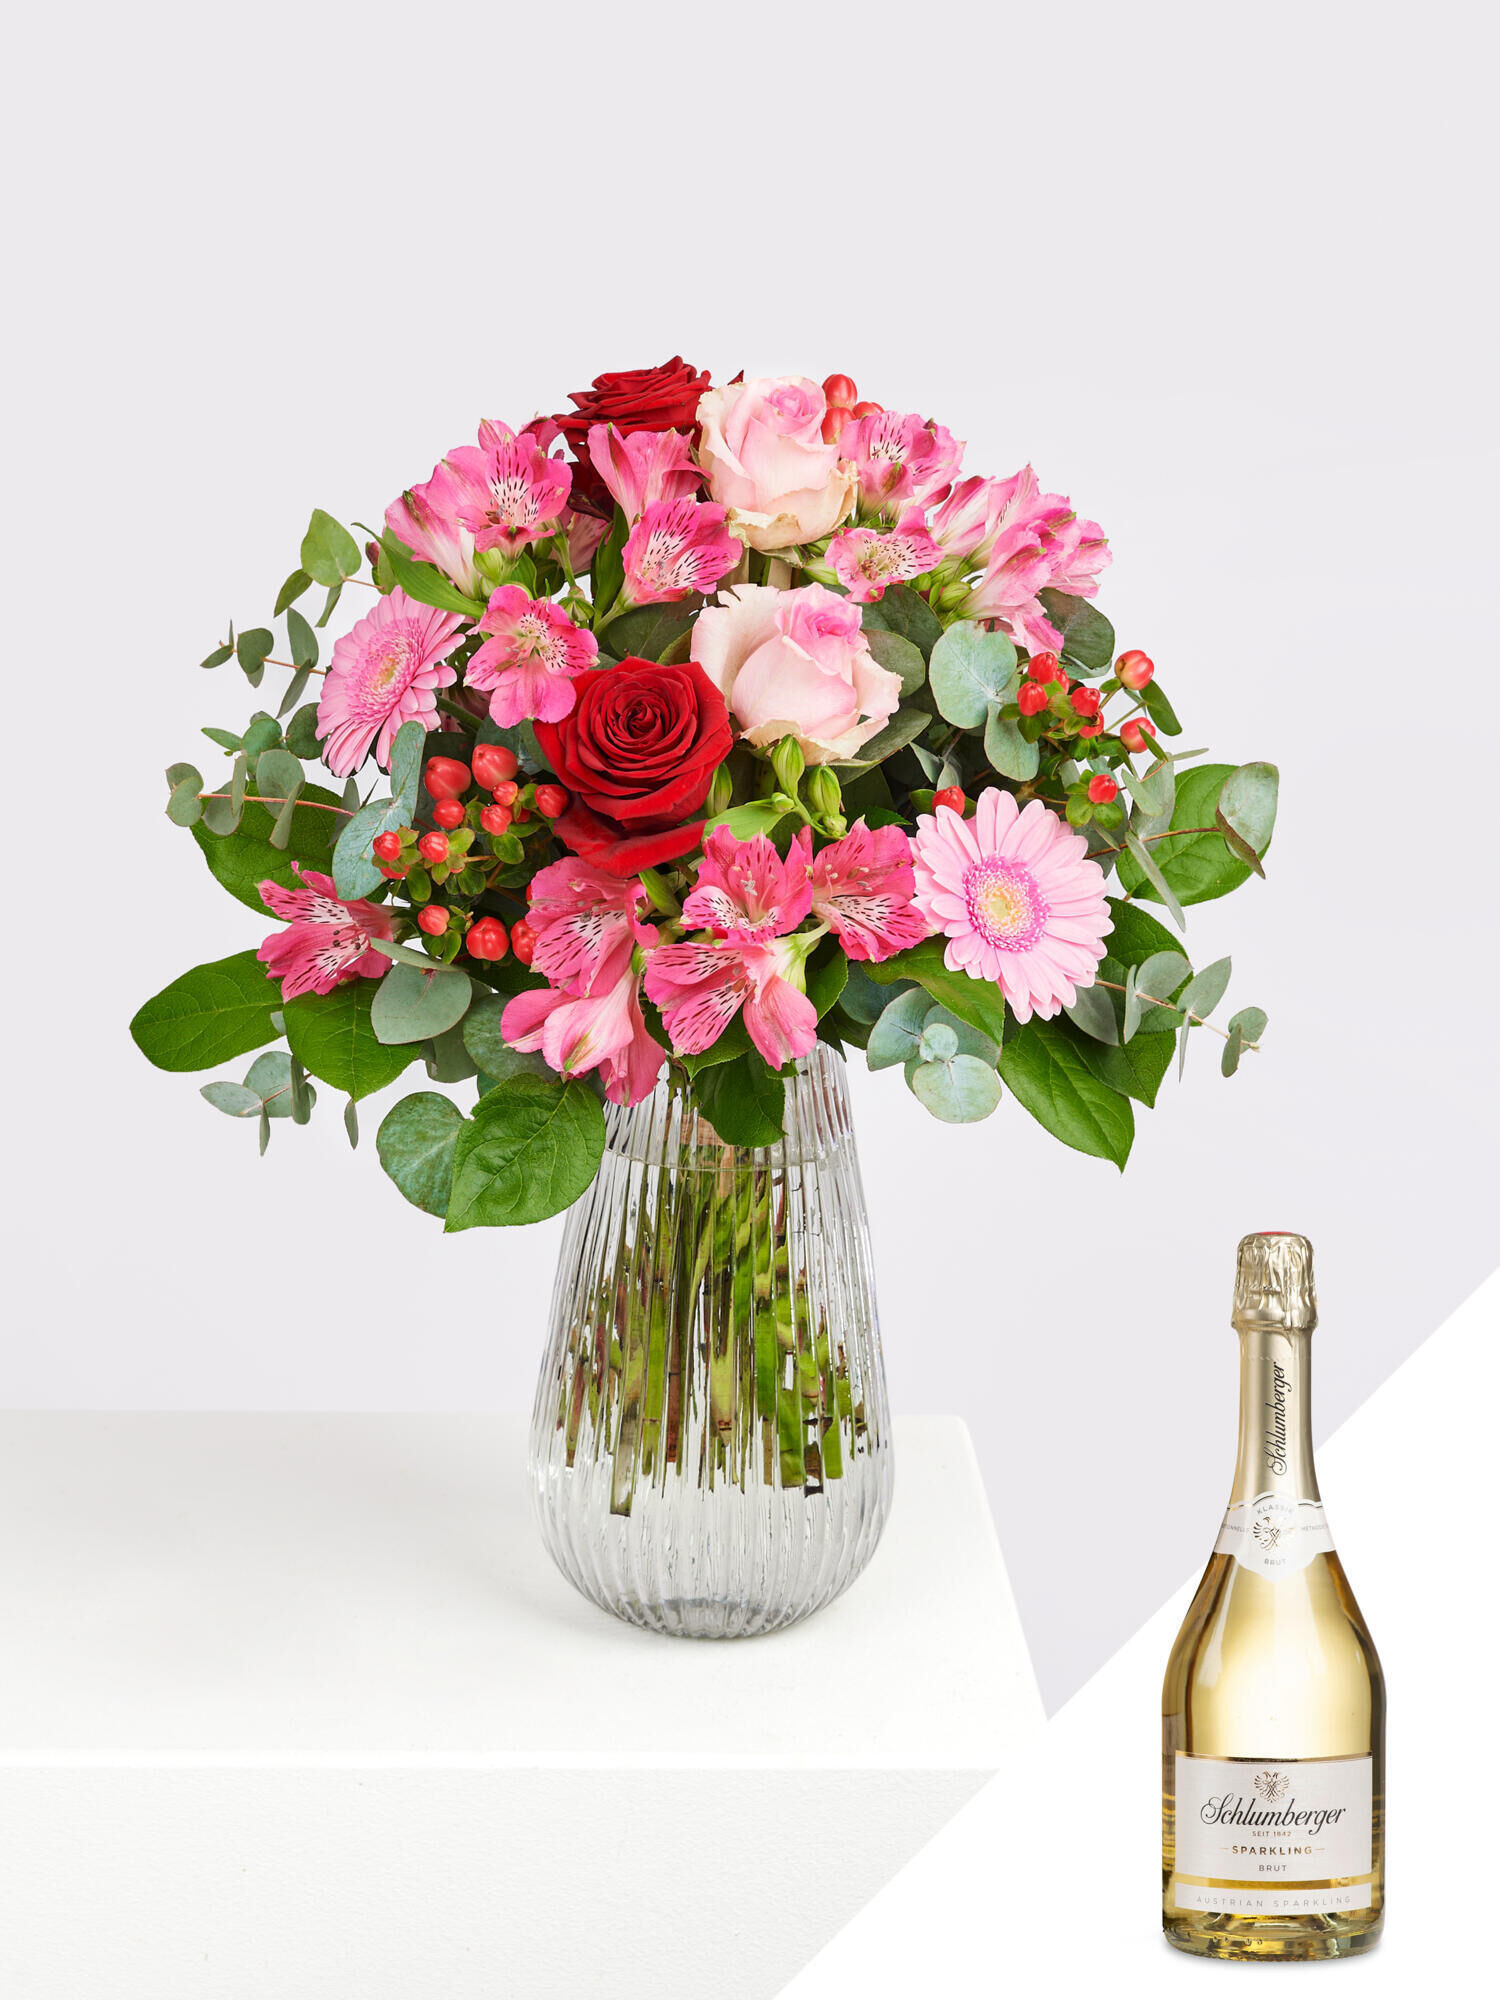
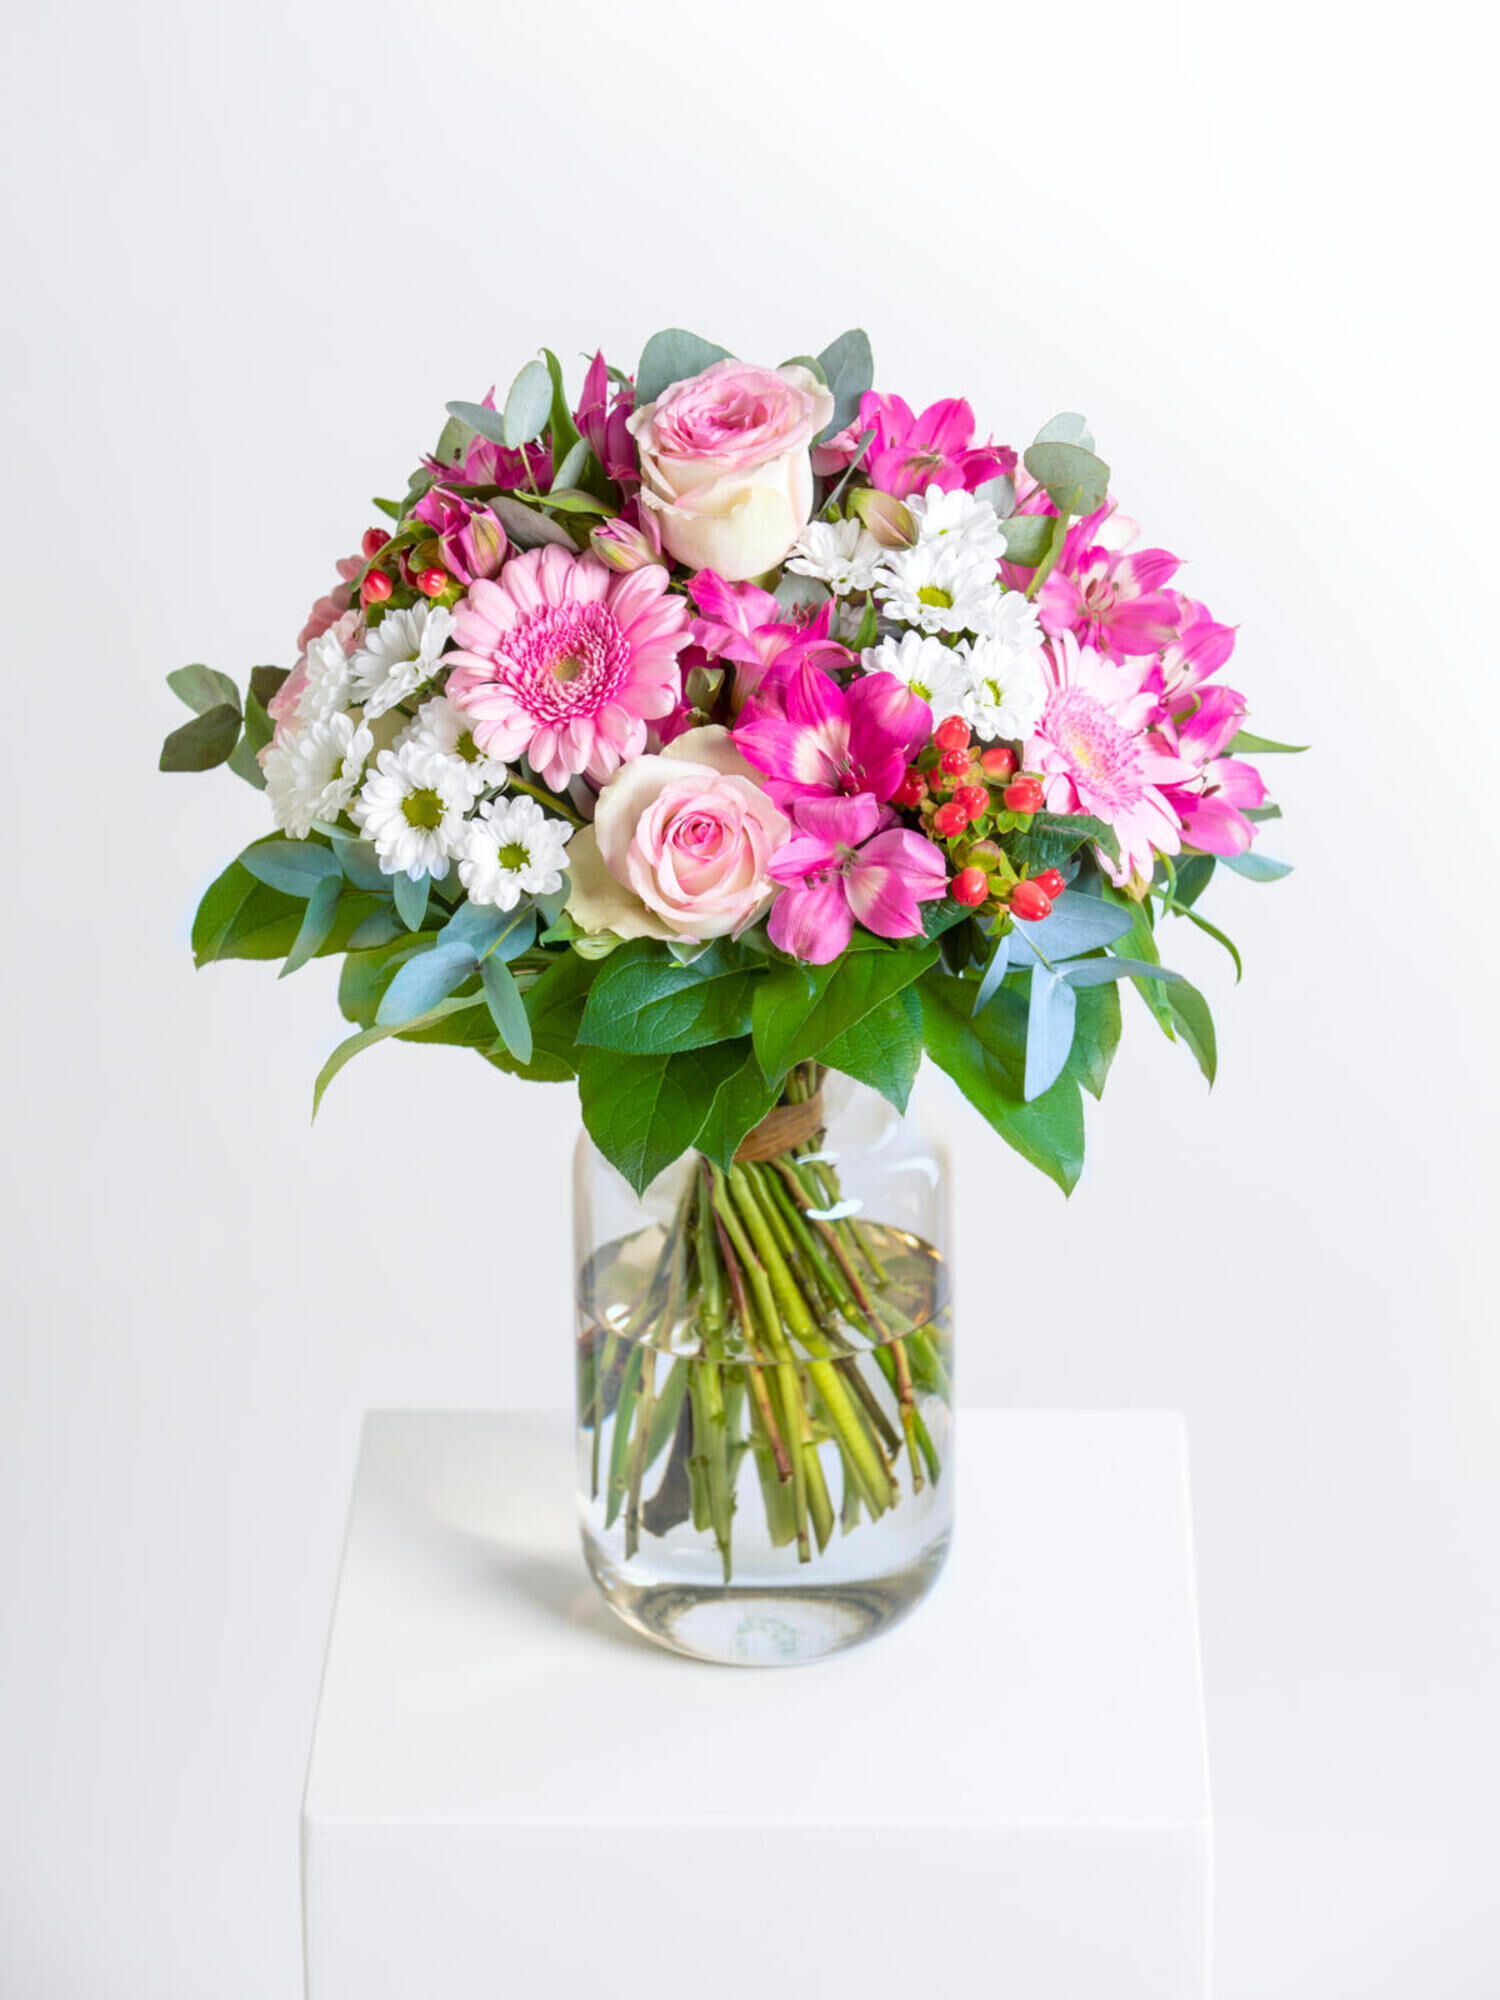
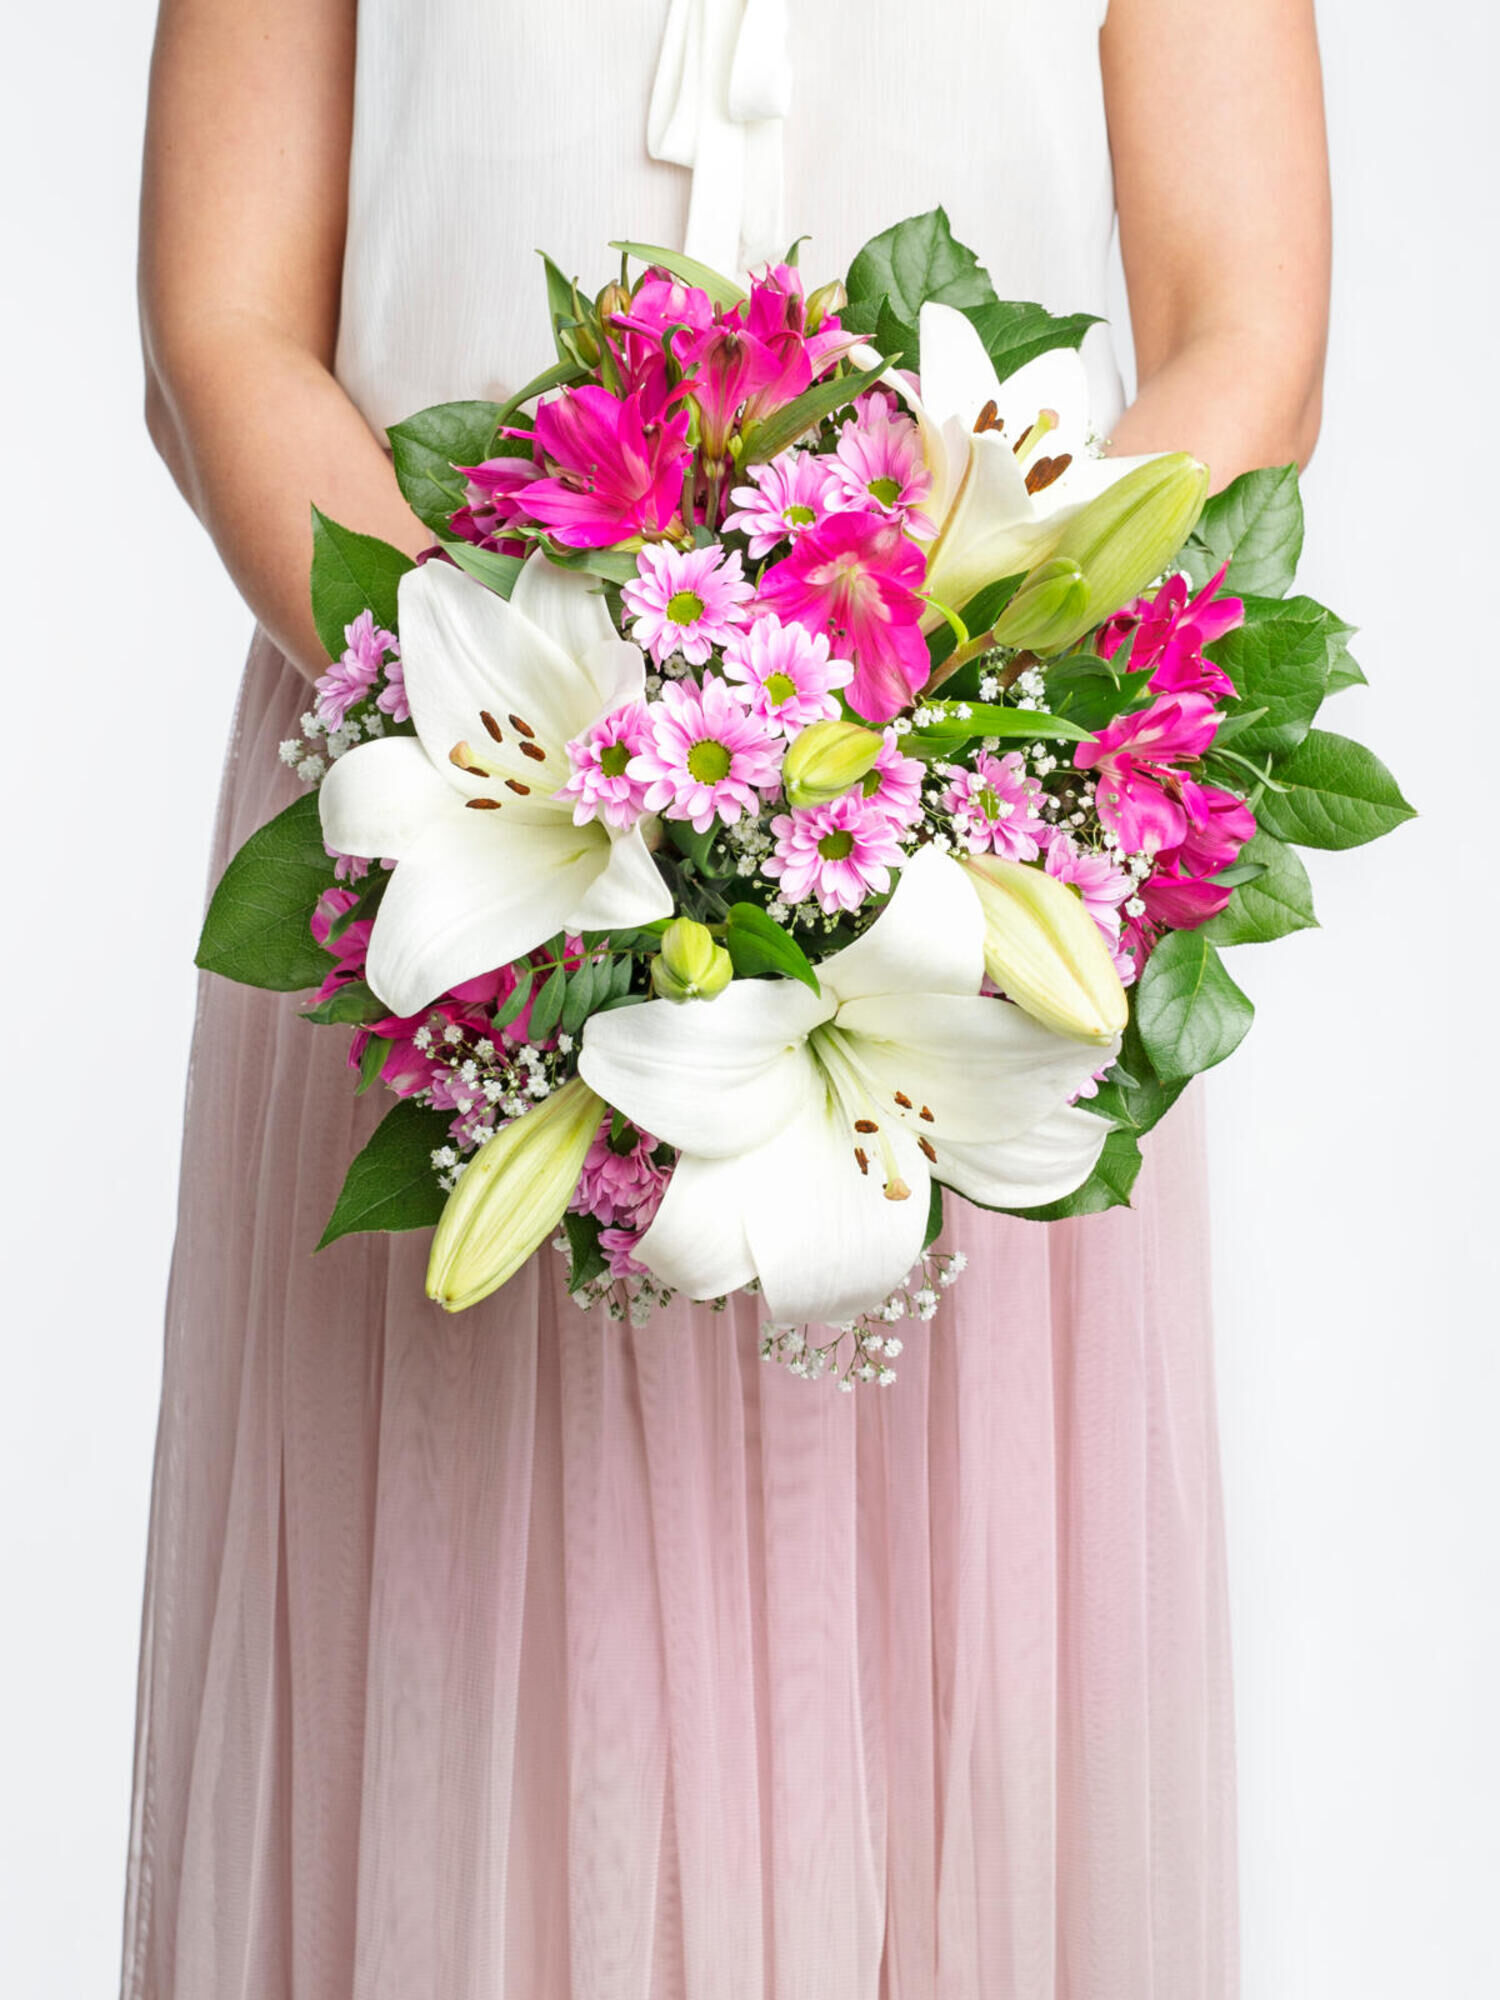
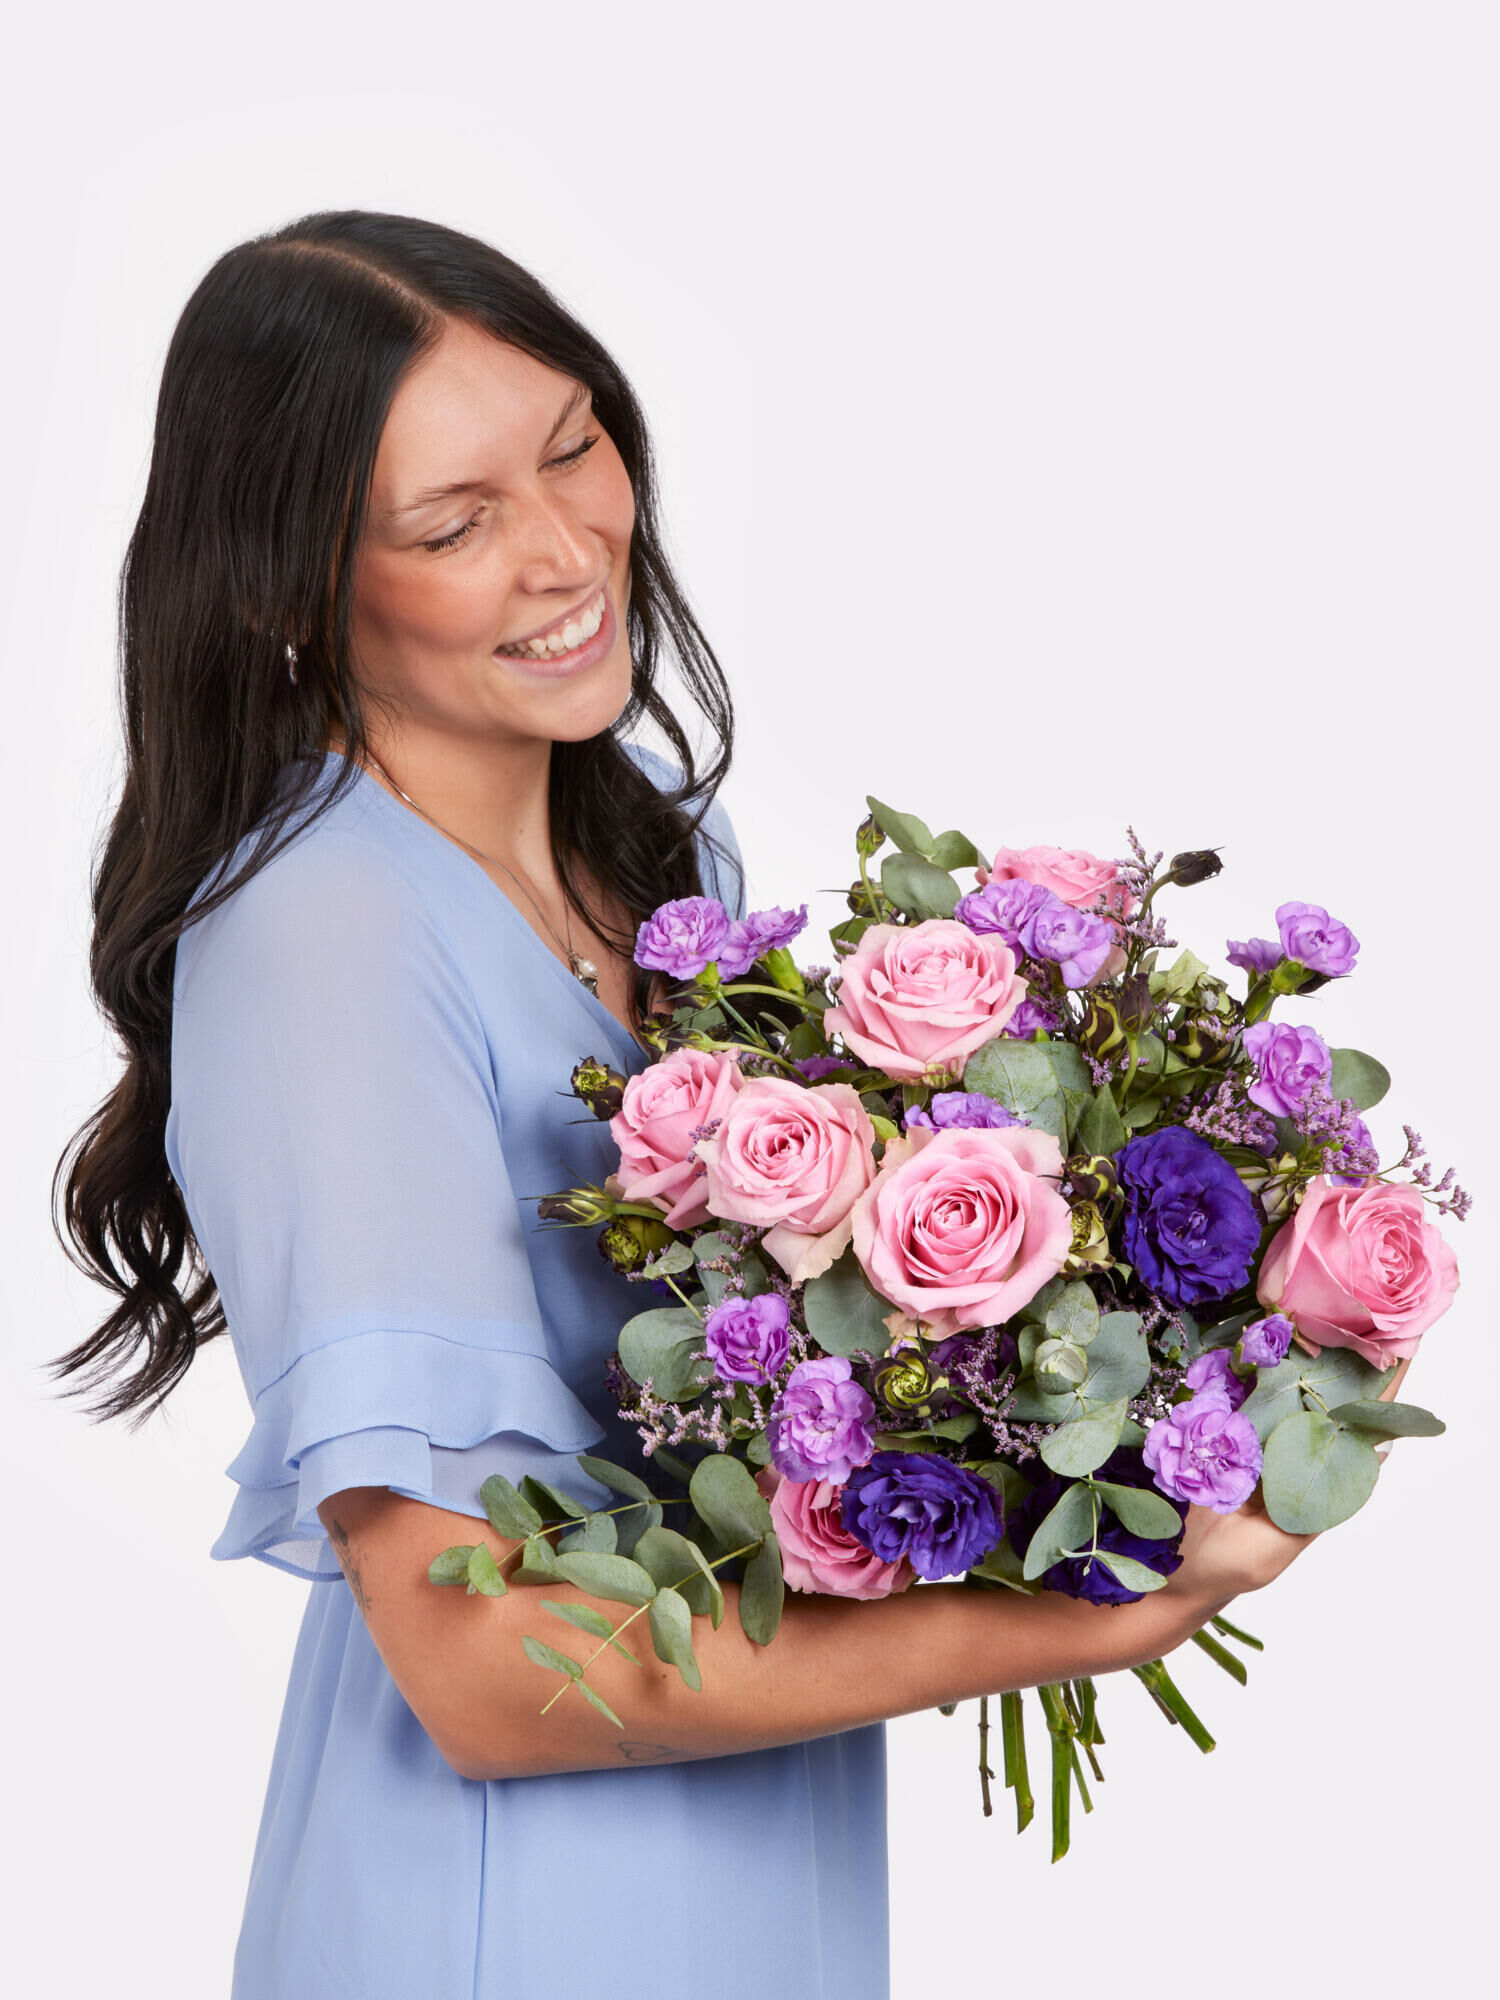
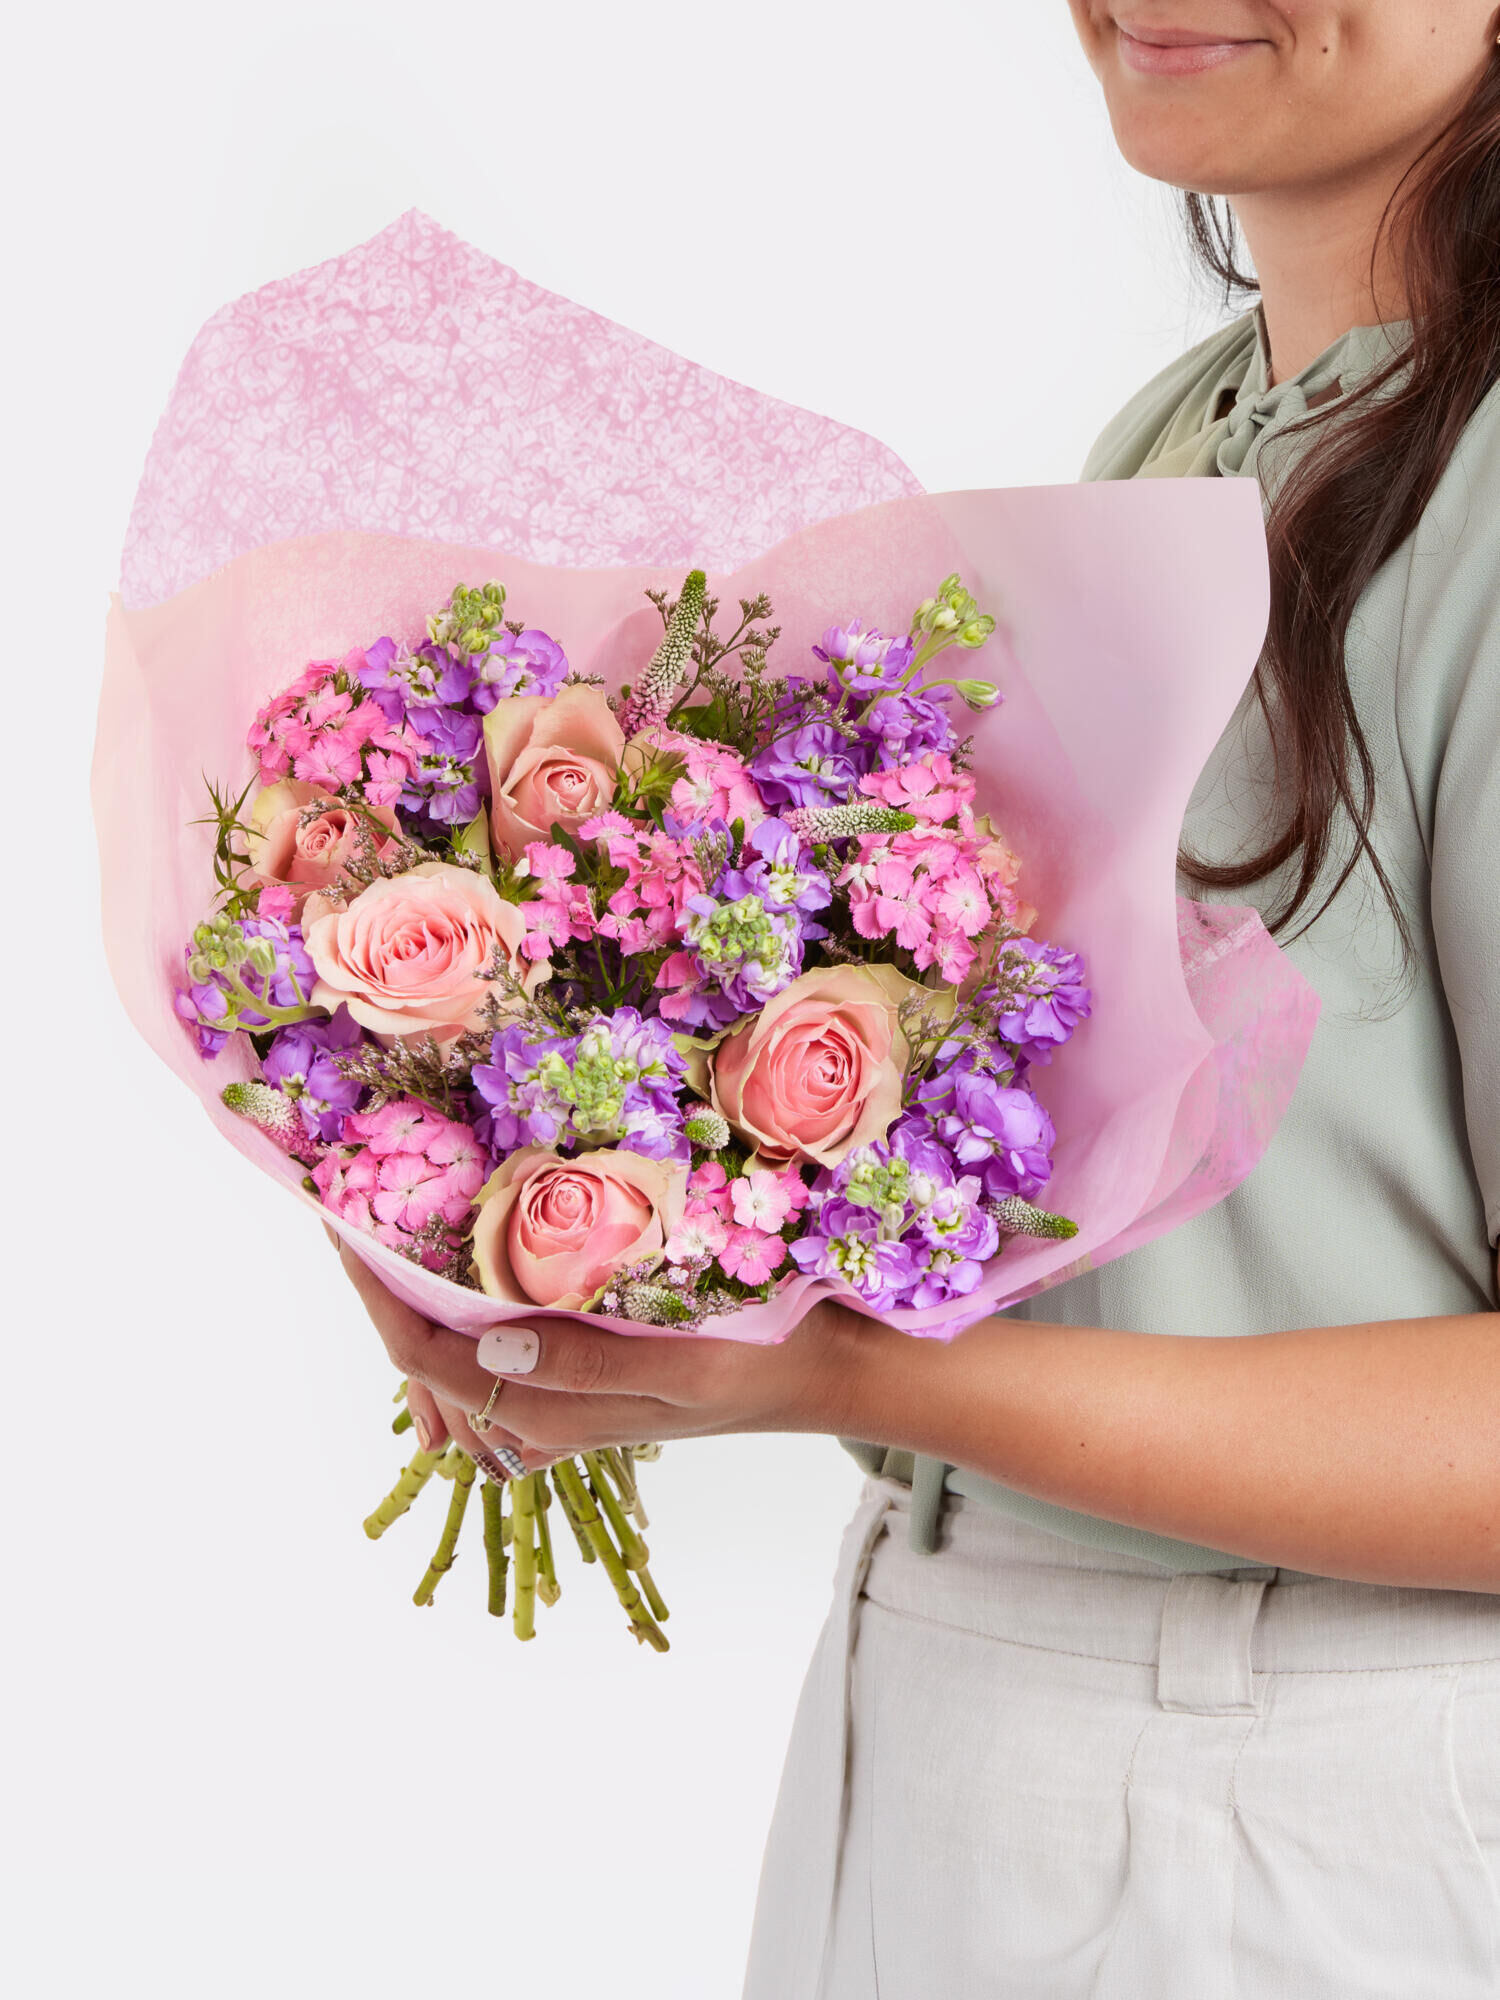
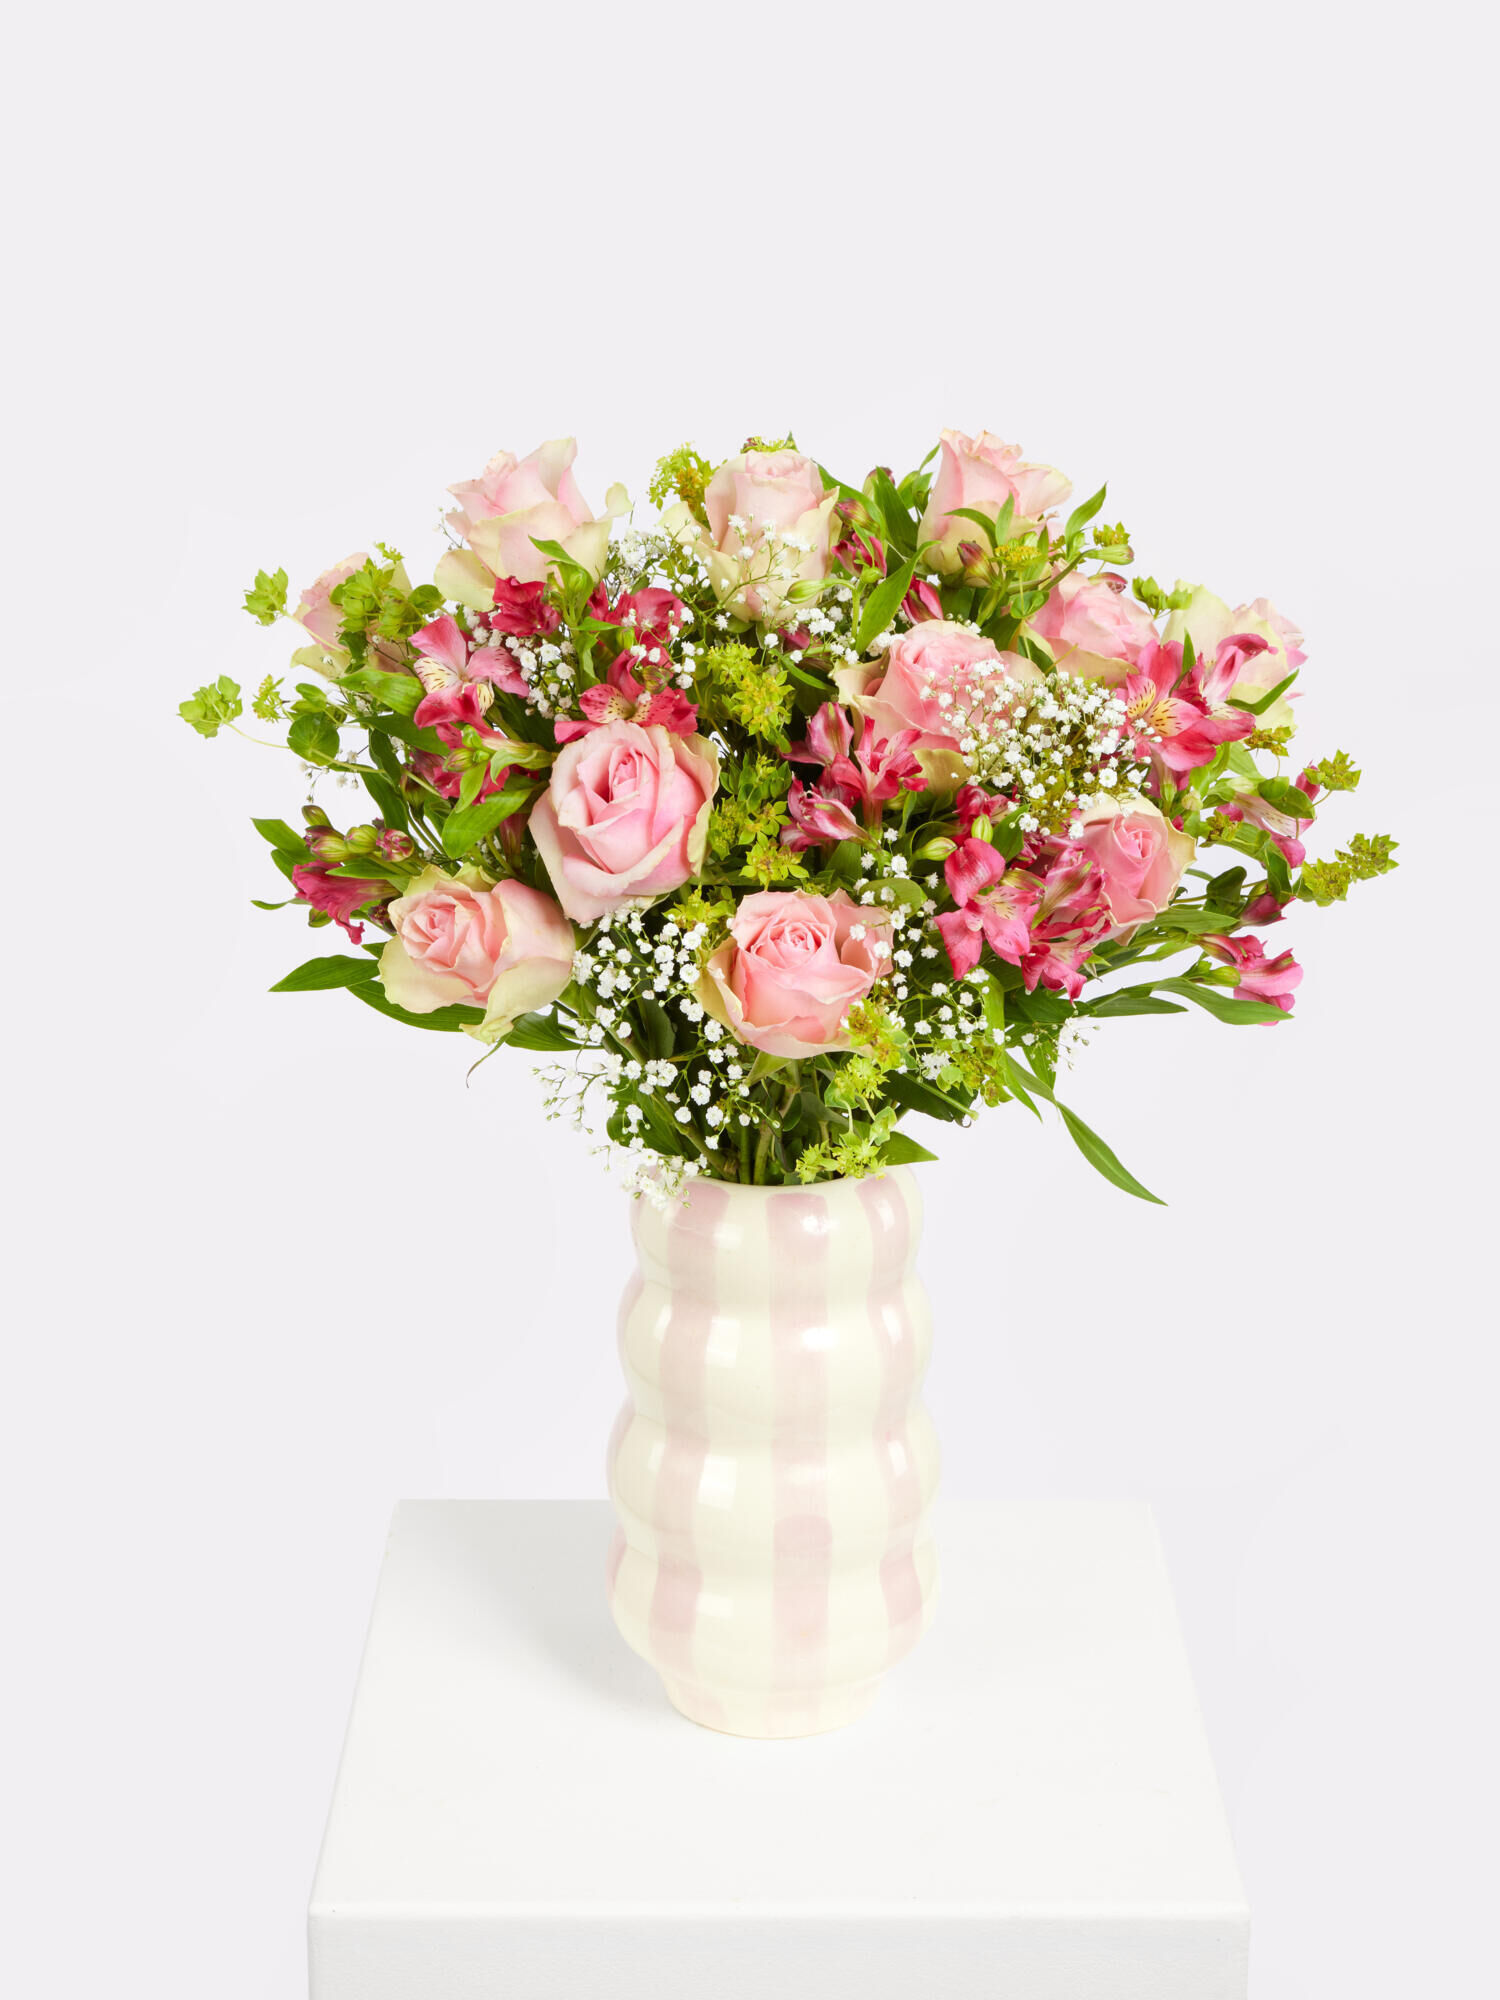
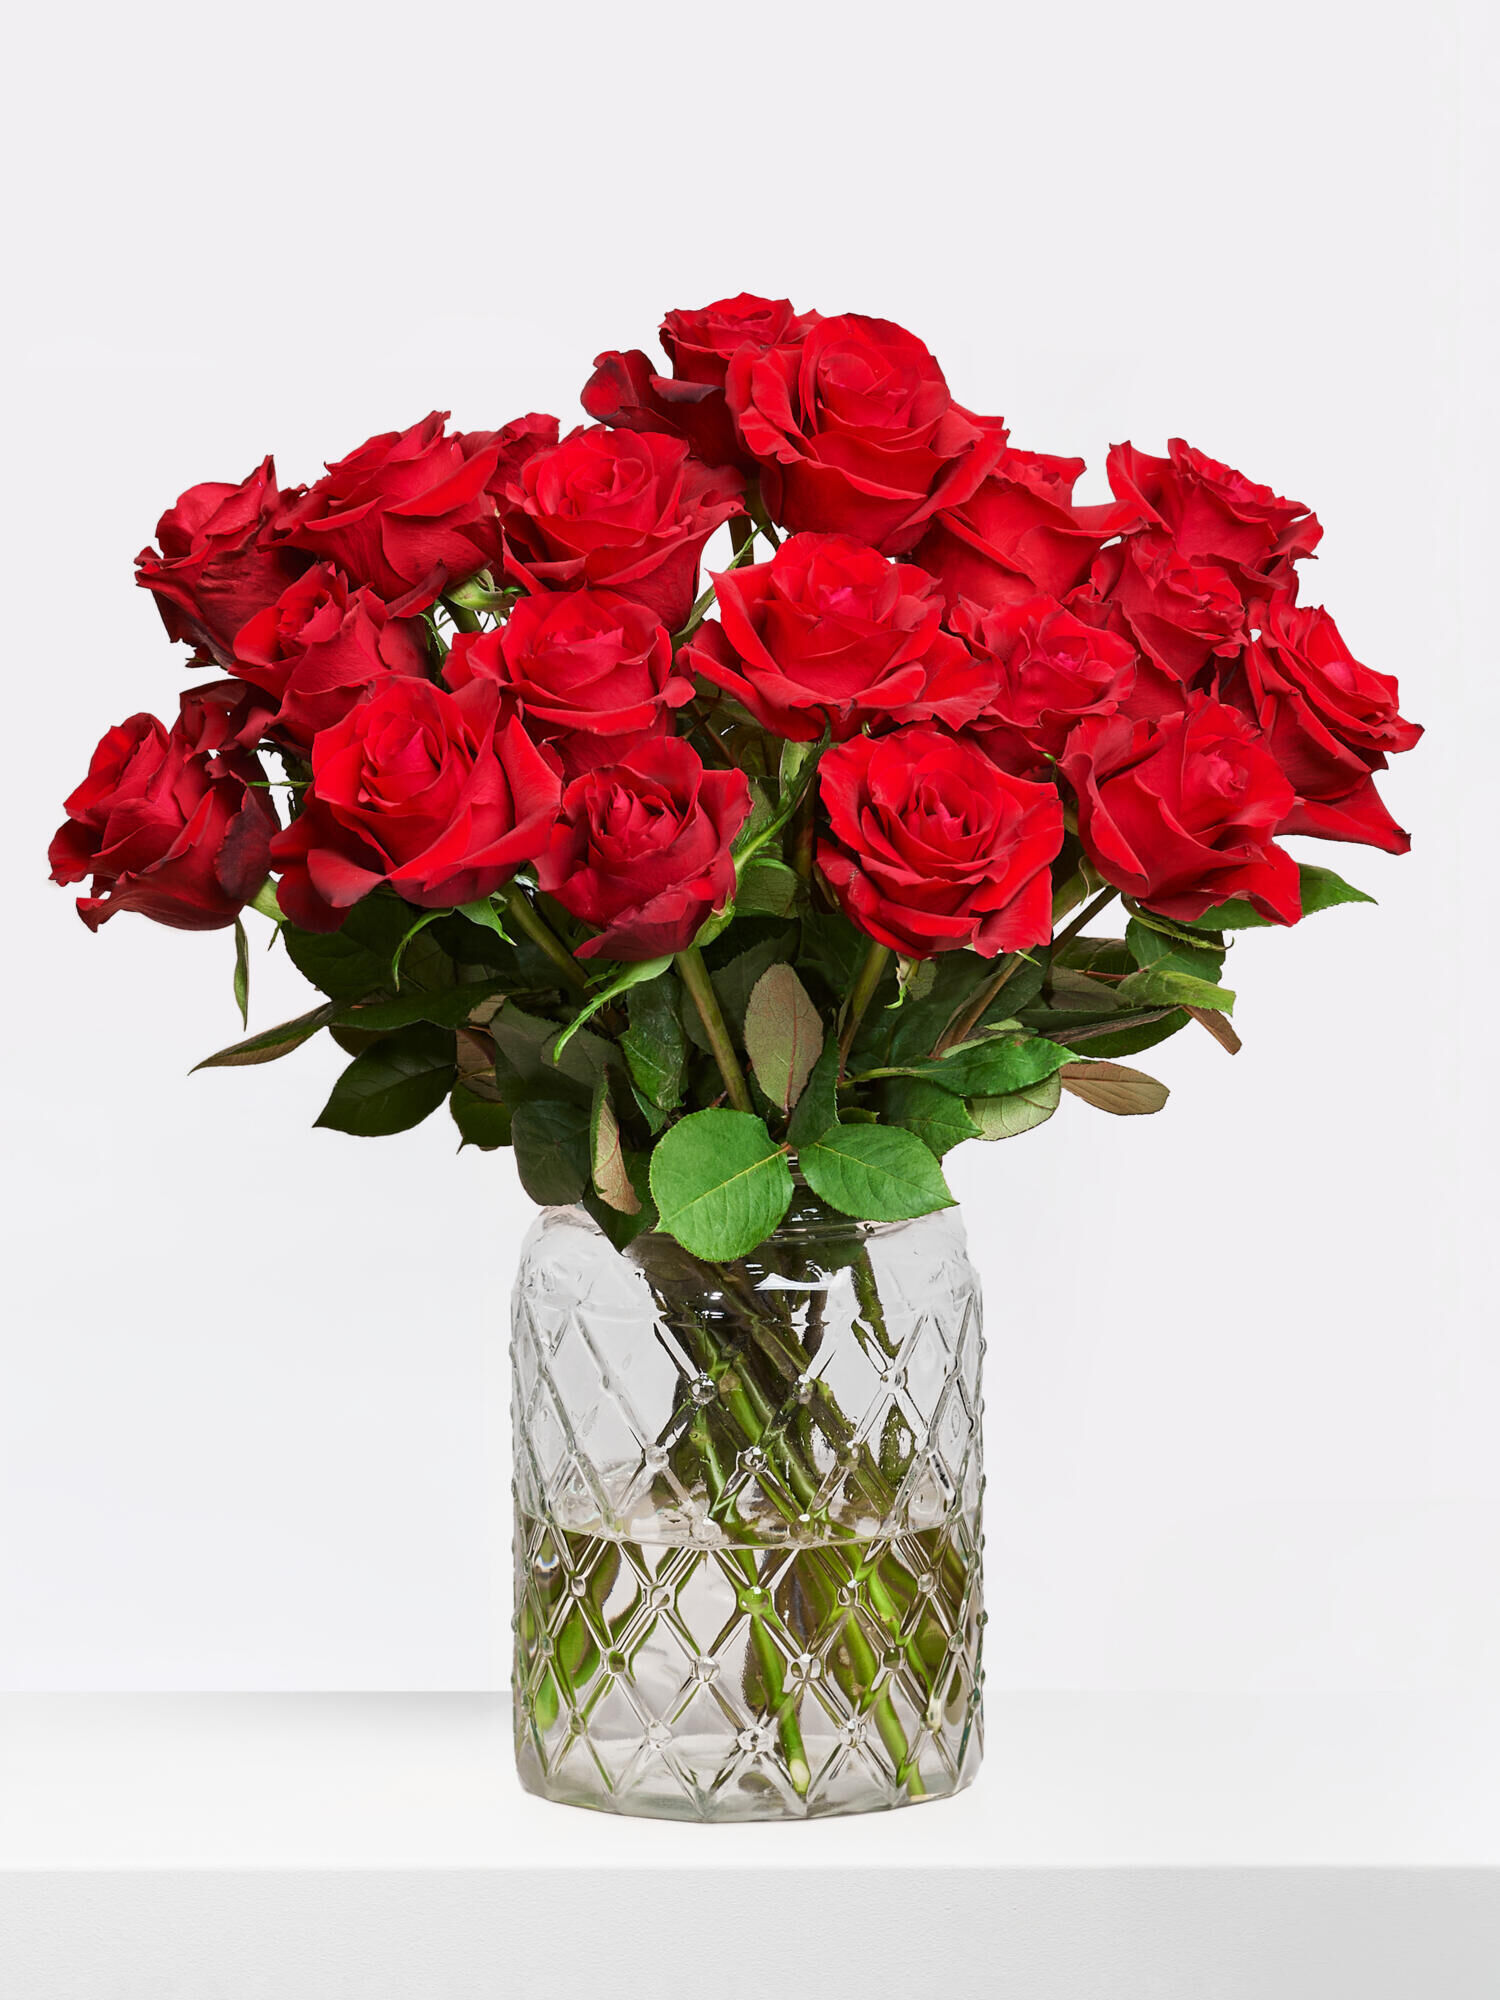
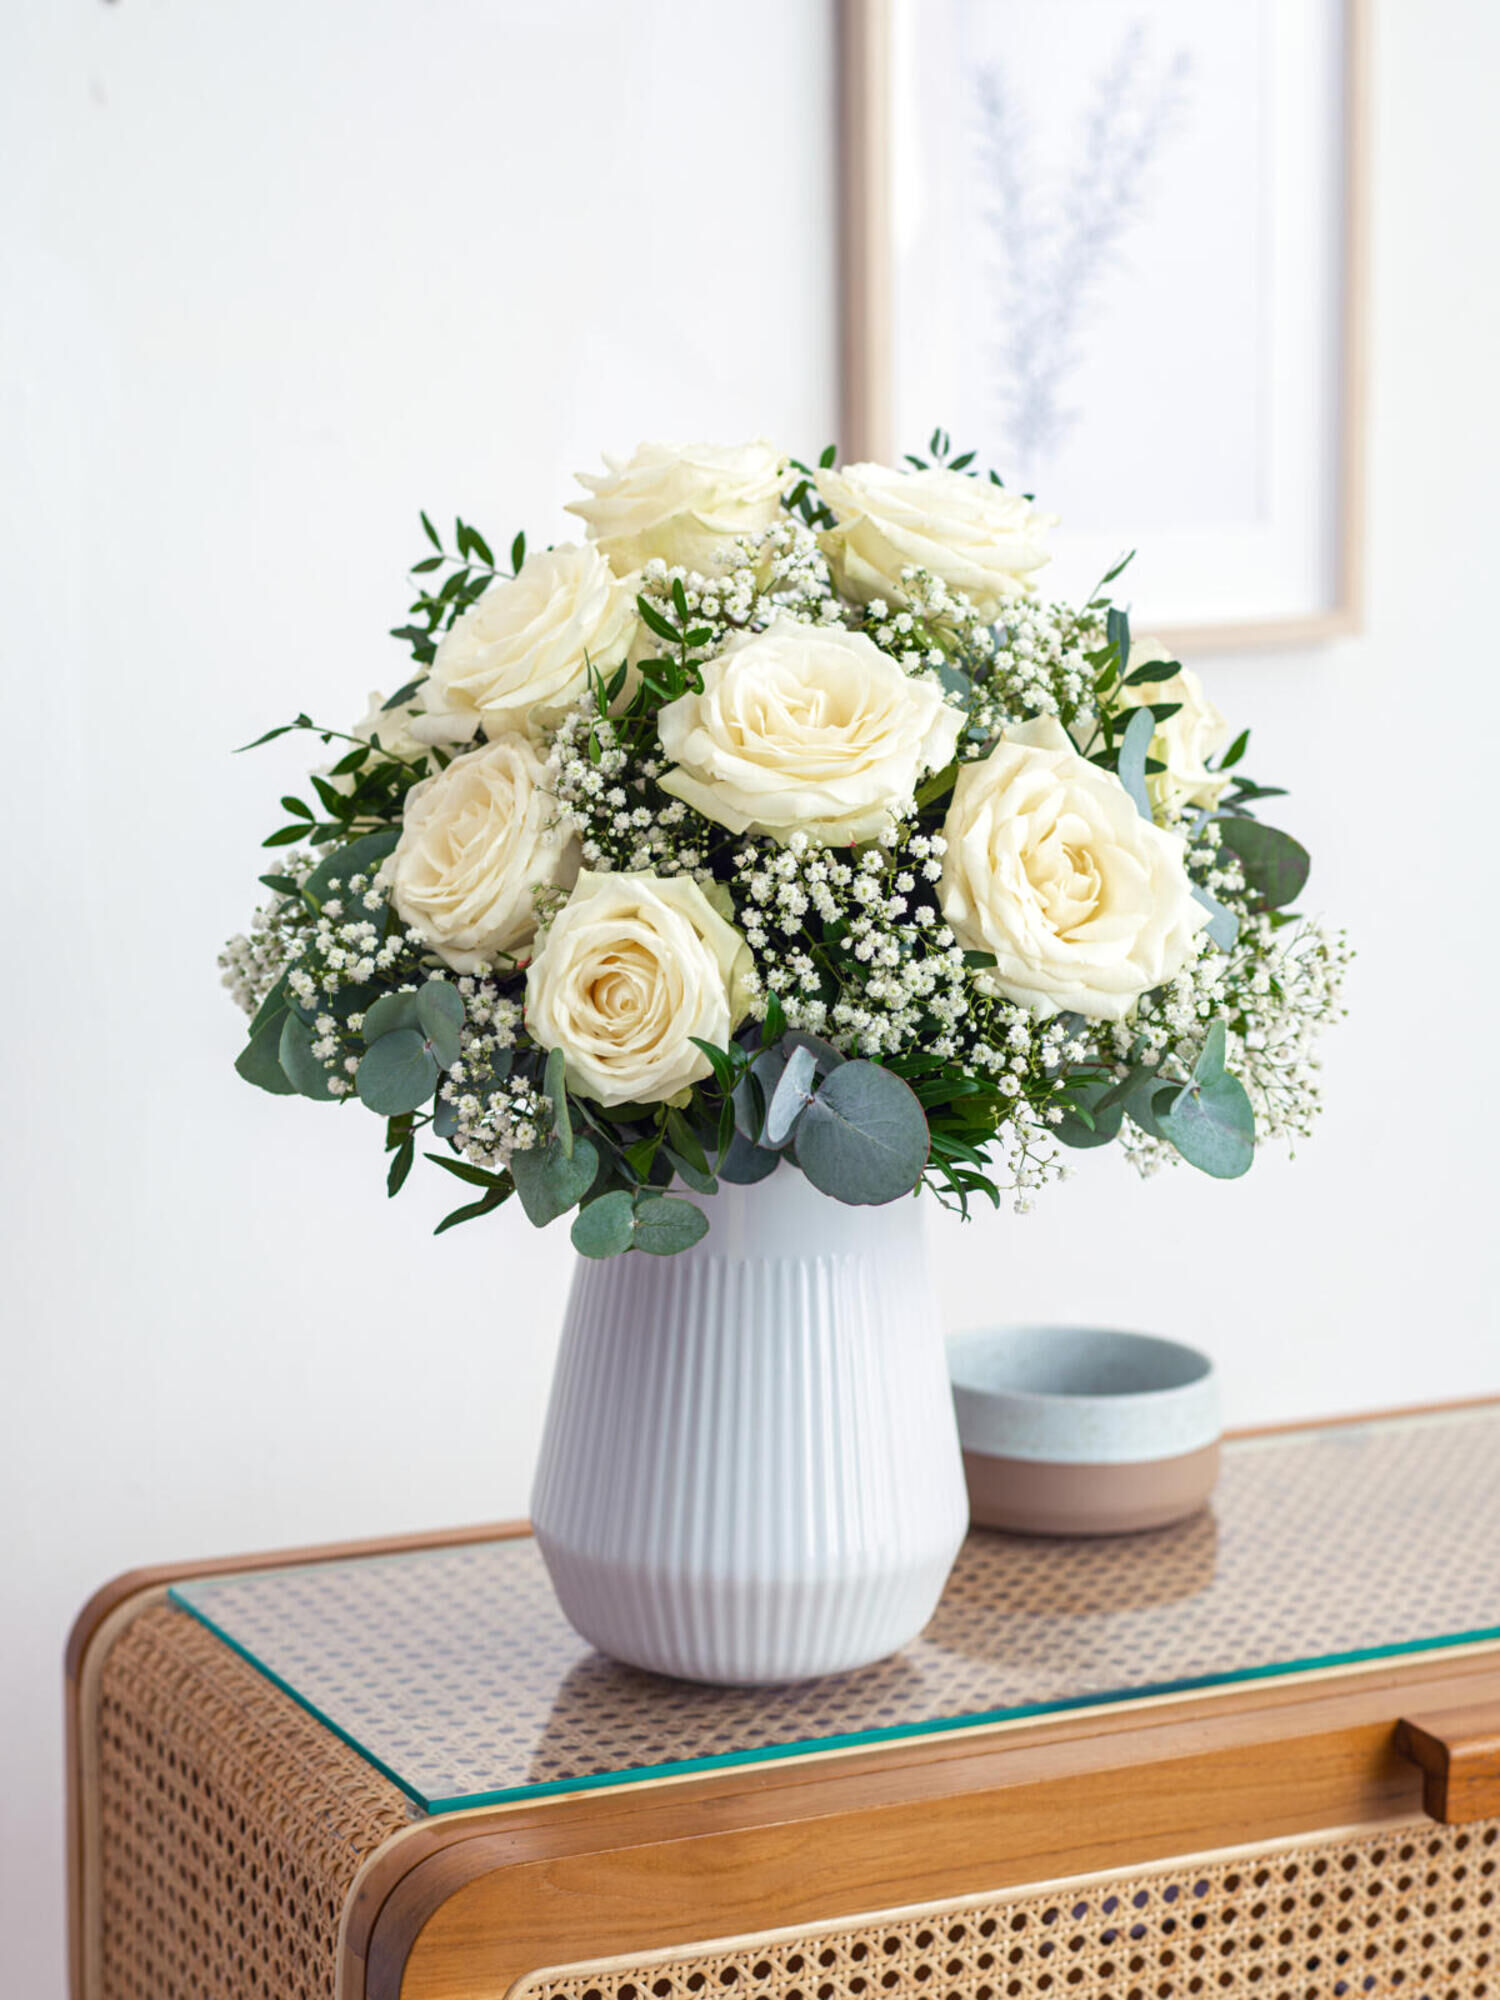
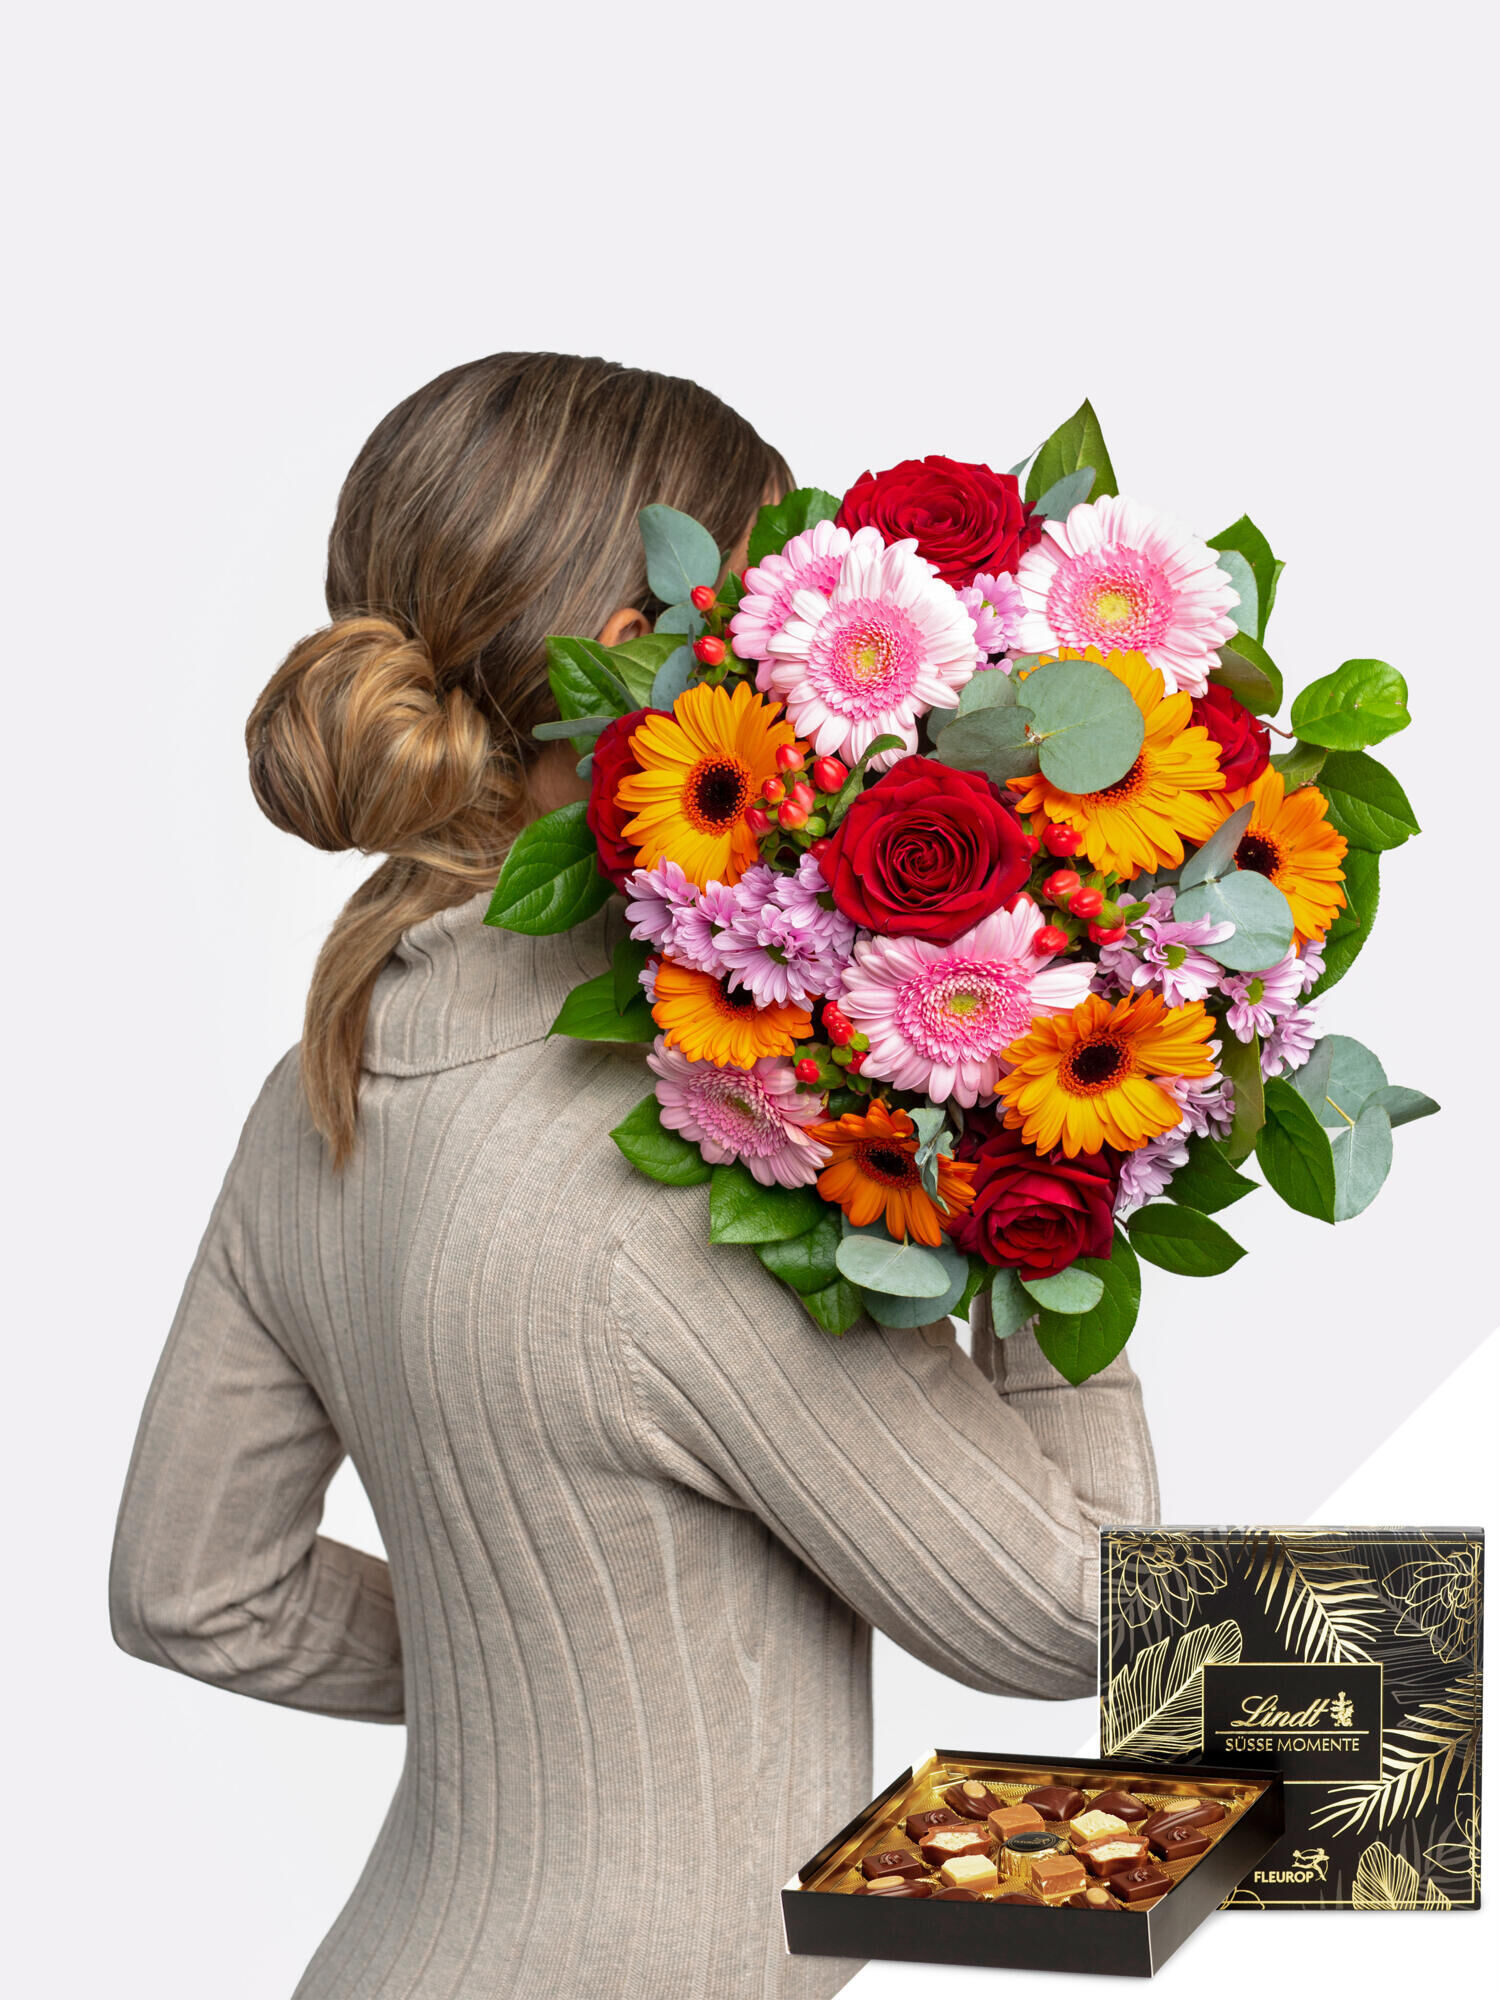
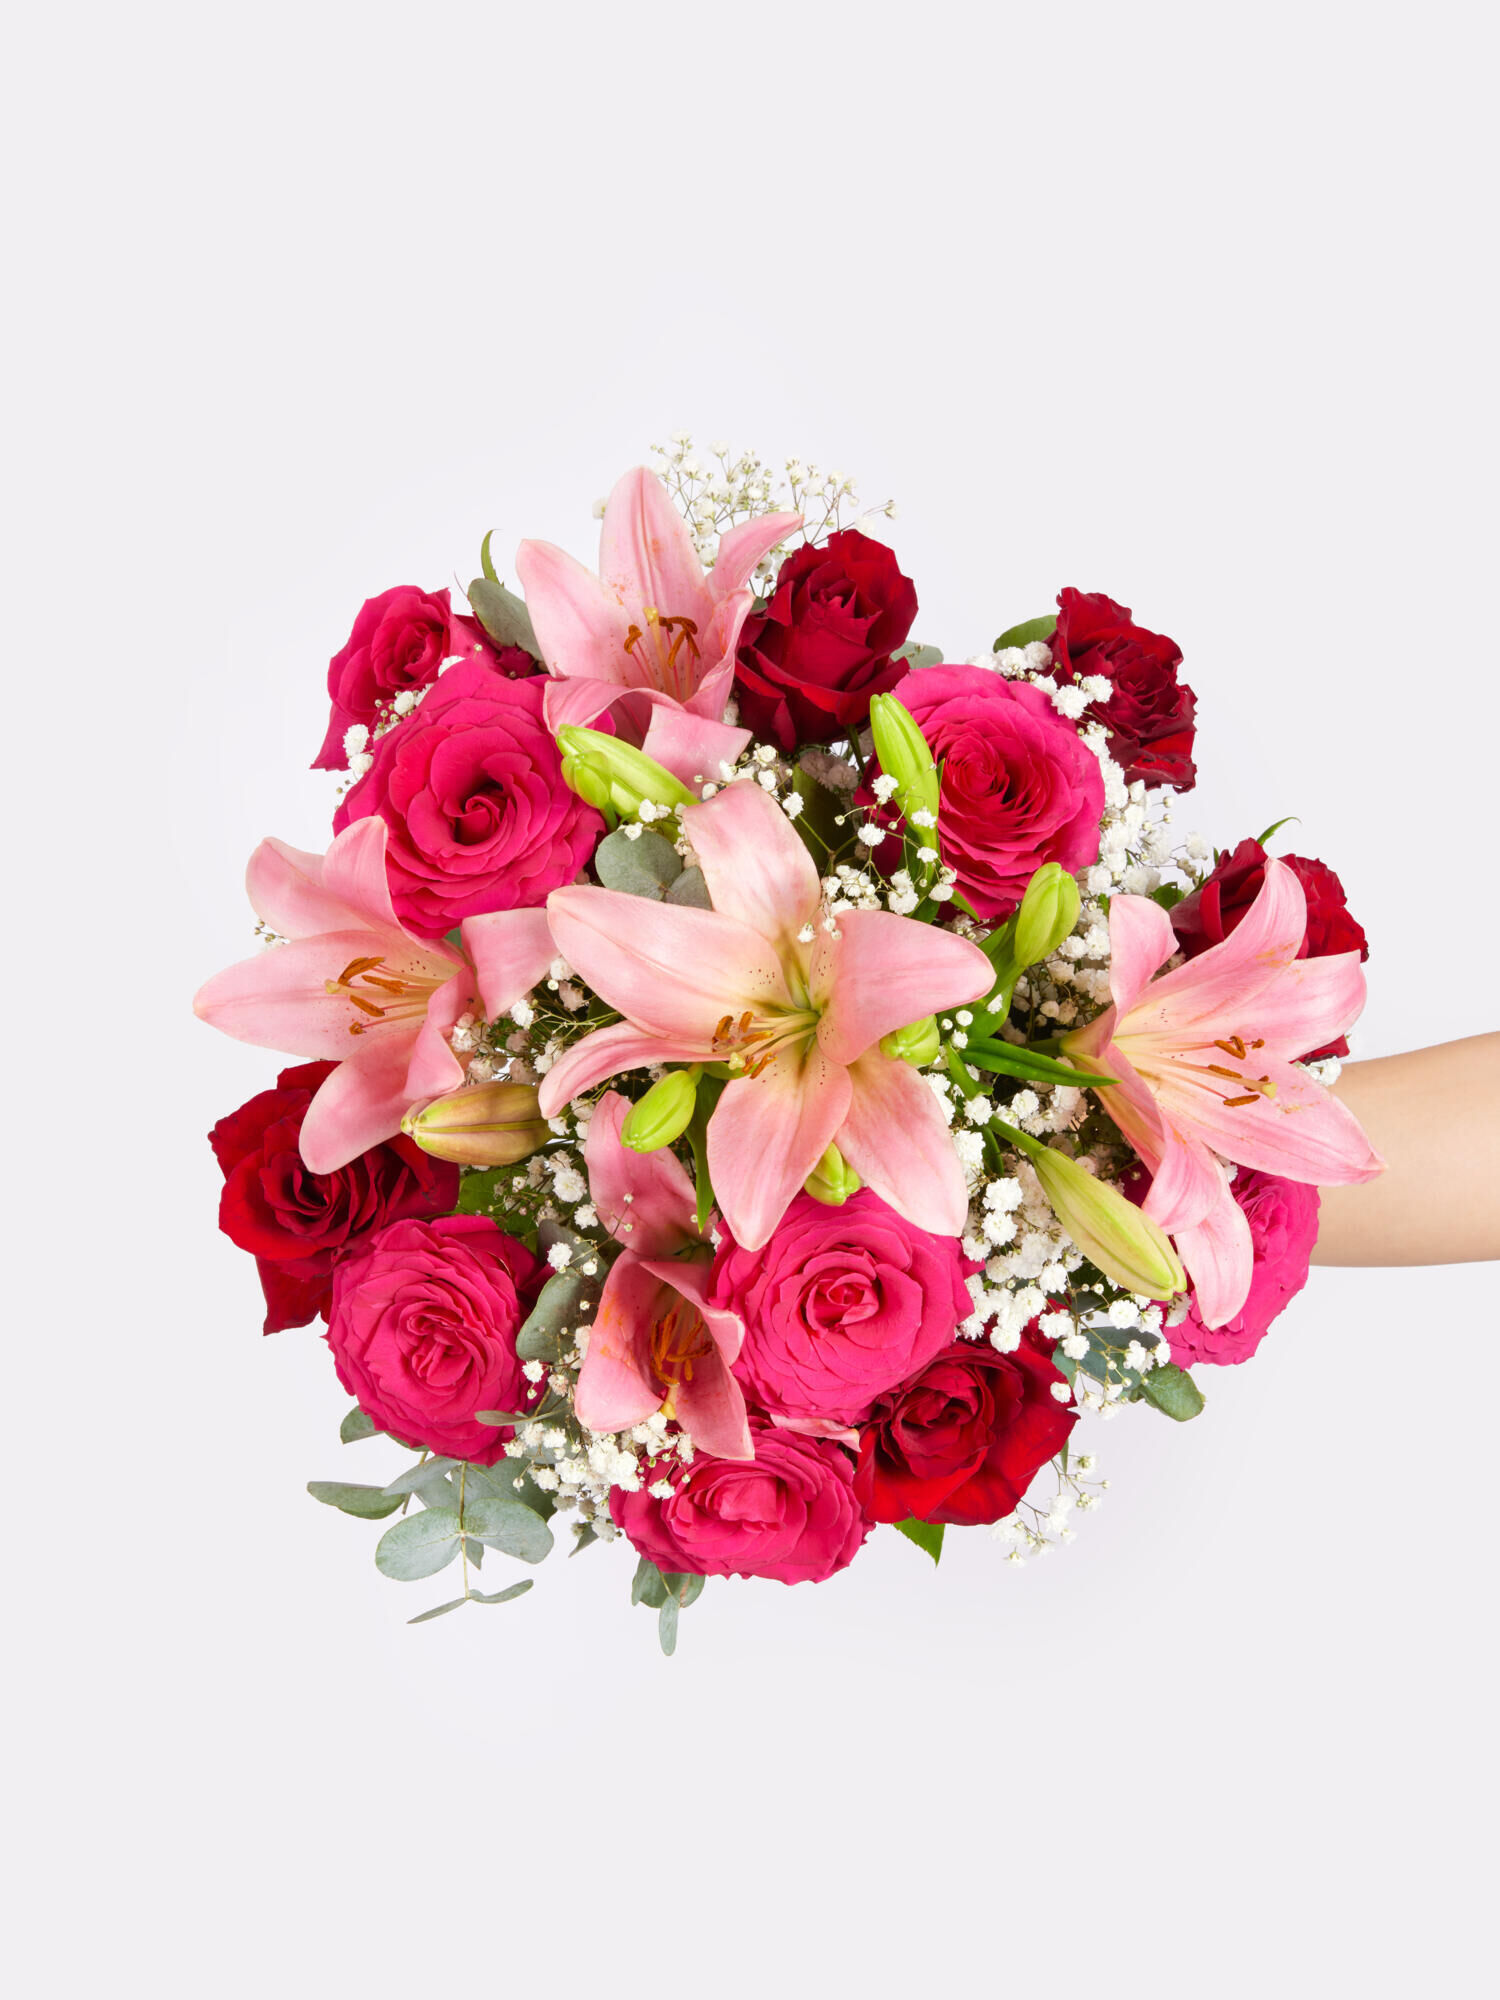
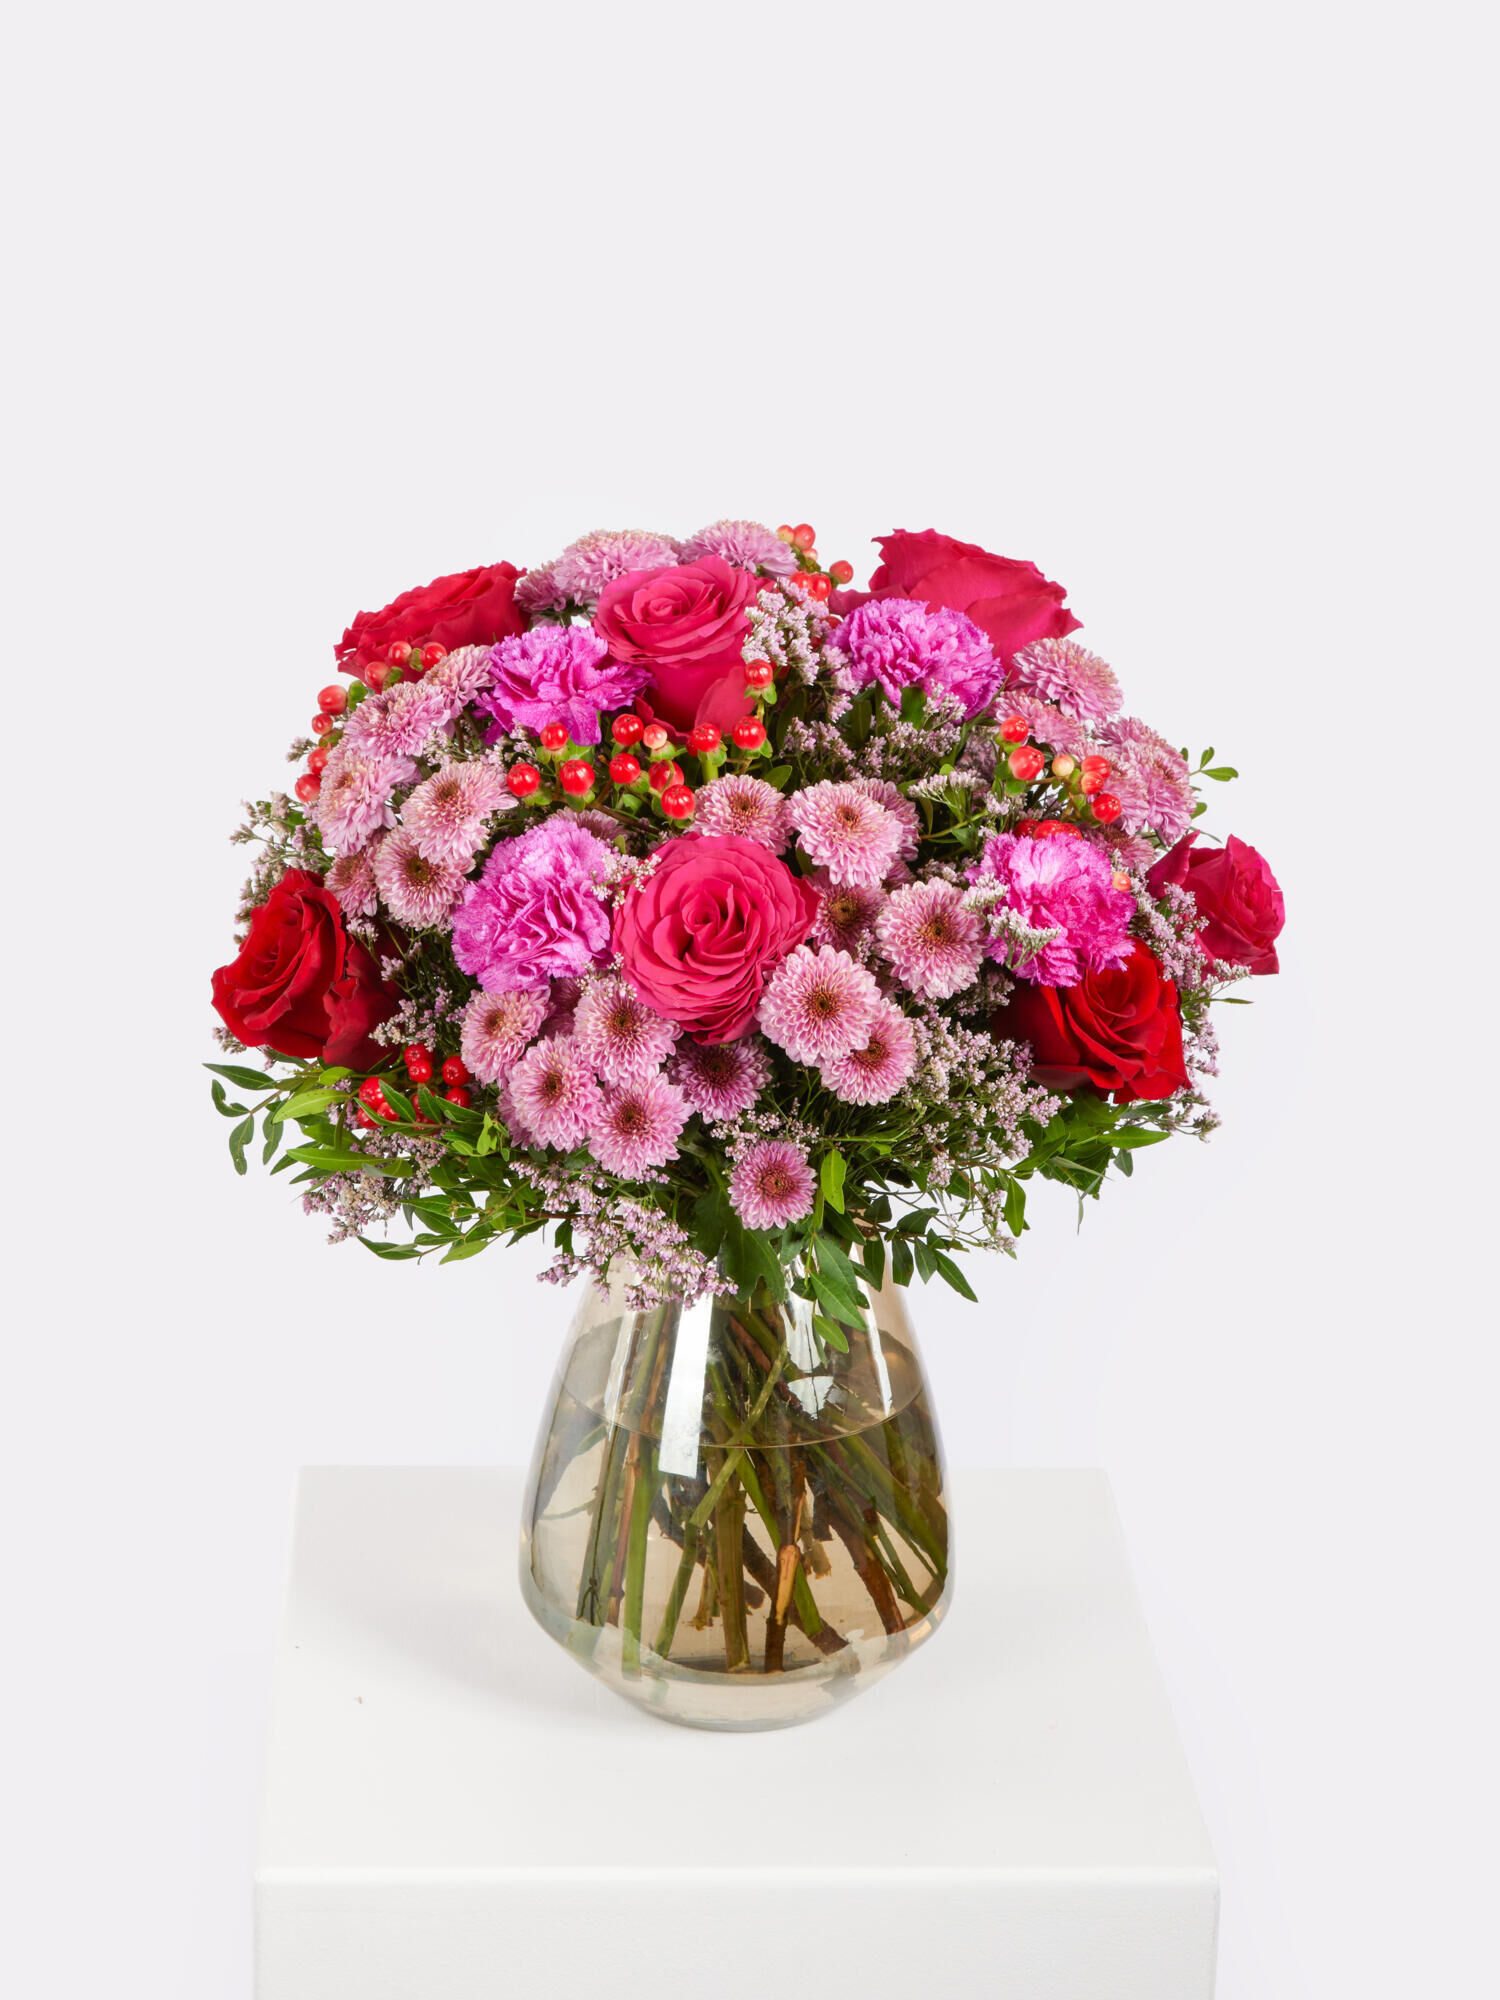
To match, we recommend:
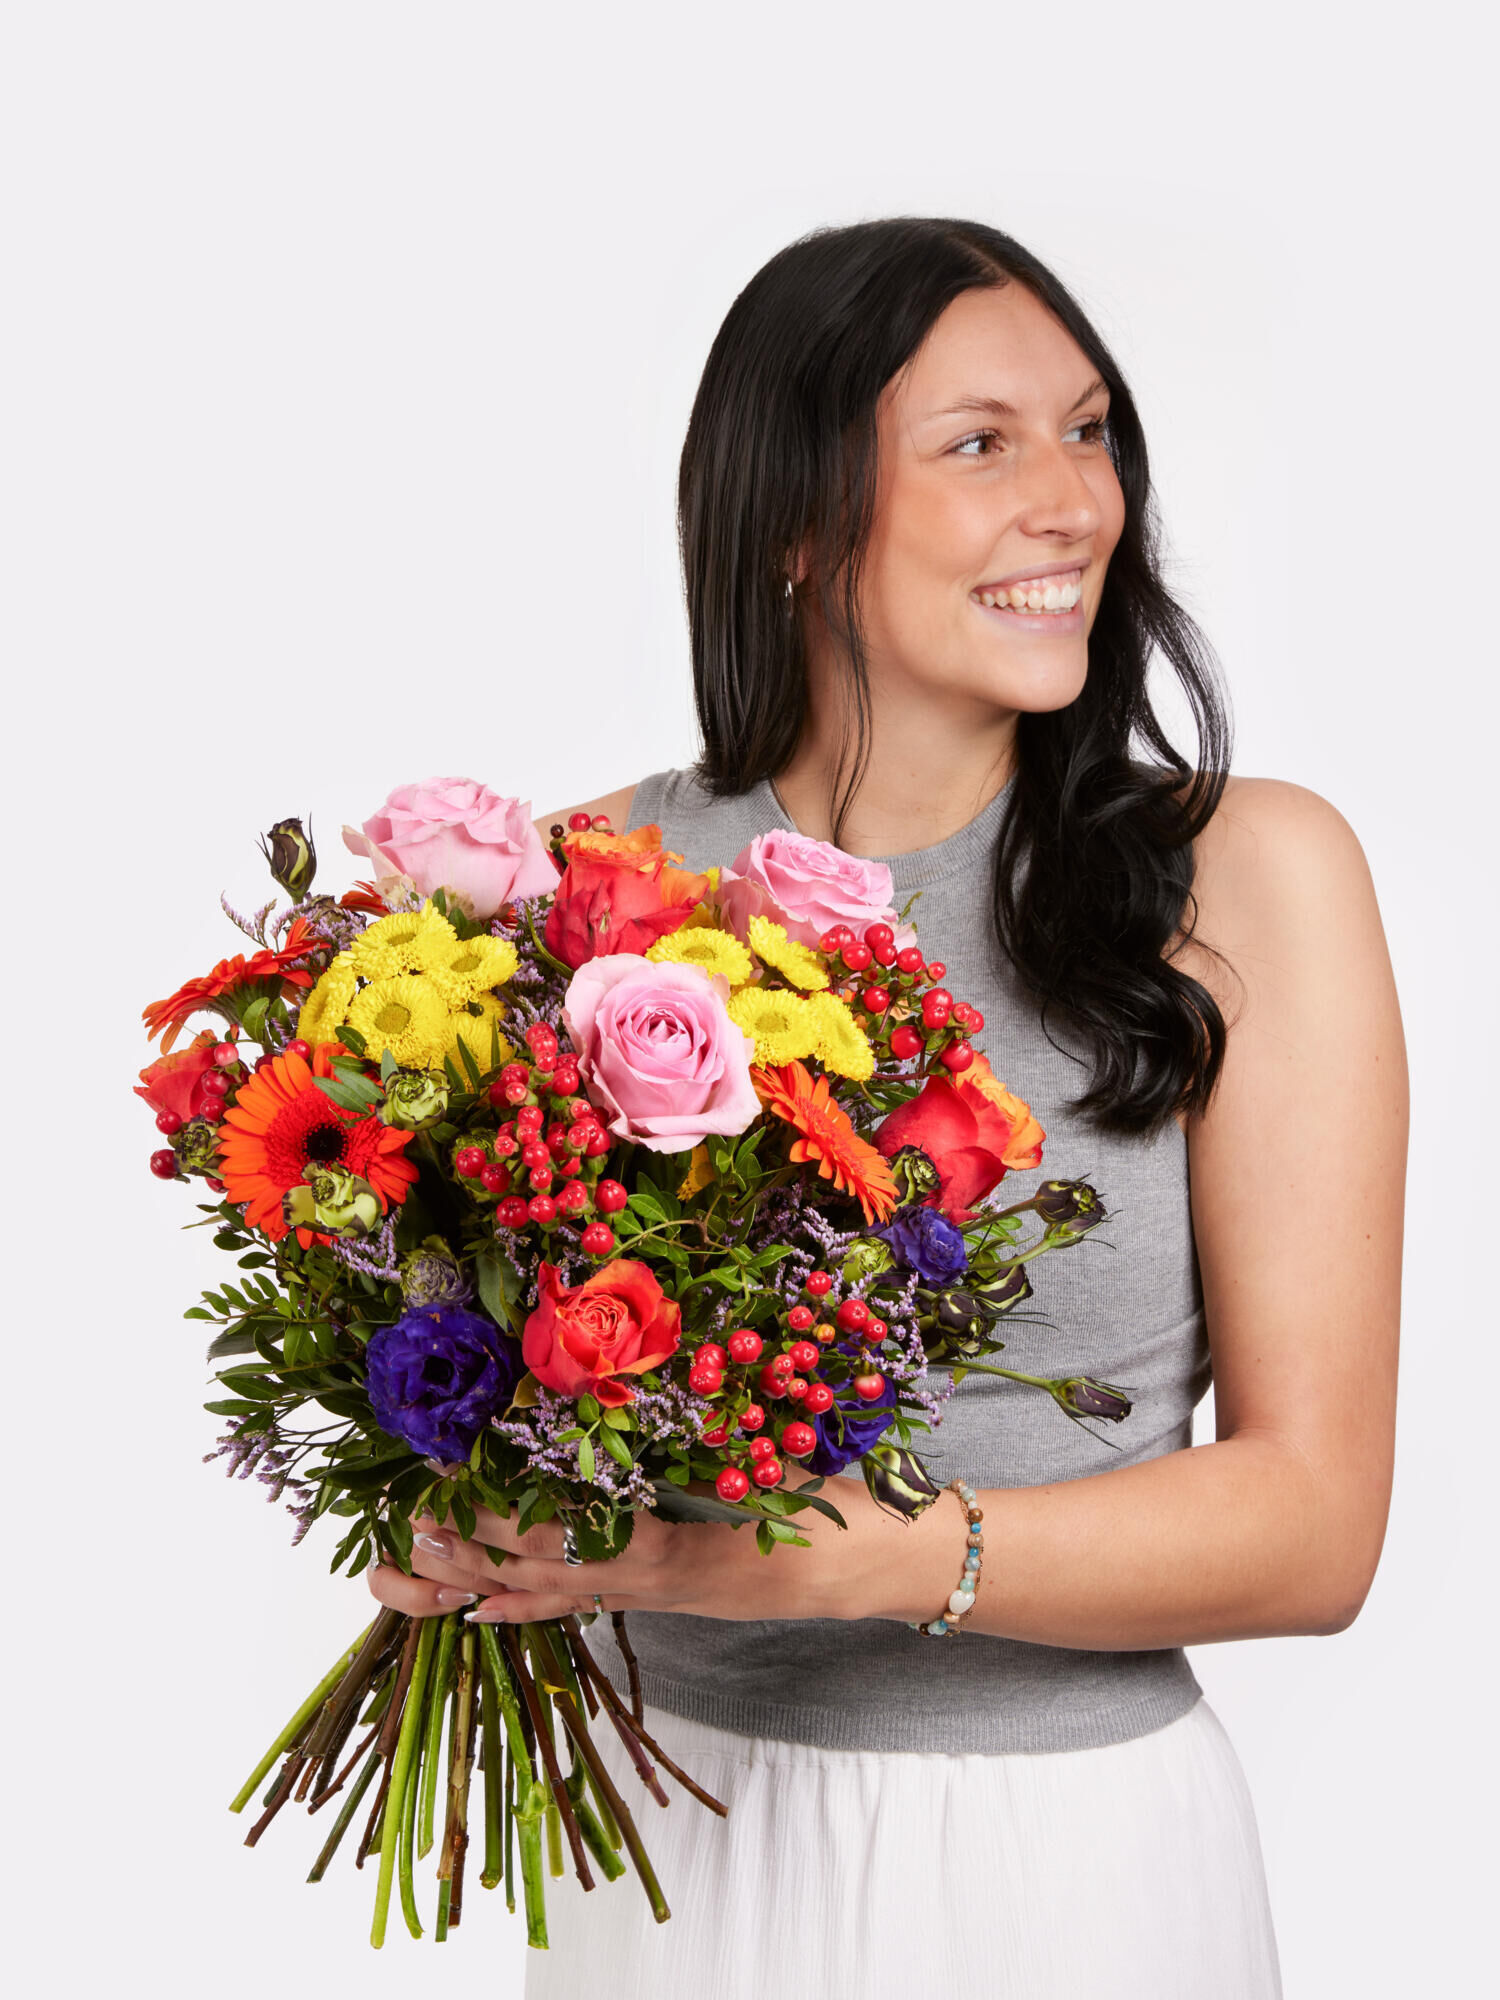
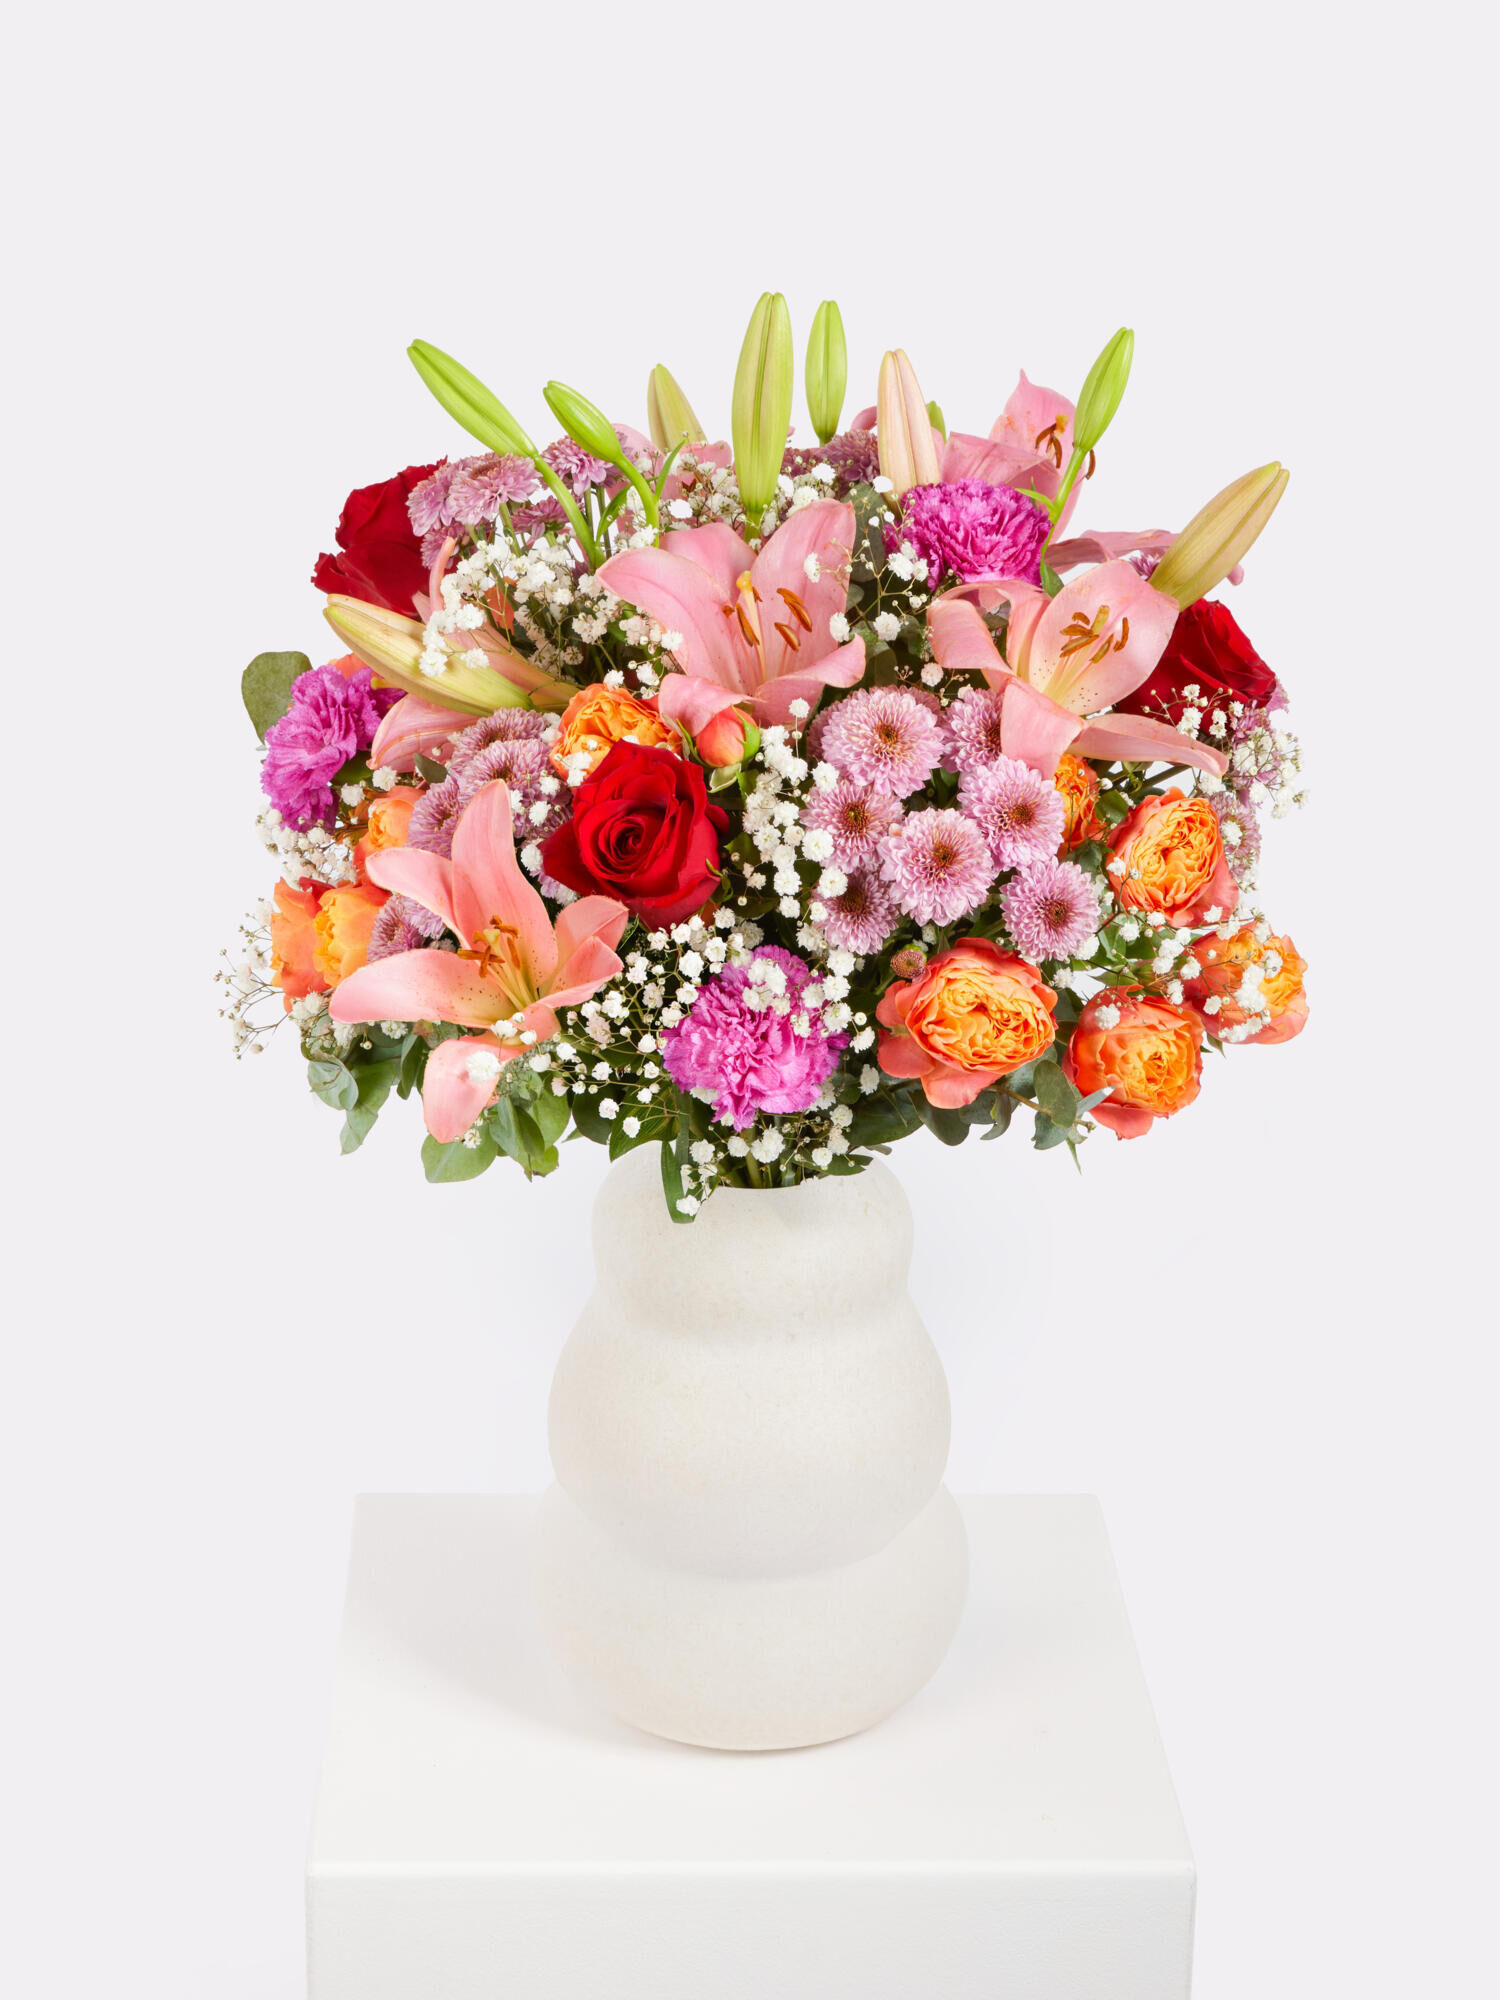
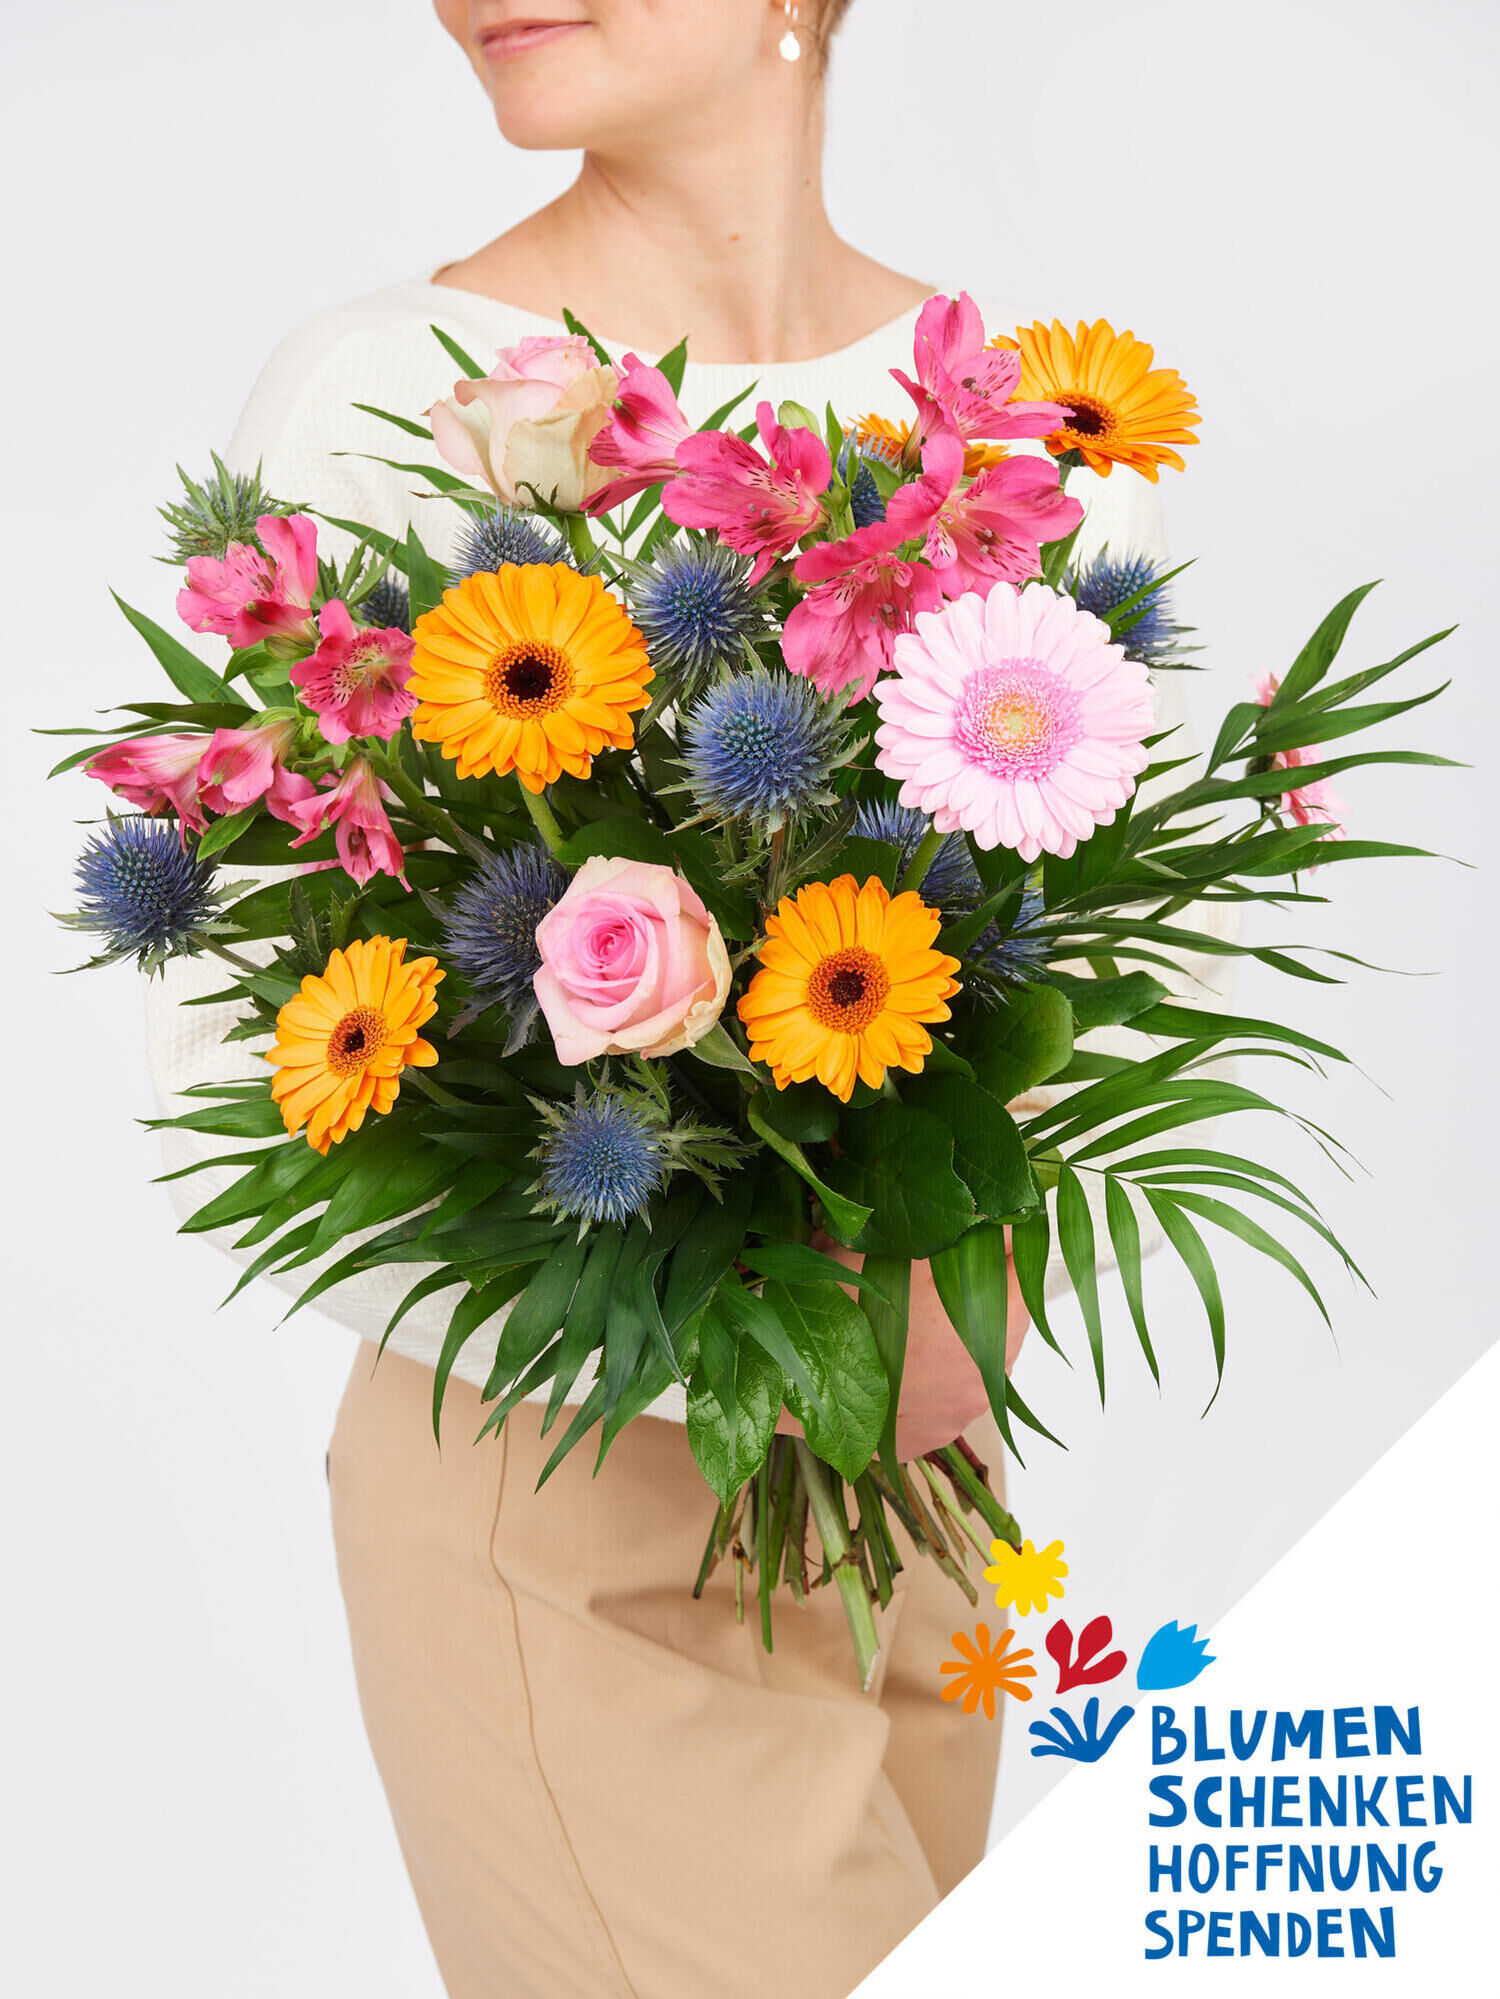


Vera's heart has always beaten for beautiful interior design things and DIY. She turned this passion into her profession in 2016 and has since been sharing creative DIY ideas and inspiration about beautiful living on her blog „studiovea", which is intended to motivate her readers to become creative themselves.