 Reminder for important dates
 Create an address book for recipients
 Faster sending of Fleurop-Greetings
 View past orders














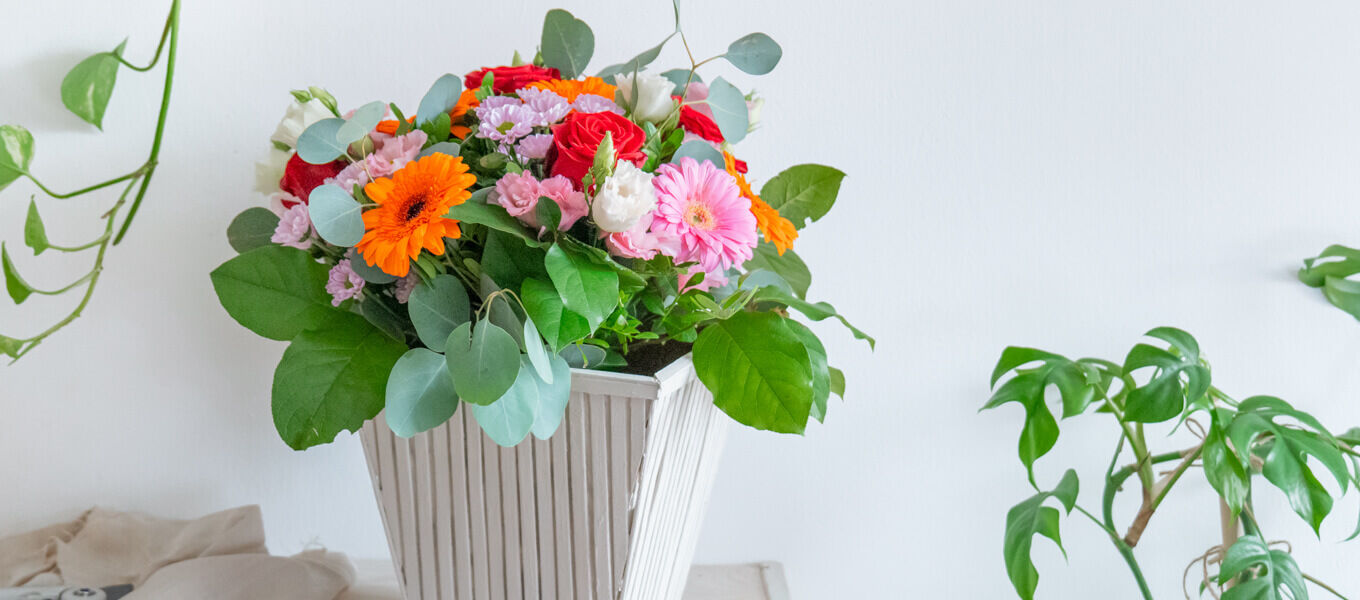
Upcycle your flower bag into a vase
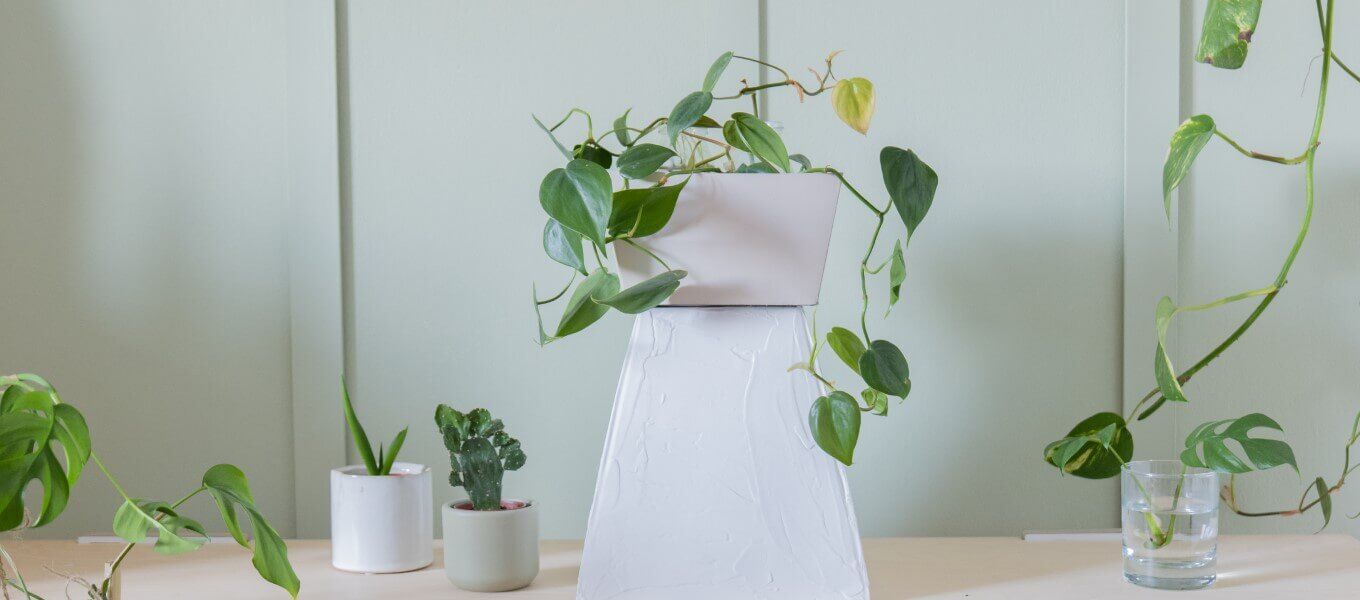
Fleurop bouquets are delivered in elegant black gift packaging: our flower bag. The flowers are not only well supplied with water, they also look great in it. The flower bag is waterproof and sturdy - and therefore far too good to throw away! We have therefore come up with an upcycling idea to give it a completely new look and reuse it as a modern vase.
Materials required:
-
Fleurop flower bag
- Pencil
- scissors
- wood glue
- Side cutter or pliers
- Bamboo sticks (approx. 0.9 cm wide and 0.2 cm thick)
- Hot glue
- Handsaw
- Shashlik skewers
- Chalk paint in taupe
- paintbrush
Instructions for the upcycling idea
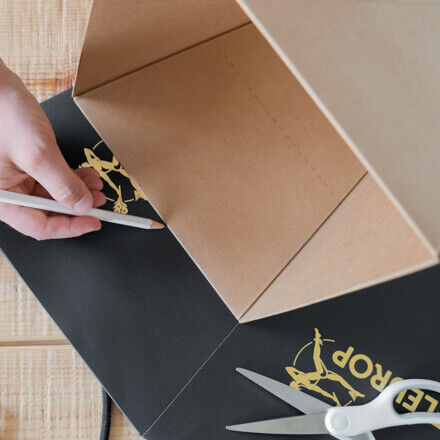
Step 1: Draw the outline
Place the cardboard vase on the flattened outer cardboard and then draw the outline with a pencil.
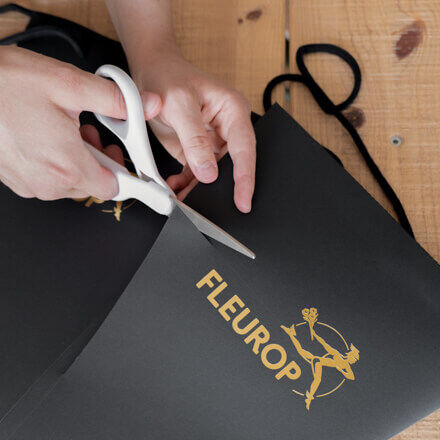
Step 2: Cut out the sides
The marked surface is then cut out of the outer cardboard with scissors. A total of 2 of these surfaces are required.
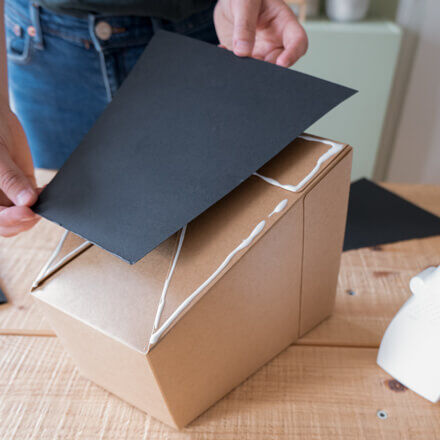
Step 3: Create four flat side surfaces
Then glue the cut-out areas to the two sides of the cardboard vase where the folds are located using a little glue. This gives the cardboard vase 4 flat sides.
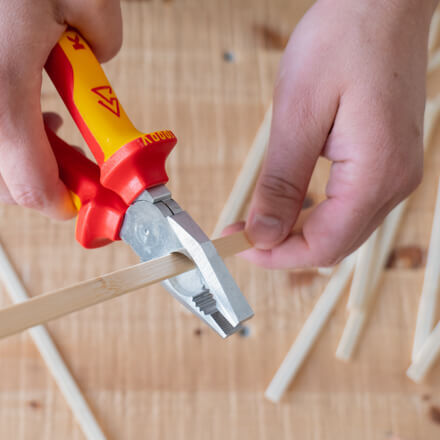
Step 4: Cut the bamboo sticks to size
The next step is to cut the bamboo sticks to the required length using a side cutter or pliers (approx. 22 cm, about 40 pieces).
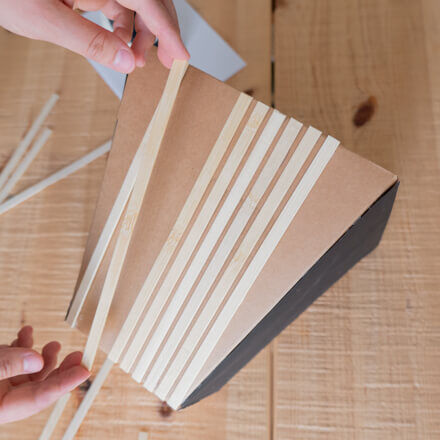
Step 5: Glue the sticks to the flower bag
Now the gluing can begin: Firstly, glue the cut bamboo sticks to the centre straight section of each side of the paper vase. Hot glue is best for this.
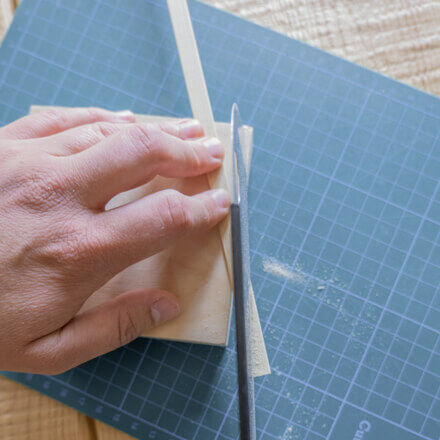
Step 6: Cutting bamboo sticks for sloping surfaces
For the sloping areas of the paper vase, the bamboo sticks are then cut to size using a handsaw.
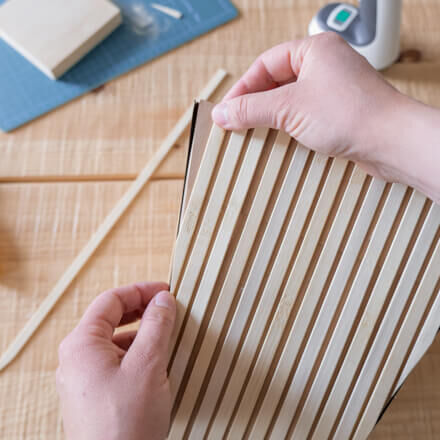
Step 7: Glue the flower bag to the slopes
In the next step, the bevelled bamboo sticks are also glued to the paper vase with hot glue.
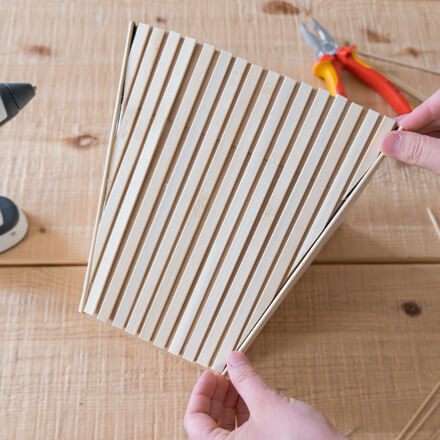
Step 8: Cover the edges
To make the vertical edges more elegant, simply cover them with shashlik skewers. To do this, cut the skewers to the required length using pliers or side cutters and attach them with a little hot glue.
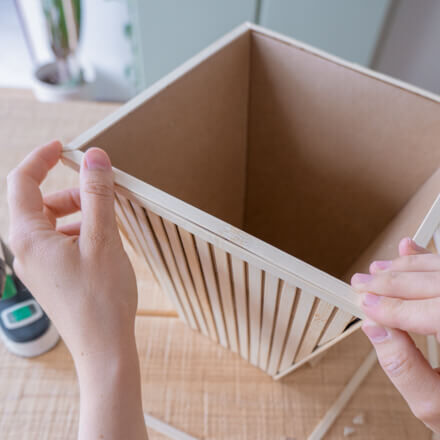
Step 9: Cover the horizontal edges
The upper horizontal edges of the vase can then be covered with the bamboo sticks if required.
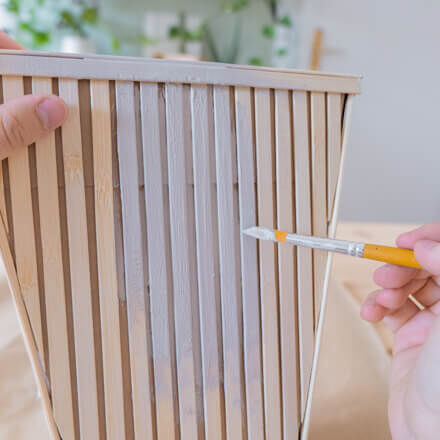
Step 10: Paint the vase with chalk paint
Once the glue is completely dry, colour the vase with chalk paint and a brush. Extra tip: Chalk paint is also very easy to make yourself. Simply mix some acrylic paint with baking powder.
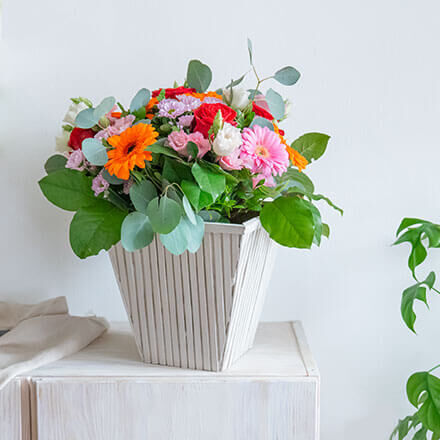
That's it!
Now the elegant vase just needs to be filled with beautiful flowers. Why not pop into your local florist and let them inspire you?
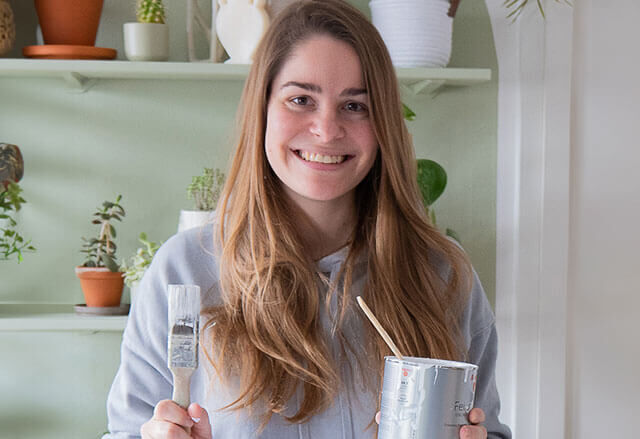
Luisa is all about DIY, upcycling and interior design. On her social media channels and her YouTube channel, she regularly shares instructions that are easy to do and are intended to make your own home a little more beautiful. Natural wood, plants and the colour green in general play a particularly important role and can be found in many of her ideas.