 Reminder for important dates
 Create an address book for recipients
 Faster sending of Fleurop-Greetings
 View past orders






















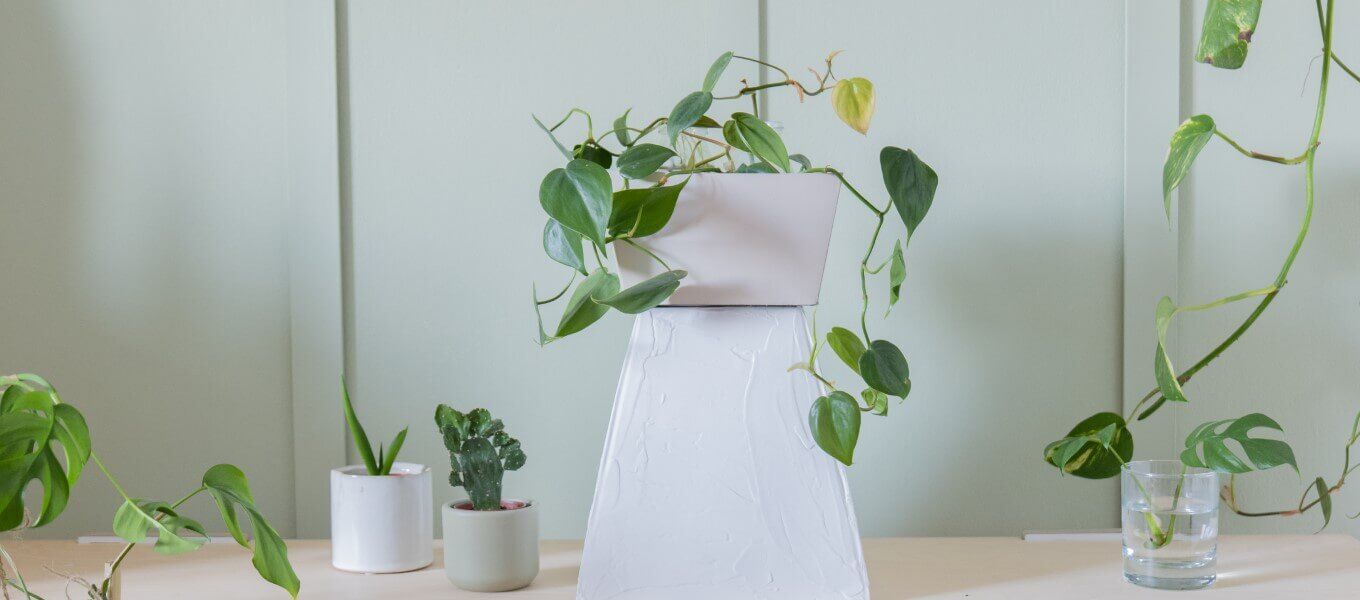
Make your own plant stand for houseplants – upcycling idea
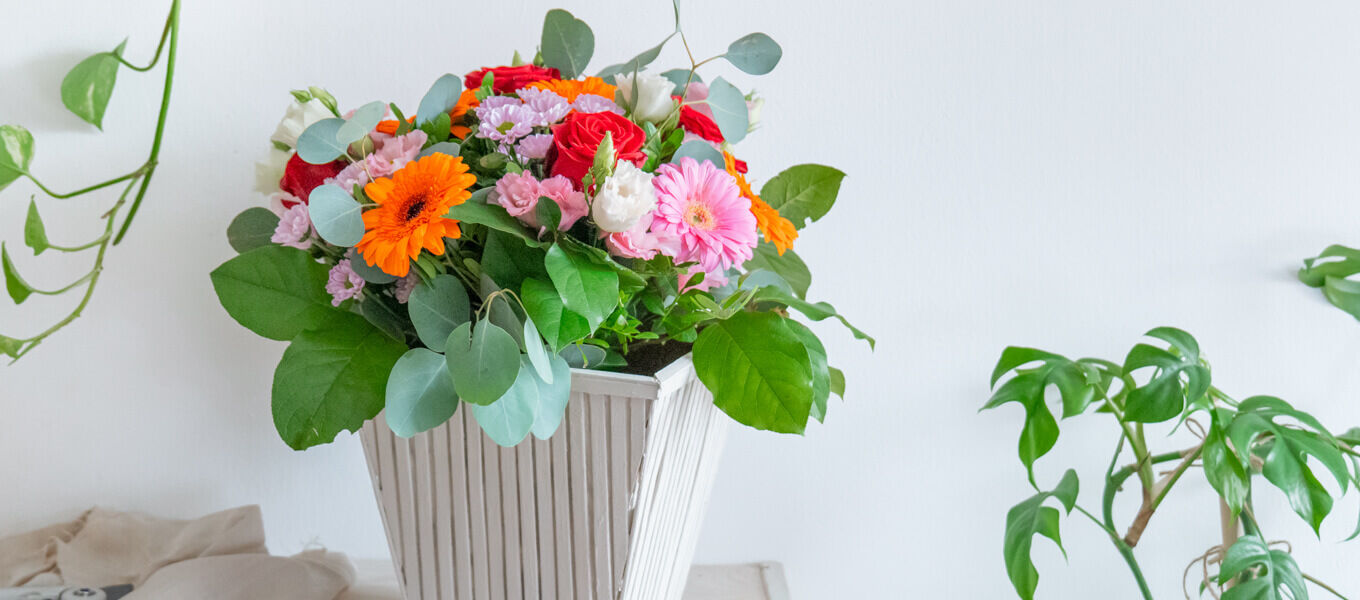
Have you received flowers in the Flower-Bag for a birthday or other special occasion and think the premium gift packaging is just too beautiful to throw away? The sustainable flower bag is a real miracle bag. Because even if it can be disposed of in waste paper in an environmentally friendly way, there is a much nicer alternative - with a little creativity, you can transform the premium gift packaging for bouquets into a plant stand for hanging plants with a clean Scandi look. We'll show you how to do it and what you need!
Materials required:
-
Our flower bag (you will receive this with every online flower order from us)
- Ruler & pencil
- Cutter & cutter knife
- Cutting mat
- Glue or all-purpose glue
- Spray paint (e.g. chalk paint for spraying)
- Paper or old cardboard
- Knife
- Ready-made filler (from the DIY store)
- Putty knife
- Painting knife
Instructions for the plant stand
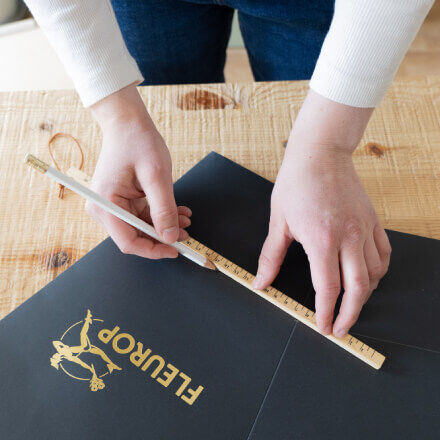
Step 1: Mark the cutting lines
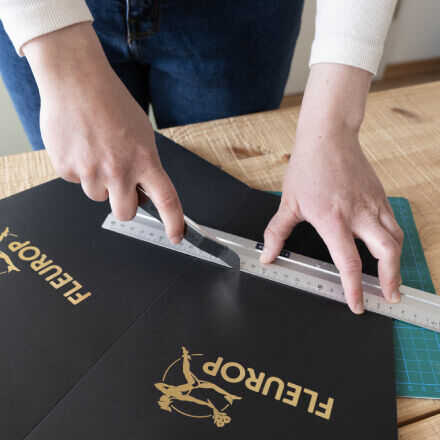
First, fold the paper bag flat and use a ruler to mark a strip approx. 10-15 cm wide at the bottom of the bag.
Step 2: Divide the area
Then cut out this strip using a cutter knife and cutting ruler. Be sure to use a cutting mat (e.g. a cutting mat or alternatively thick cardboard).
Step 3: Unfold the base
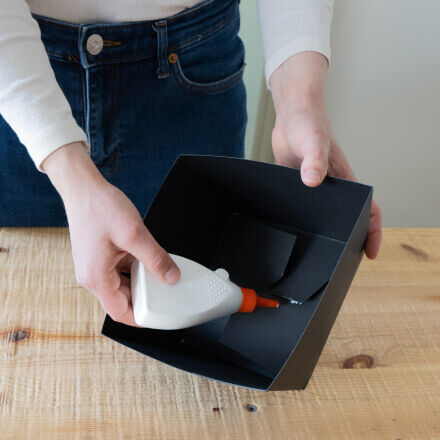
The cut-out bag base is then folded up again and fixed with a little glue or all-purpose adhesive - the base for the bowl of the plant stand is ready.
Step 4: Colouring the bowl
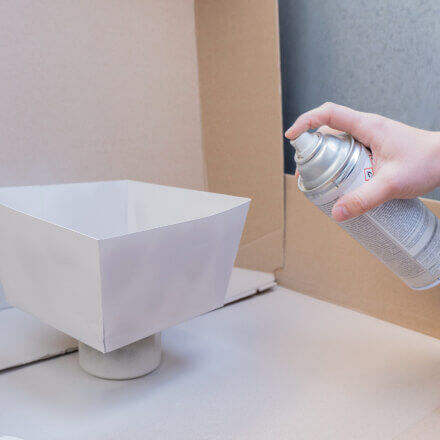
The next step is to colour the bowl with spray paint. This is best done outdoors and it is also important to protect the area in which the paint is sprayed from the colour with paper or old cardboard.
Step 5: Unfold the inner part
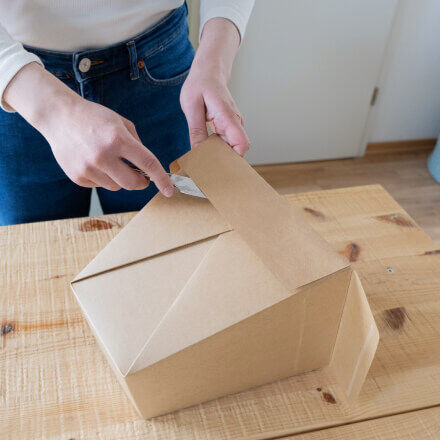
Now you can continue with the inner part of the flower bag: To do this, first unfold the paper vase. A simple knife can be used as an aid to loosen the glued flaps.
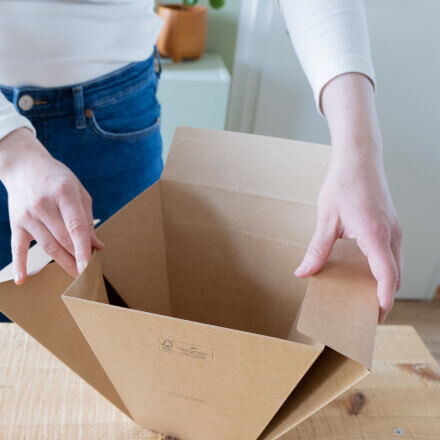
Step 6: Turn the inner part over and fold it back together again
The inner part is then unfolded, turned over once and folded up again so that the inside is now on the outside.
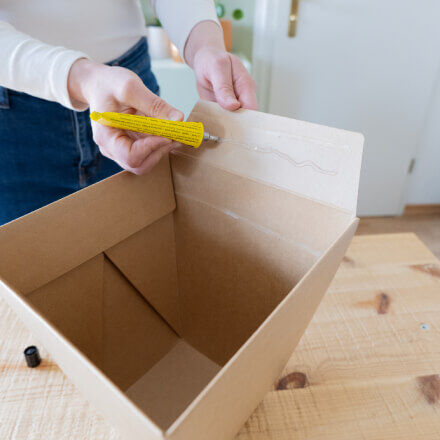
Step 7: Fixing the flaps
Now simply fix the flaps in place with a little all-purpose adhesive or glue - and the base of the plant stand is ready.
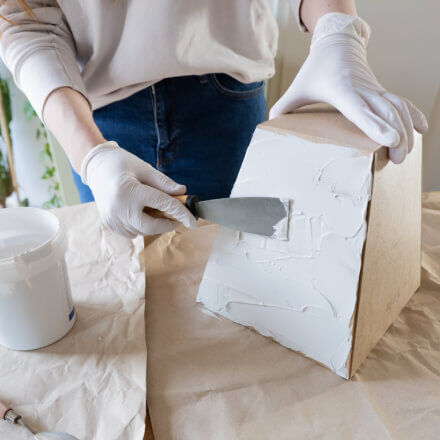
Step 8: Cover the base with filler
The base is then turned over and covered with filler. To do this, simply apply the filler with a palette knife. The square upper side is left out.
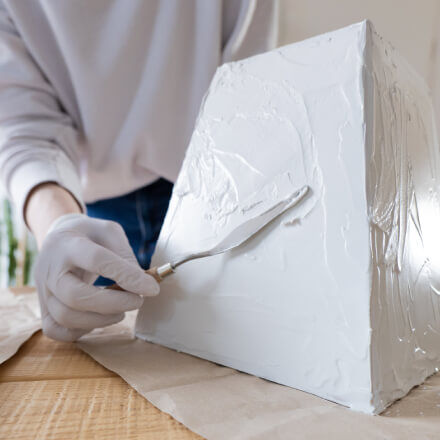
Step 9: Allow the filler to dry
To smooth the edges properly, you can also work with a finer painting knife. The filler must then be allowed to dry completely.
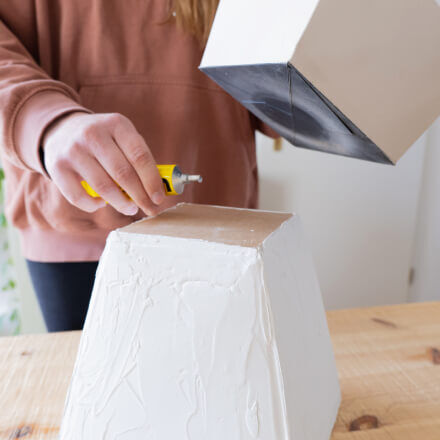
Step 10: Fix the bowl to the base
Once the filler has dried, simply glue the bowl to the base with a little all-purpose glue.
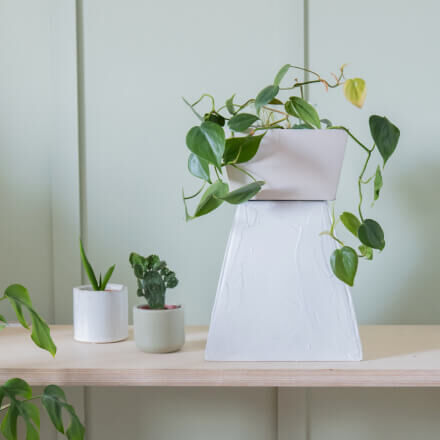
That's it!
The bowl can be beautifully decorated with small plants (including planters) or cuttings in vases, for example.
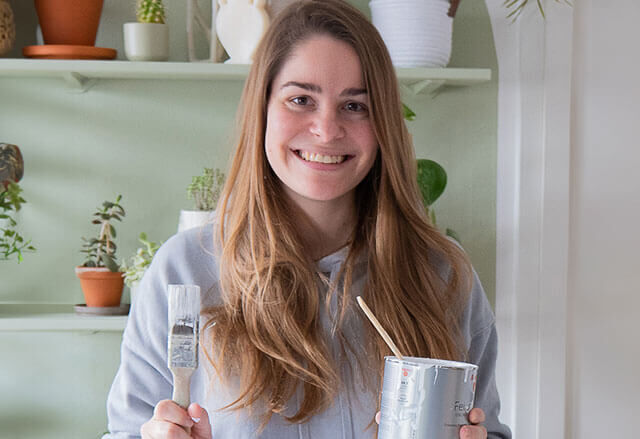
Luisa is all about DIY, upcycling and interior design. On her social media channels and her YouTube channel, she regularly shares instructions that are easy to do and are intended to make your own home a little more beautiful. Natural wood, plants and the colour green in general play a particularly important role and can be found in many of her ideas.